Plan your first group trip
The full walkthrough: create your account, set up a trip, invite your crew, propose plans, and run your first sealed vote.
Limbo is the ballot box for group trips. Every plan can become a proposal, your whole crew votes on it, and the votes stay sealed until the ballot closes, so nobody just piles onto the loudest opinion. This guide takes you from a brand-new account to your first reveal in about ten minutes.
1. Create your account
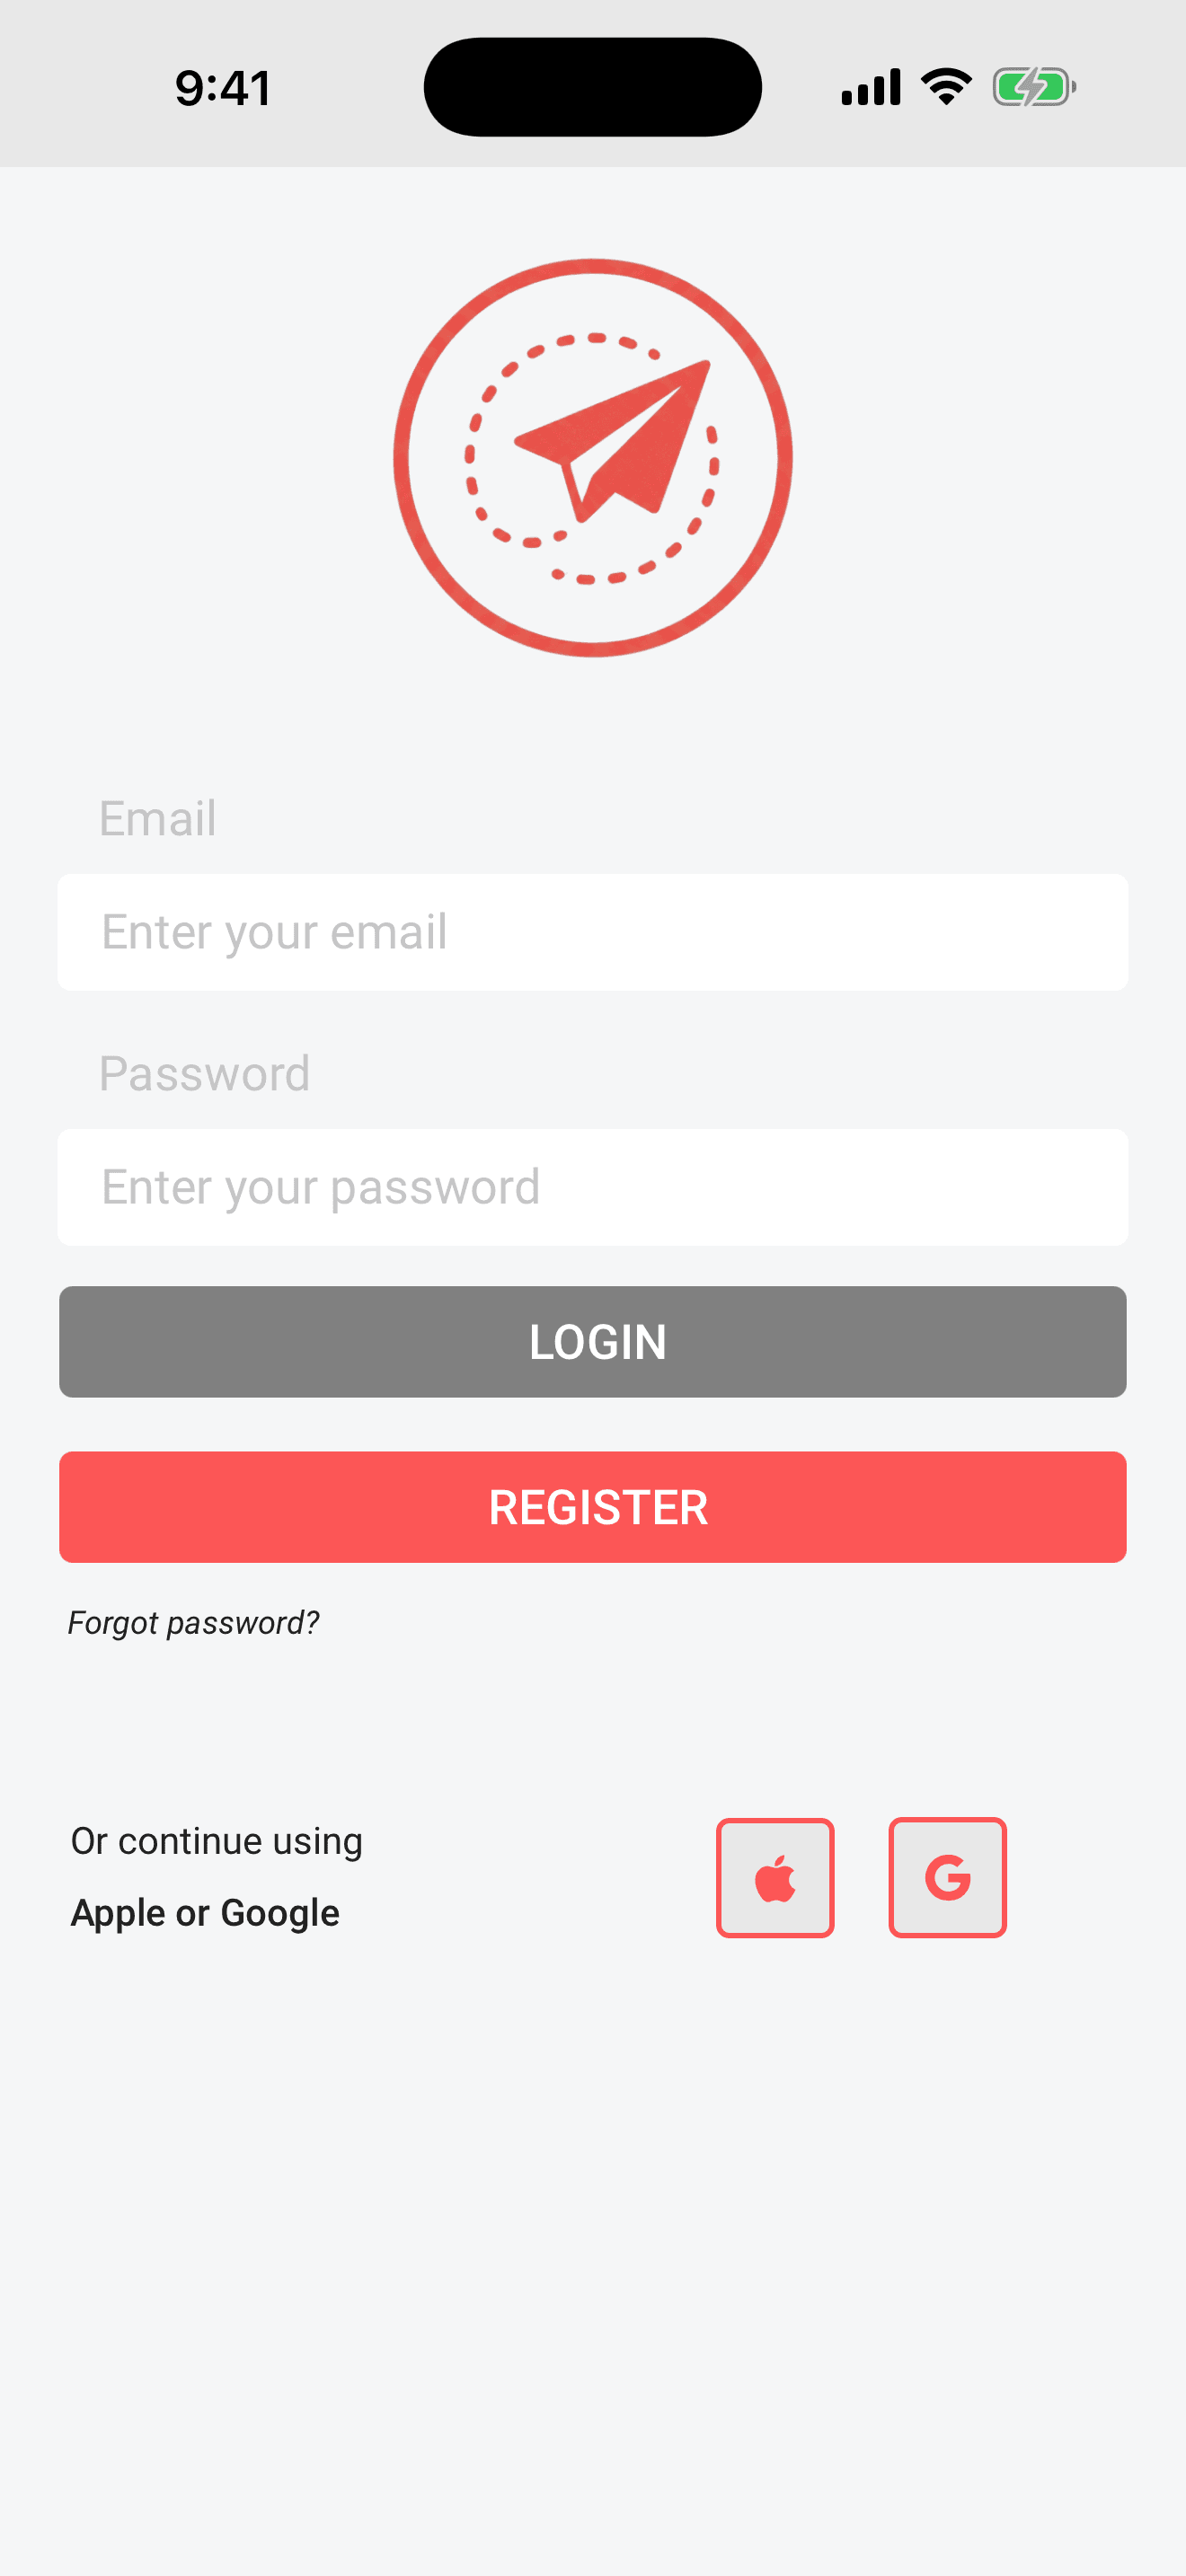
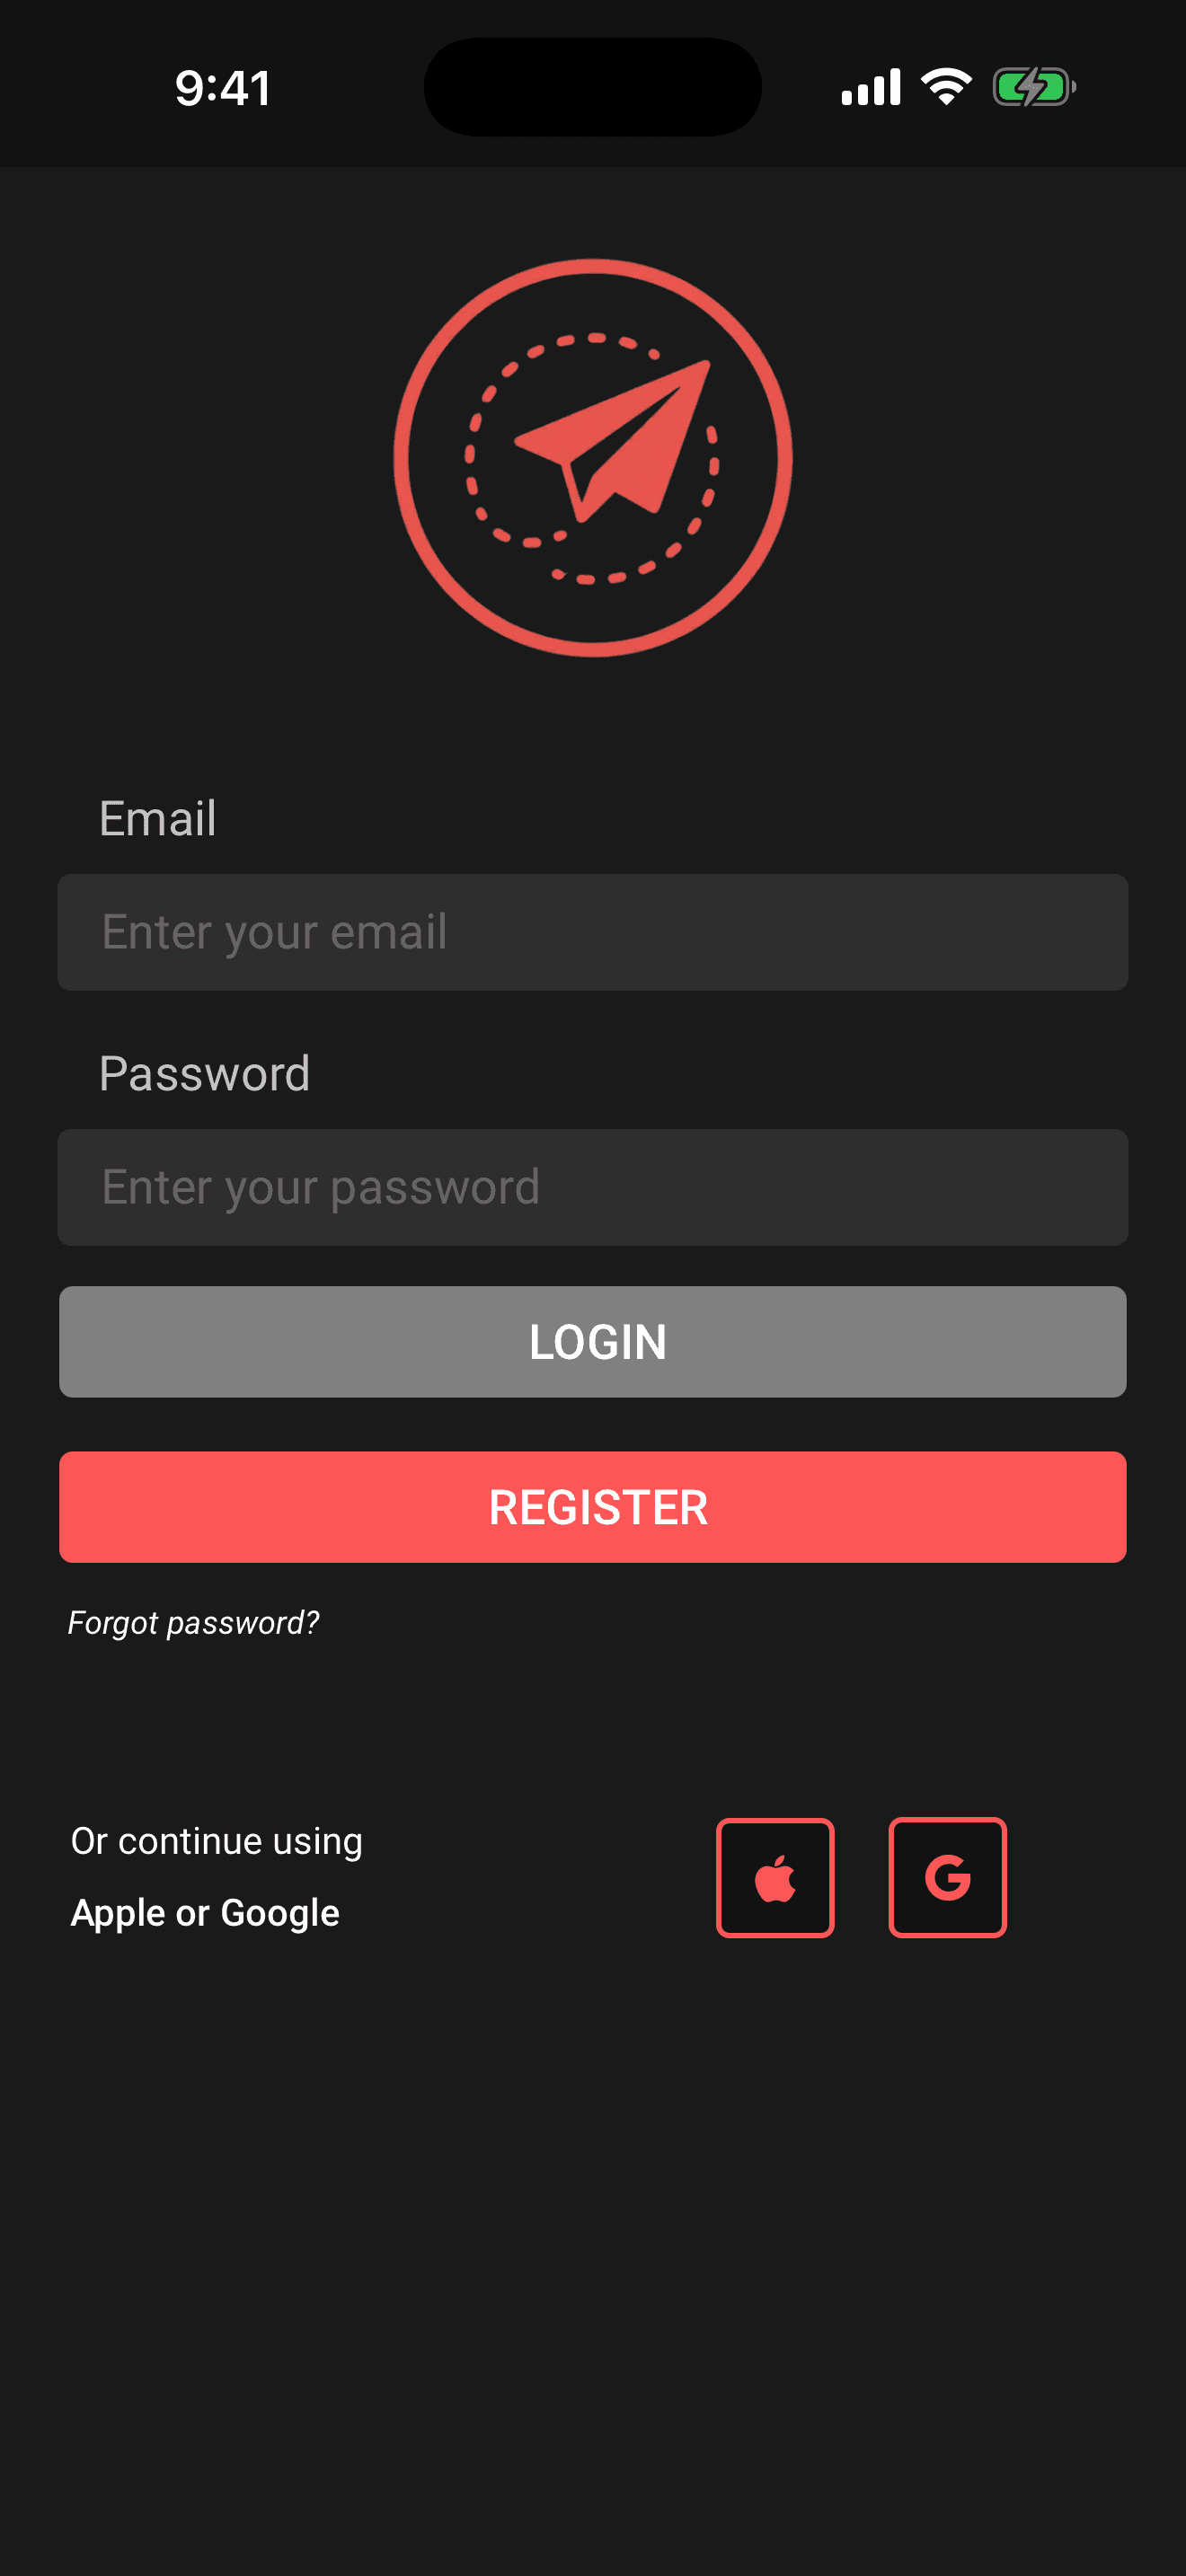
- 1Open Limbo and tap Register on the login screen, or use Sign in with Apple or Sign in with Google to skip the form entirely.
- 2If you register with email, enter your first name, last name, email, and password (twice), then tap the submit button in the top-right corner.
- 3Walk through the short app intro, a few quick swipeable screens that show what the app does. It doesn't ask you to set anything up: no forms, no permission prompts. To get a nudge when a ballot needs your vote or a deadline's closing in, turn reminders on afterwards from Settings → Notification Settings, flipping the push master switch is what triggers the system prompt. (The whole thing is broken down in The app intro and turning on reminders.)
Anyone can create an account for free, and new accounts come with a free first pass, planning is free the whole way through, and the pass is there to cover locking your first trip in. Full details, including password resets, are in Create your account and log in, and how passes work afterwards is in Trip Passes: how paying for a trip works.
2. Create your trip
- 1On Home, tap the floating + Add trip button in the bottom-right corner.
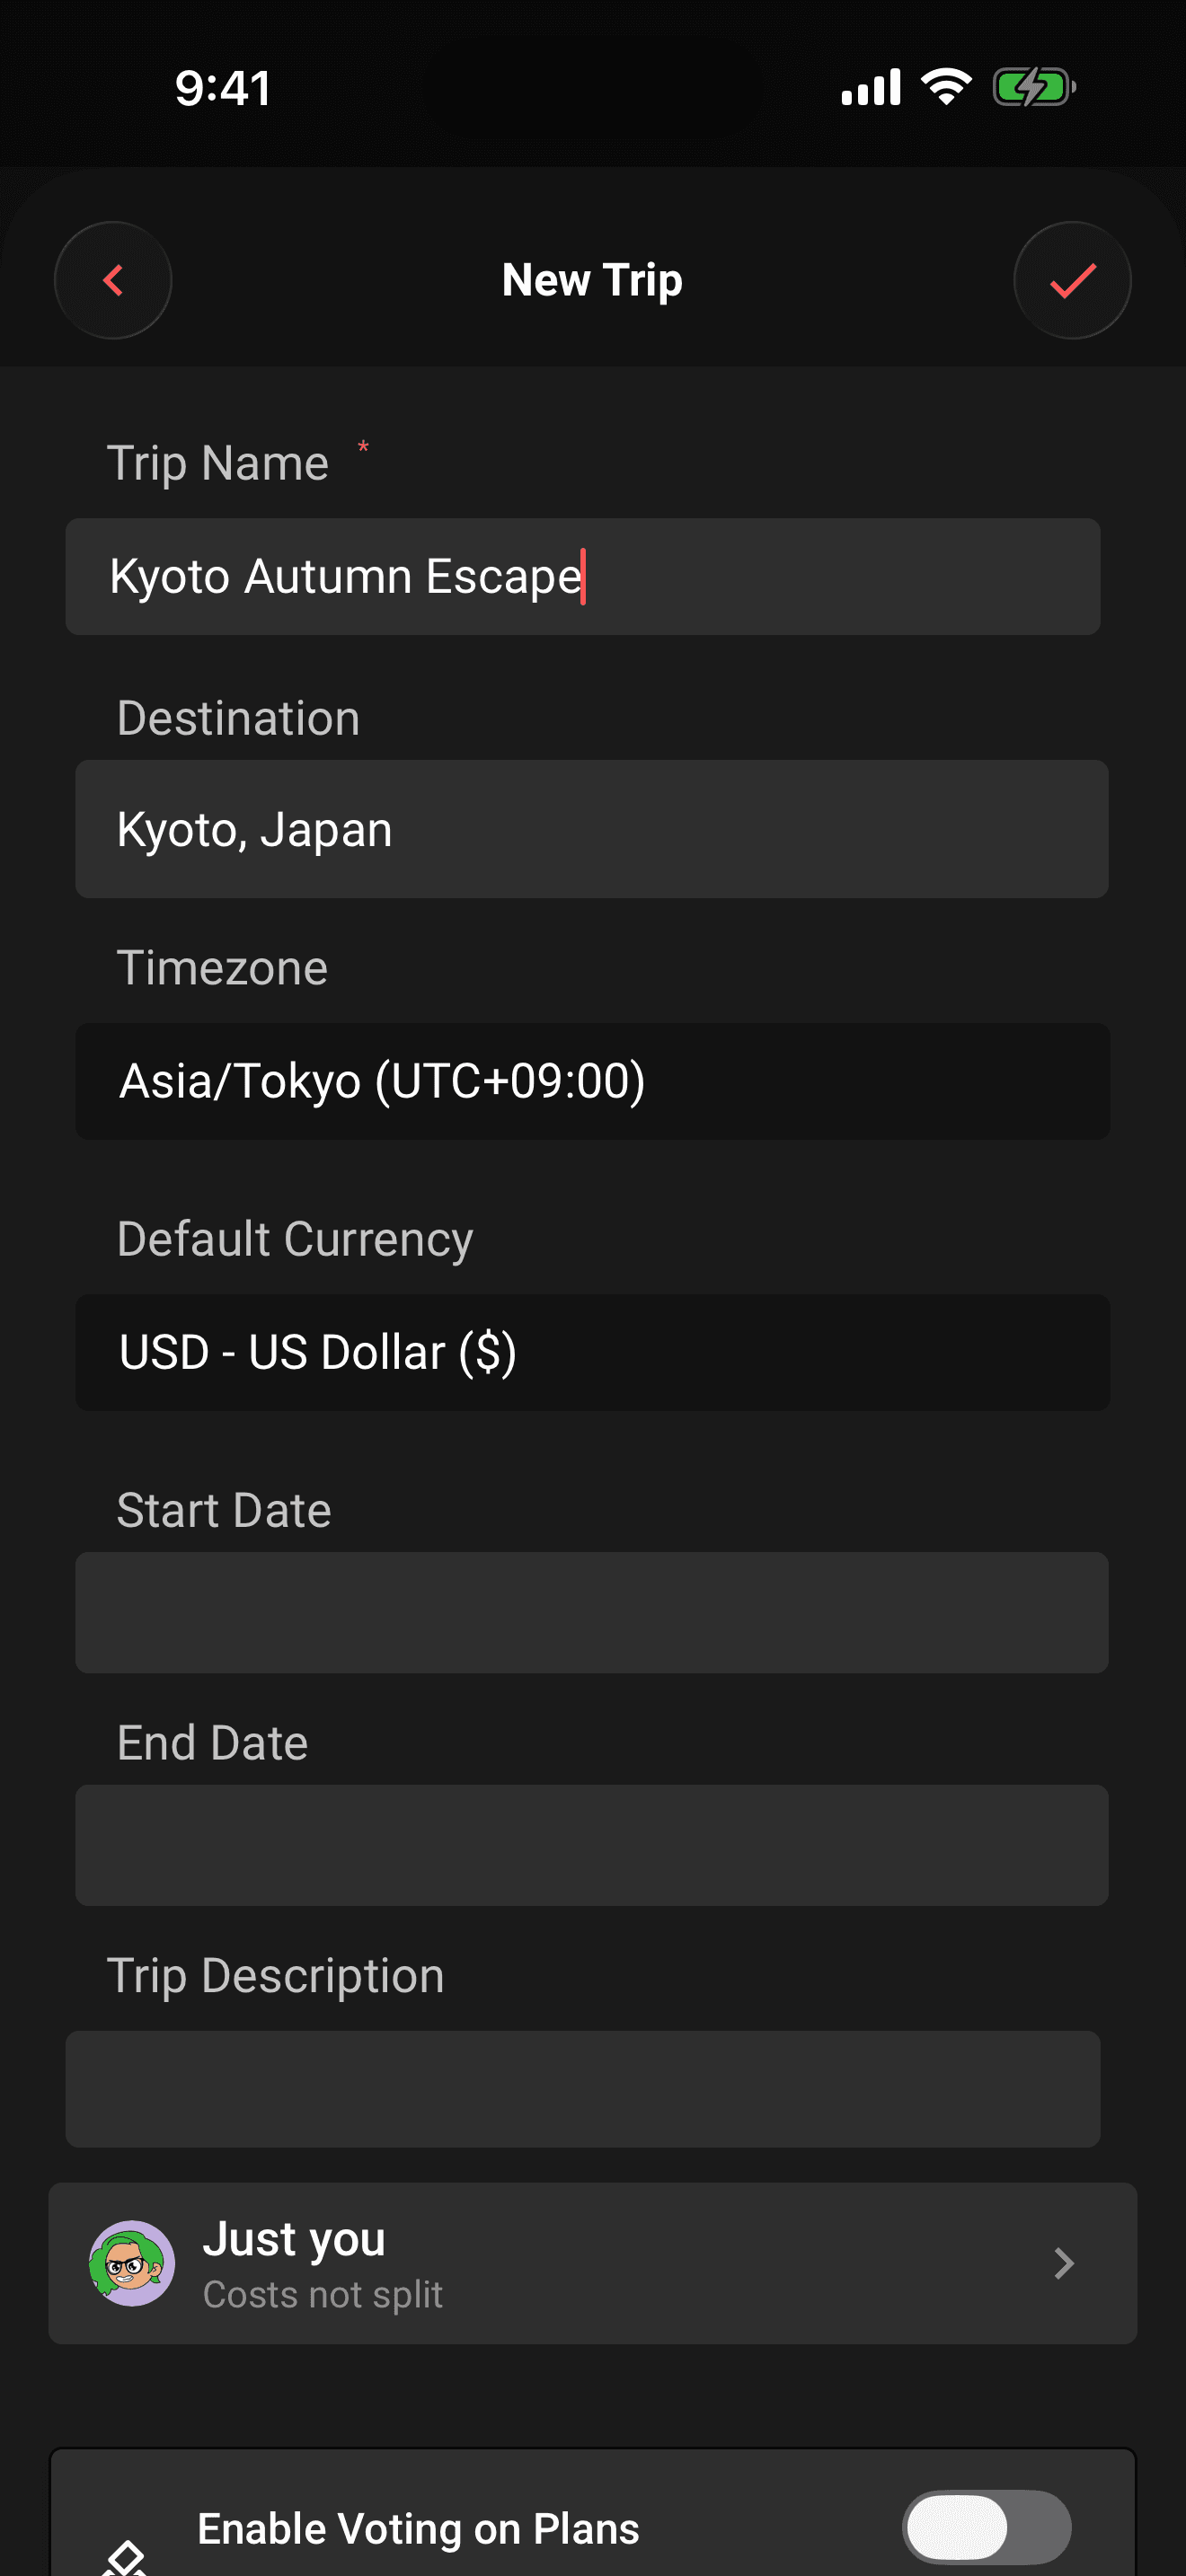
- 2Give the trip a name. Pick a destination from the suggestions if the crew has decided; destination is optional.
- 3Add start and end dates if you know them. You can leave them off and add them later by opening the trip's gear menu and editing the trip.
- 4Check the timezone and default currency, they're pre-filled from your device.
- 5Switch on Voting so plans can be proposed as ballots.
- 6Tap the checkmark in the top-right corner.
Creating a trip makes you its owner owner, you control the voting settings, the invite link, and who gets edit access. Every field is explained in Create a trip.
3. Invite your crew
There are two ways to get people onto the trip.
Share an invite link, the fast way:
- 1Open the trip, tap the gear beside the trip name, and choose Invite by link.
- 2Limbo creates a six-character join code and opens the share sheet, send the link through any messaging app.
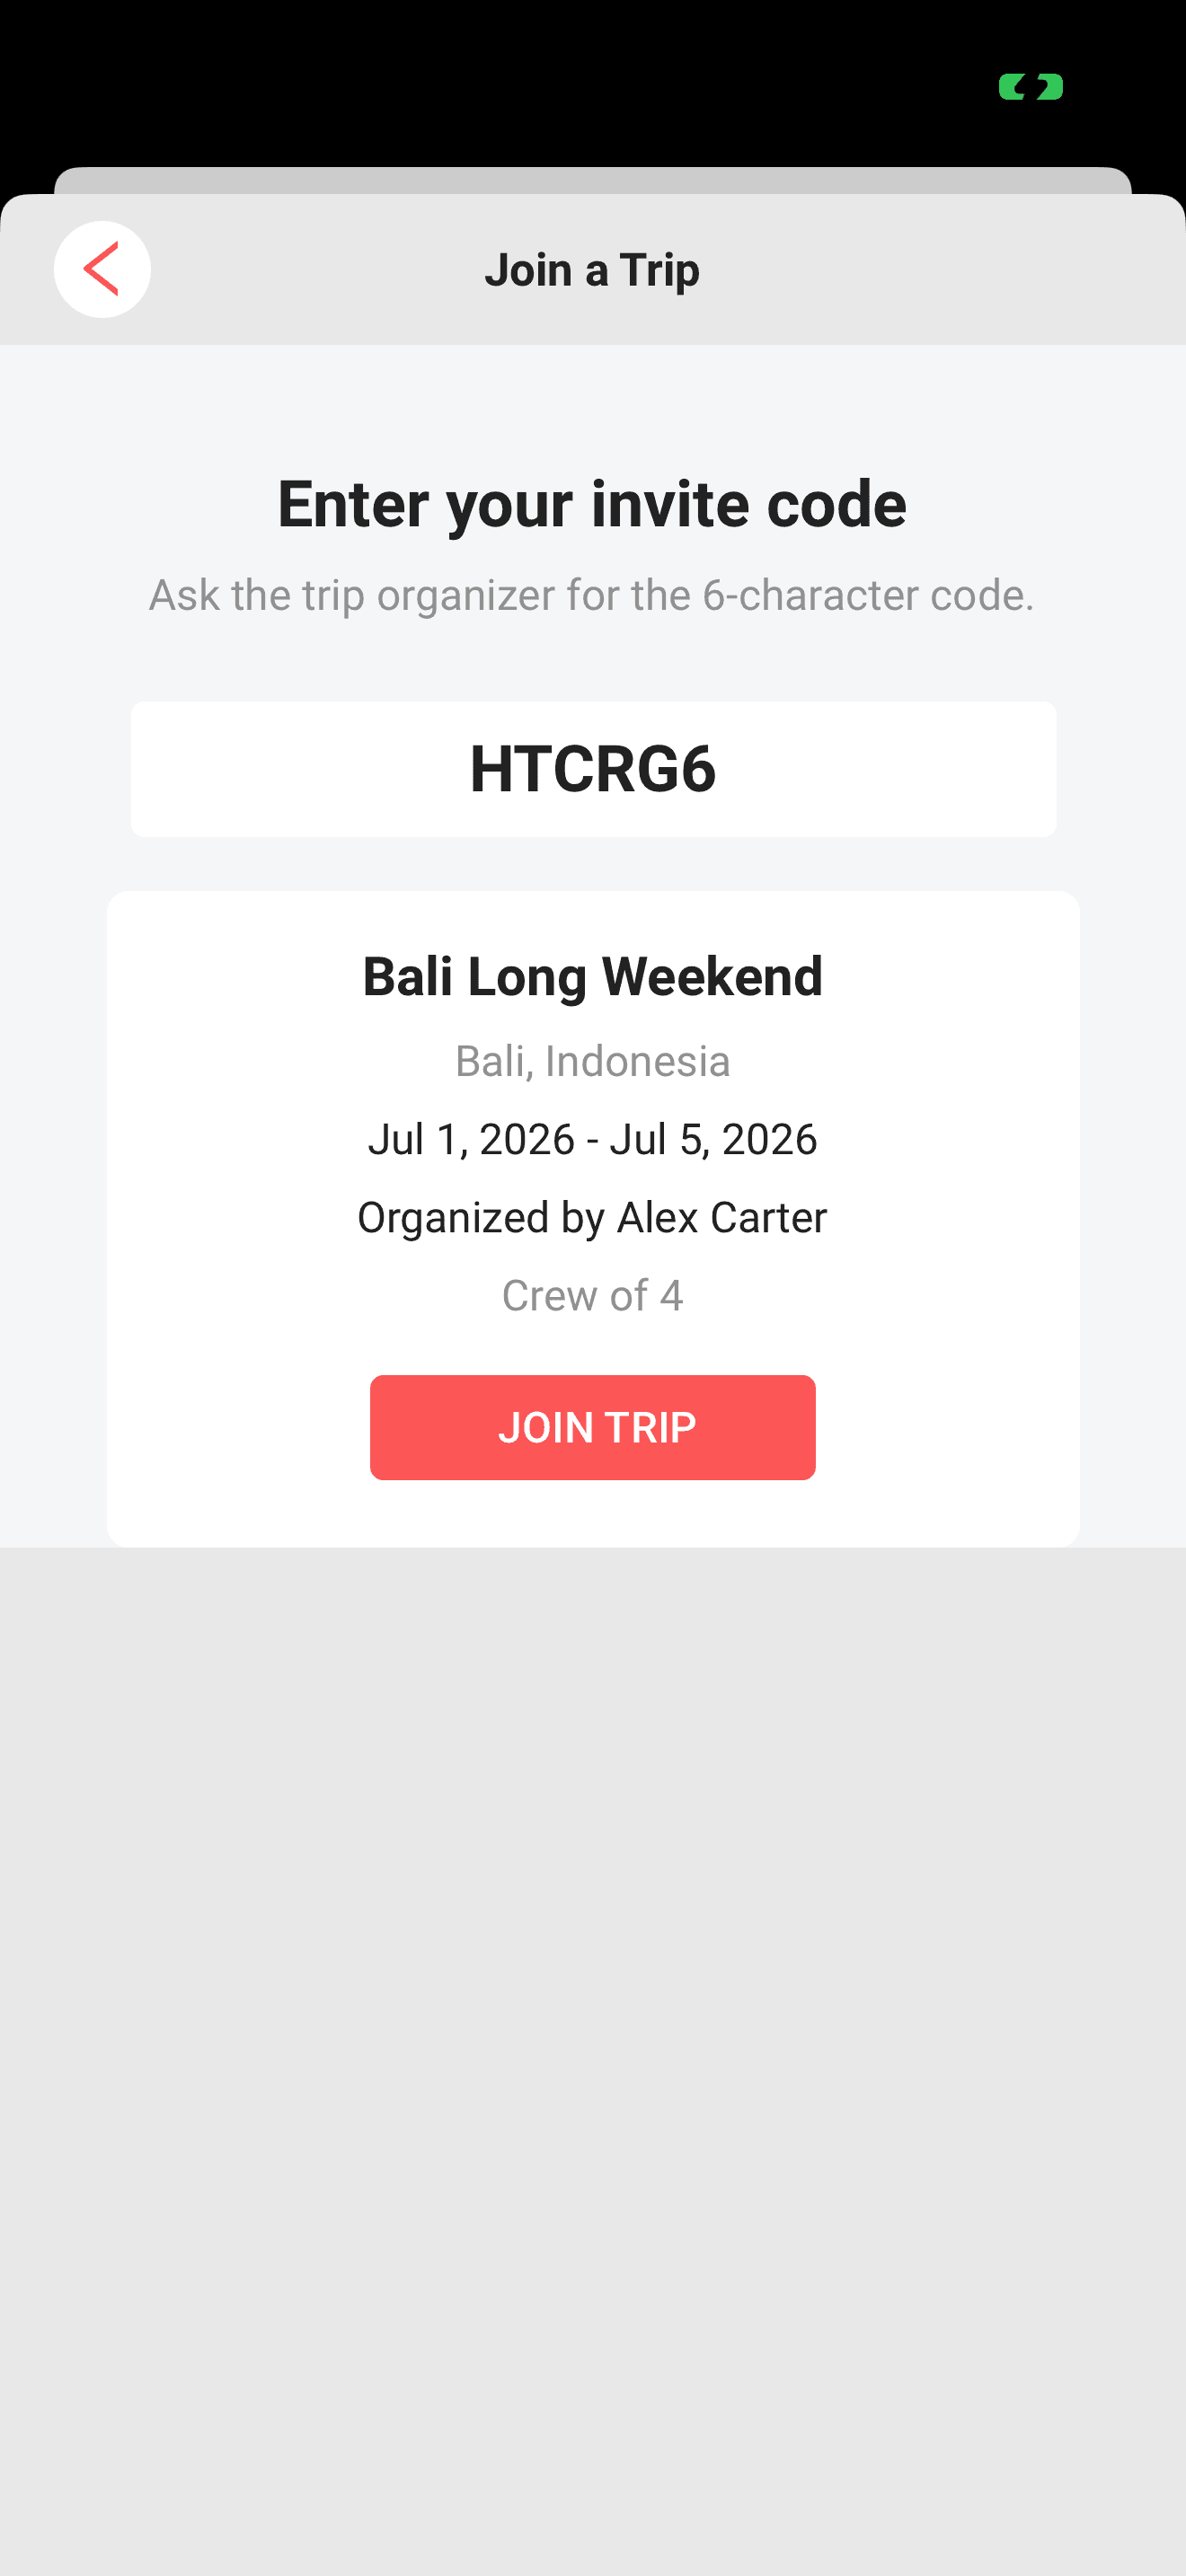
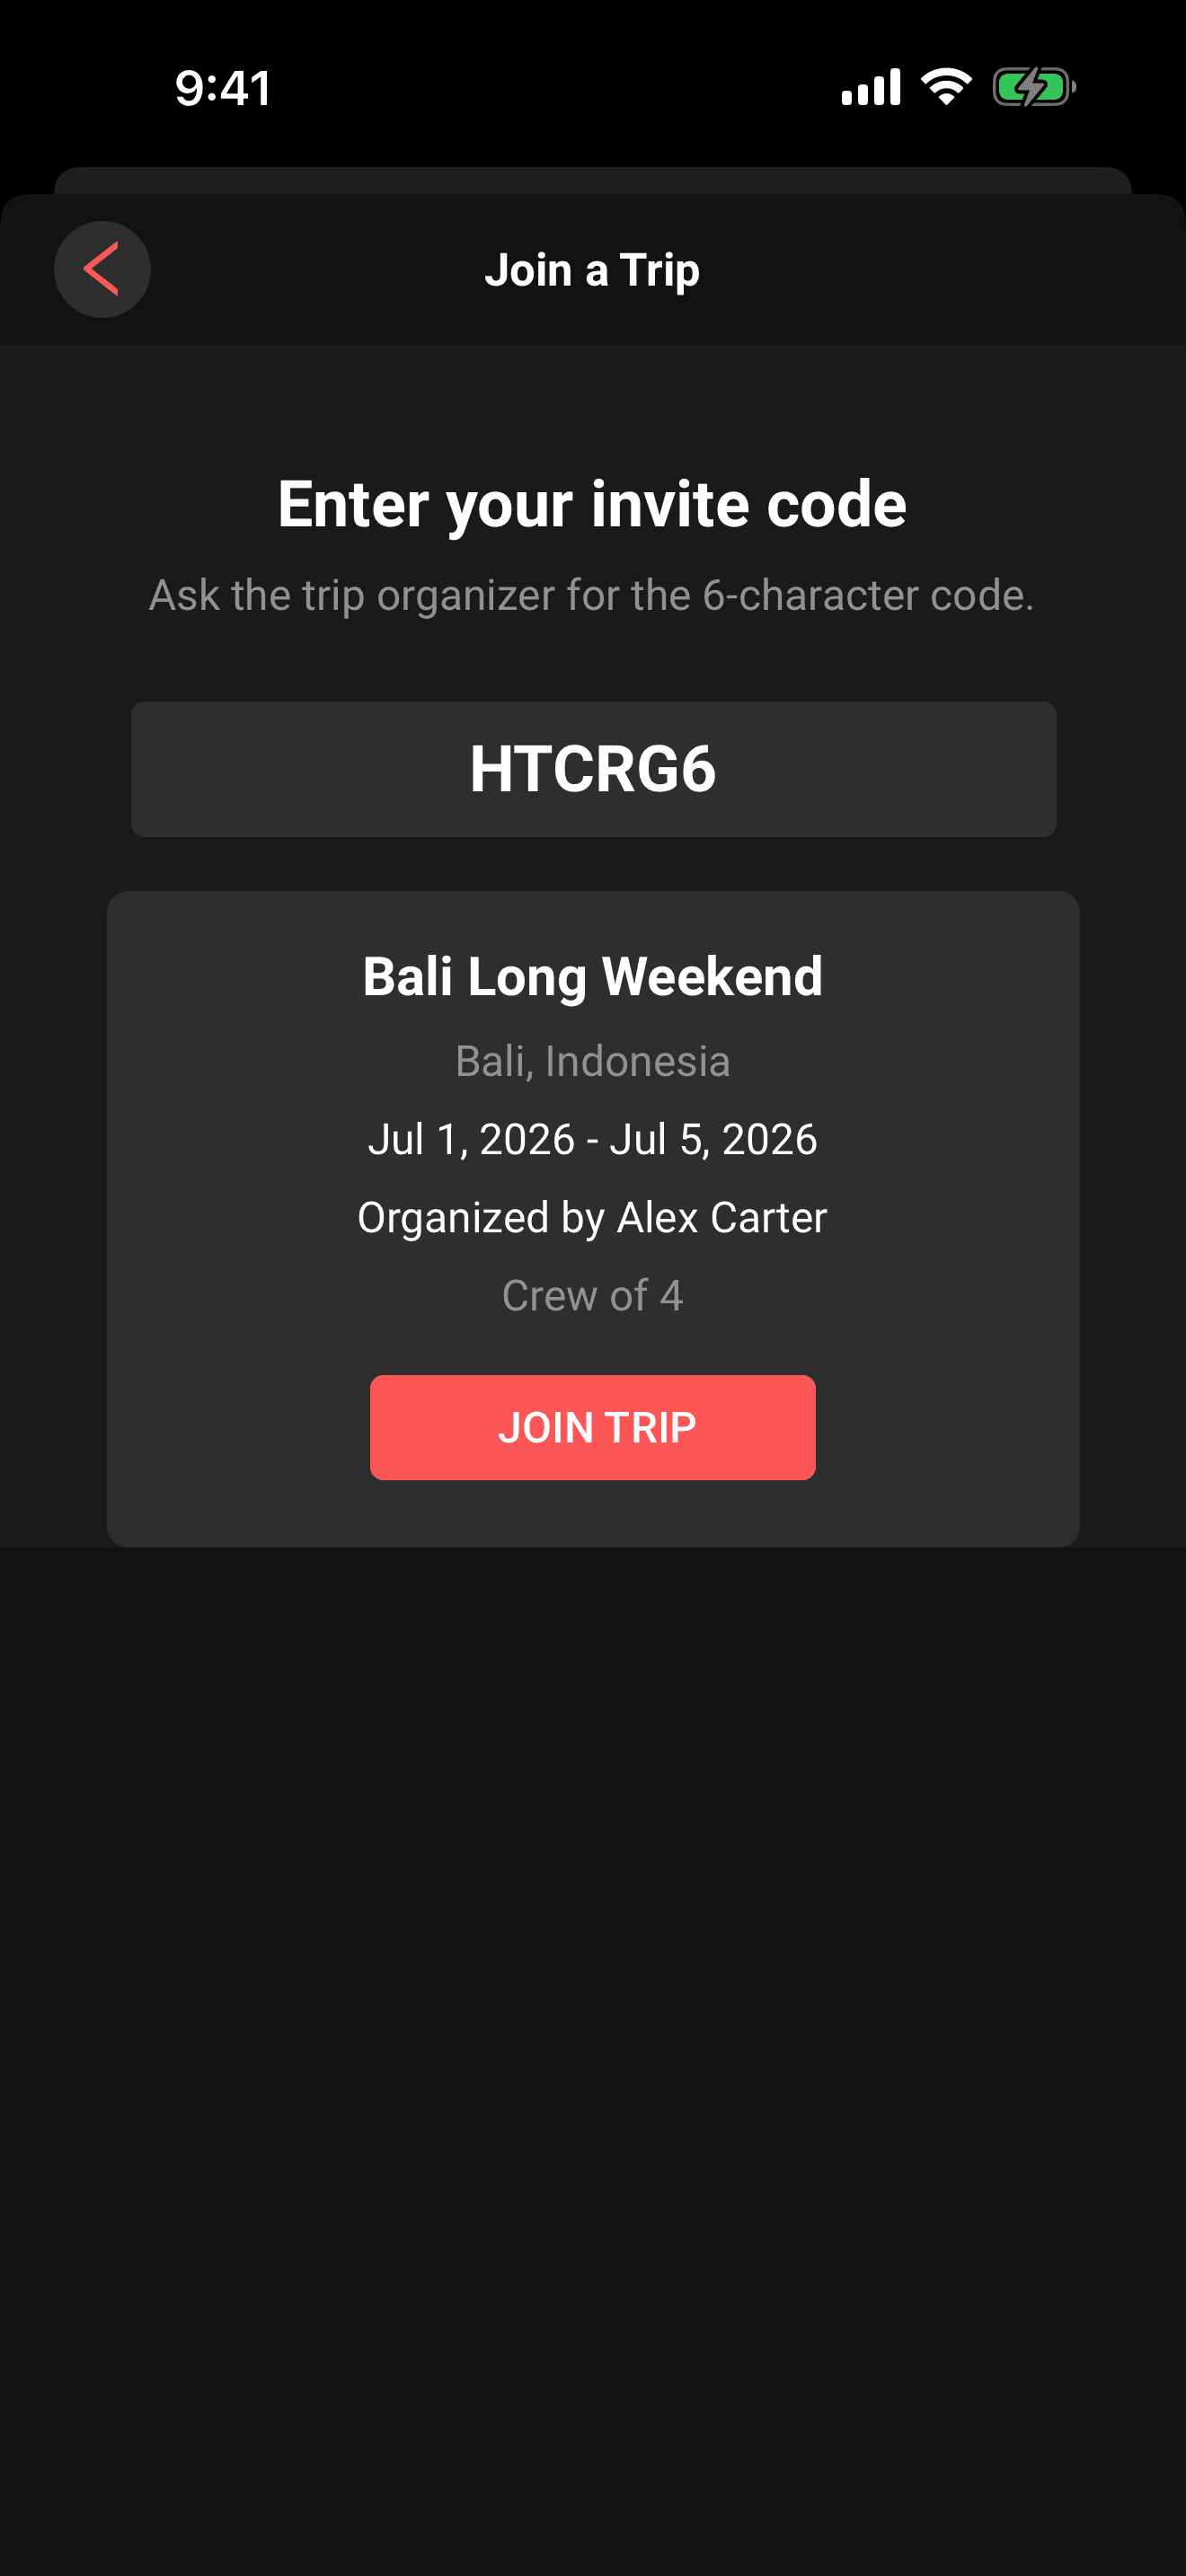
- 3Your friends tap the link, or choose Add trip → Have an invite code? → Join a trip on their own Home screen and type the code.
- 4They see a preview of the trip (name, destination, dates, and who's already in) then tap Join.
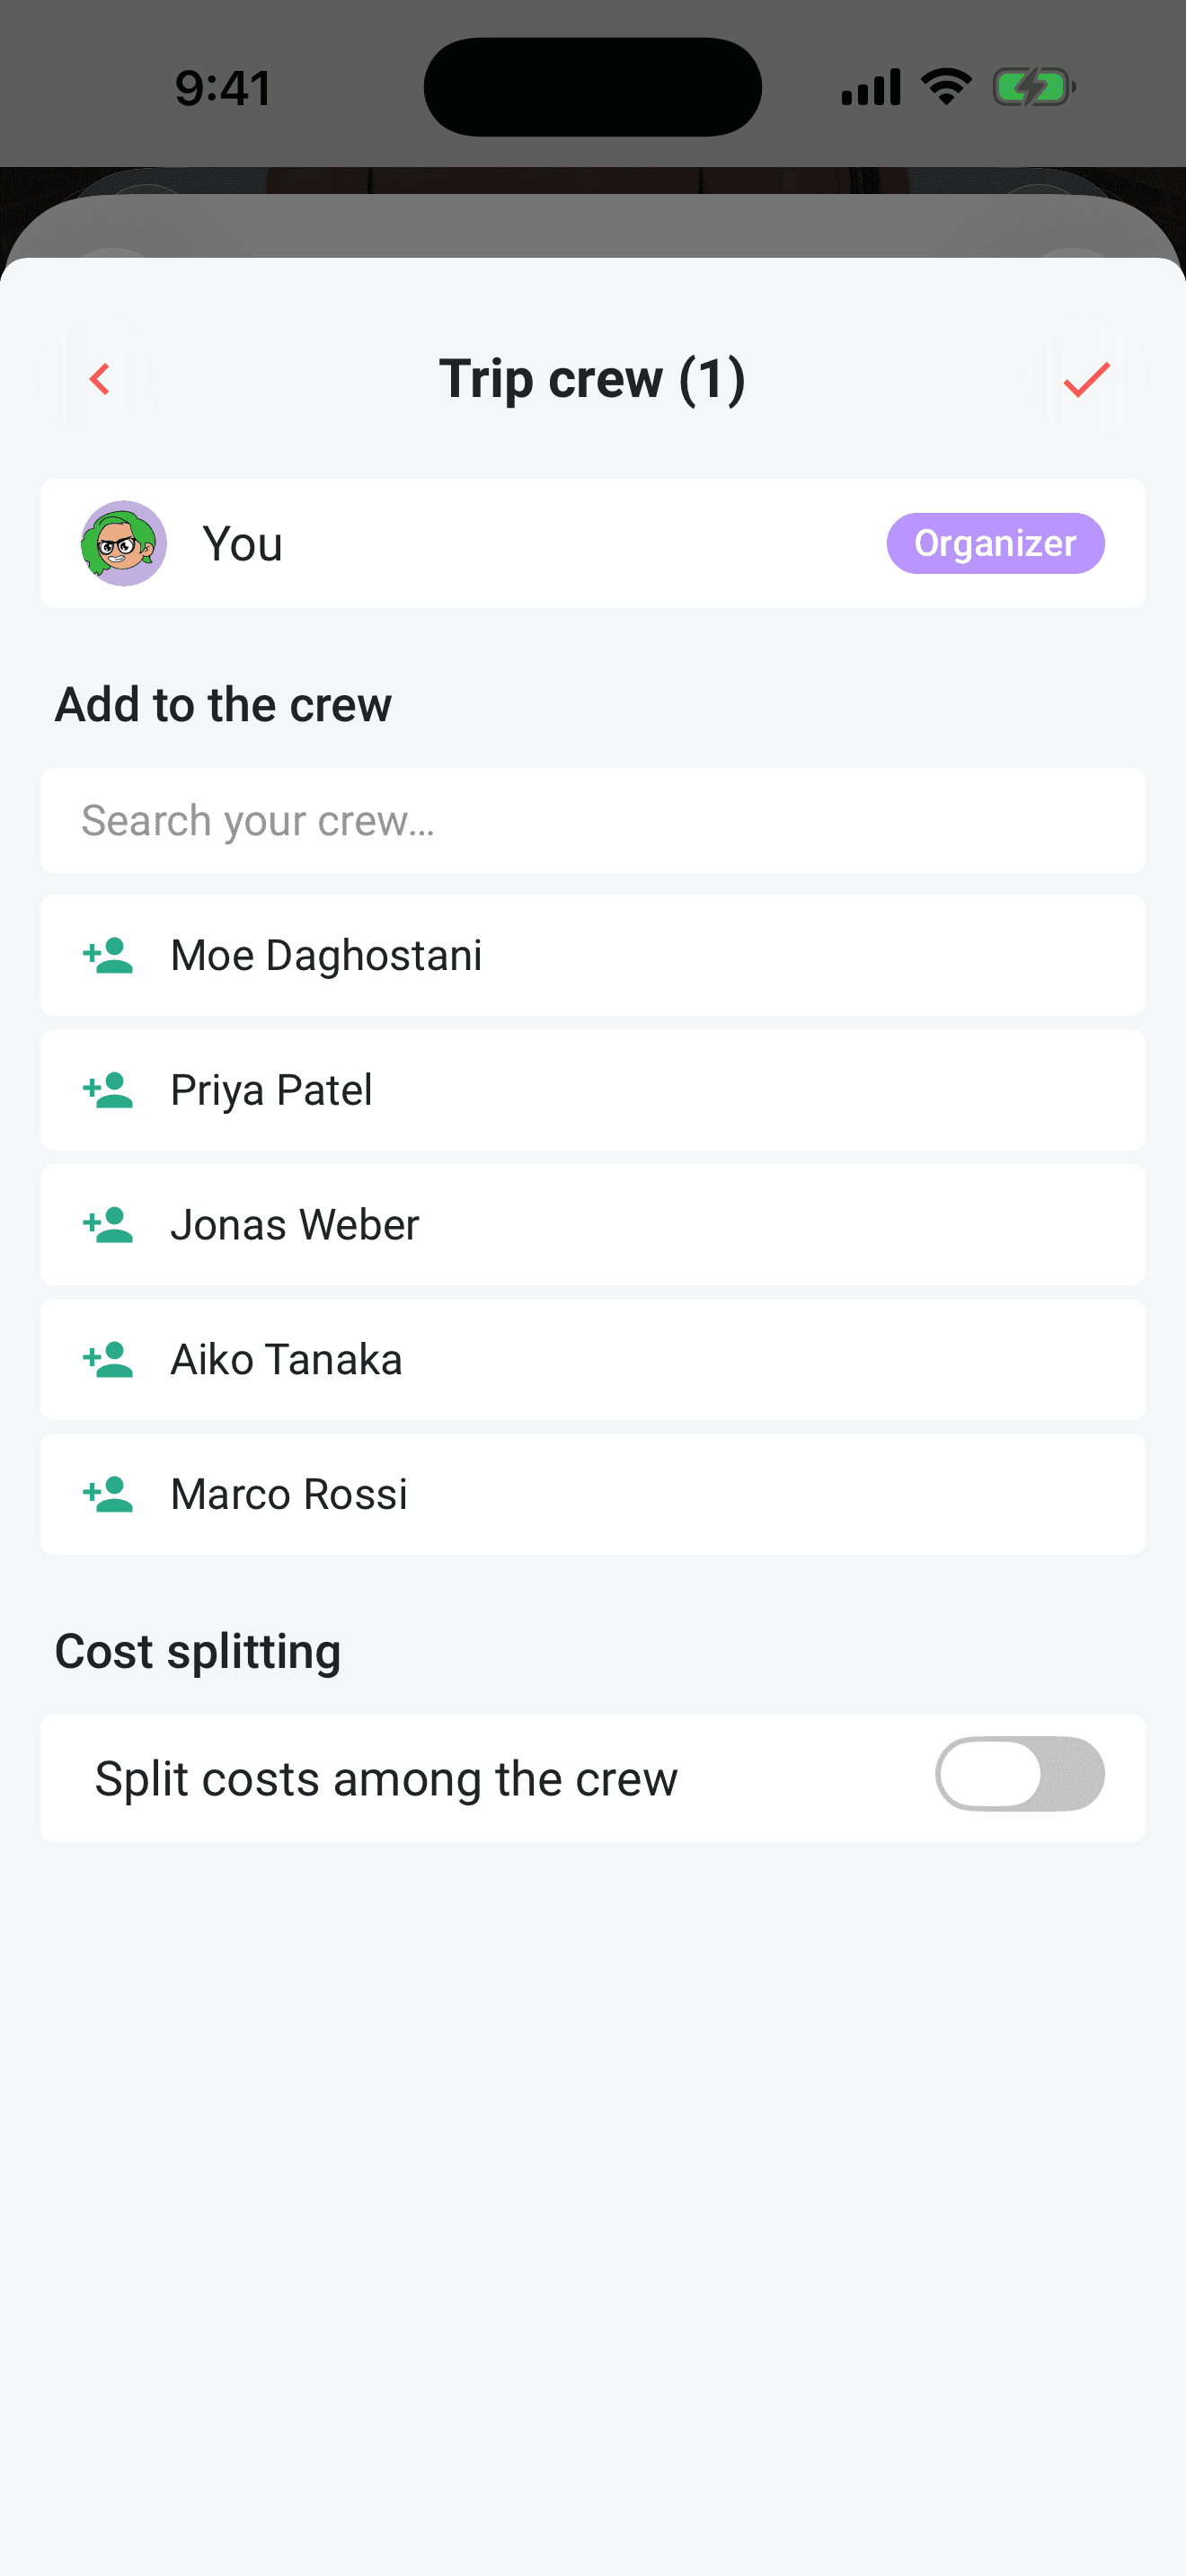
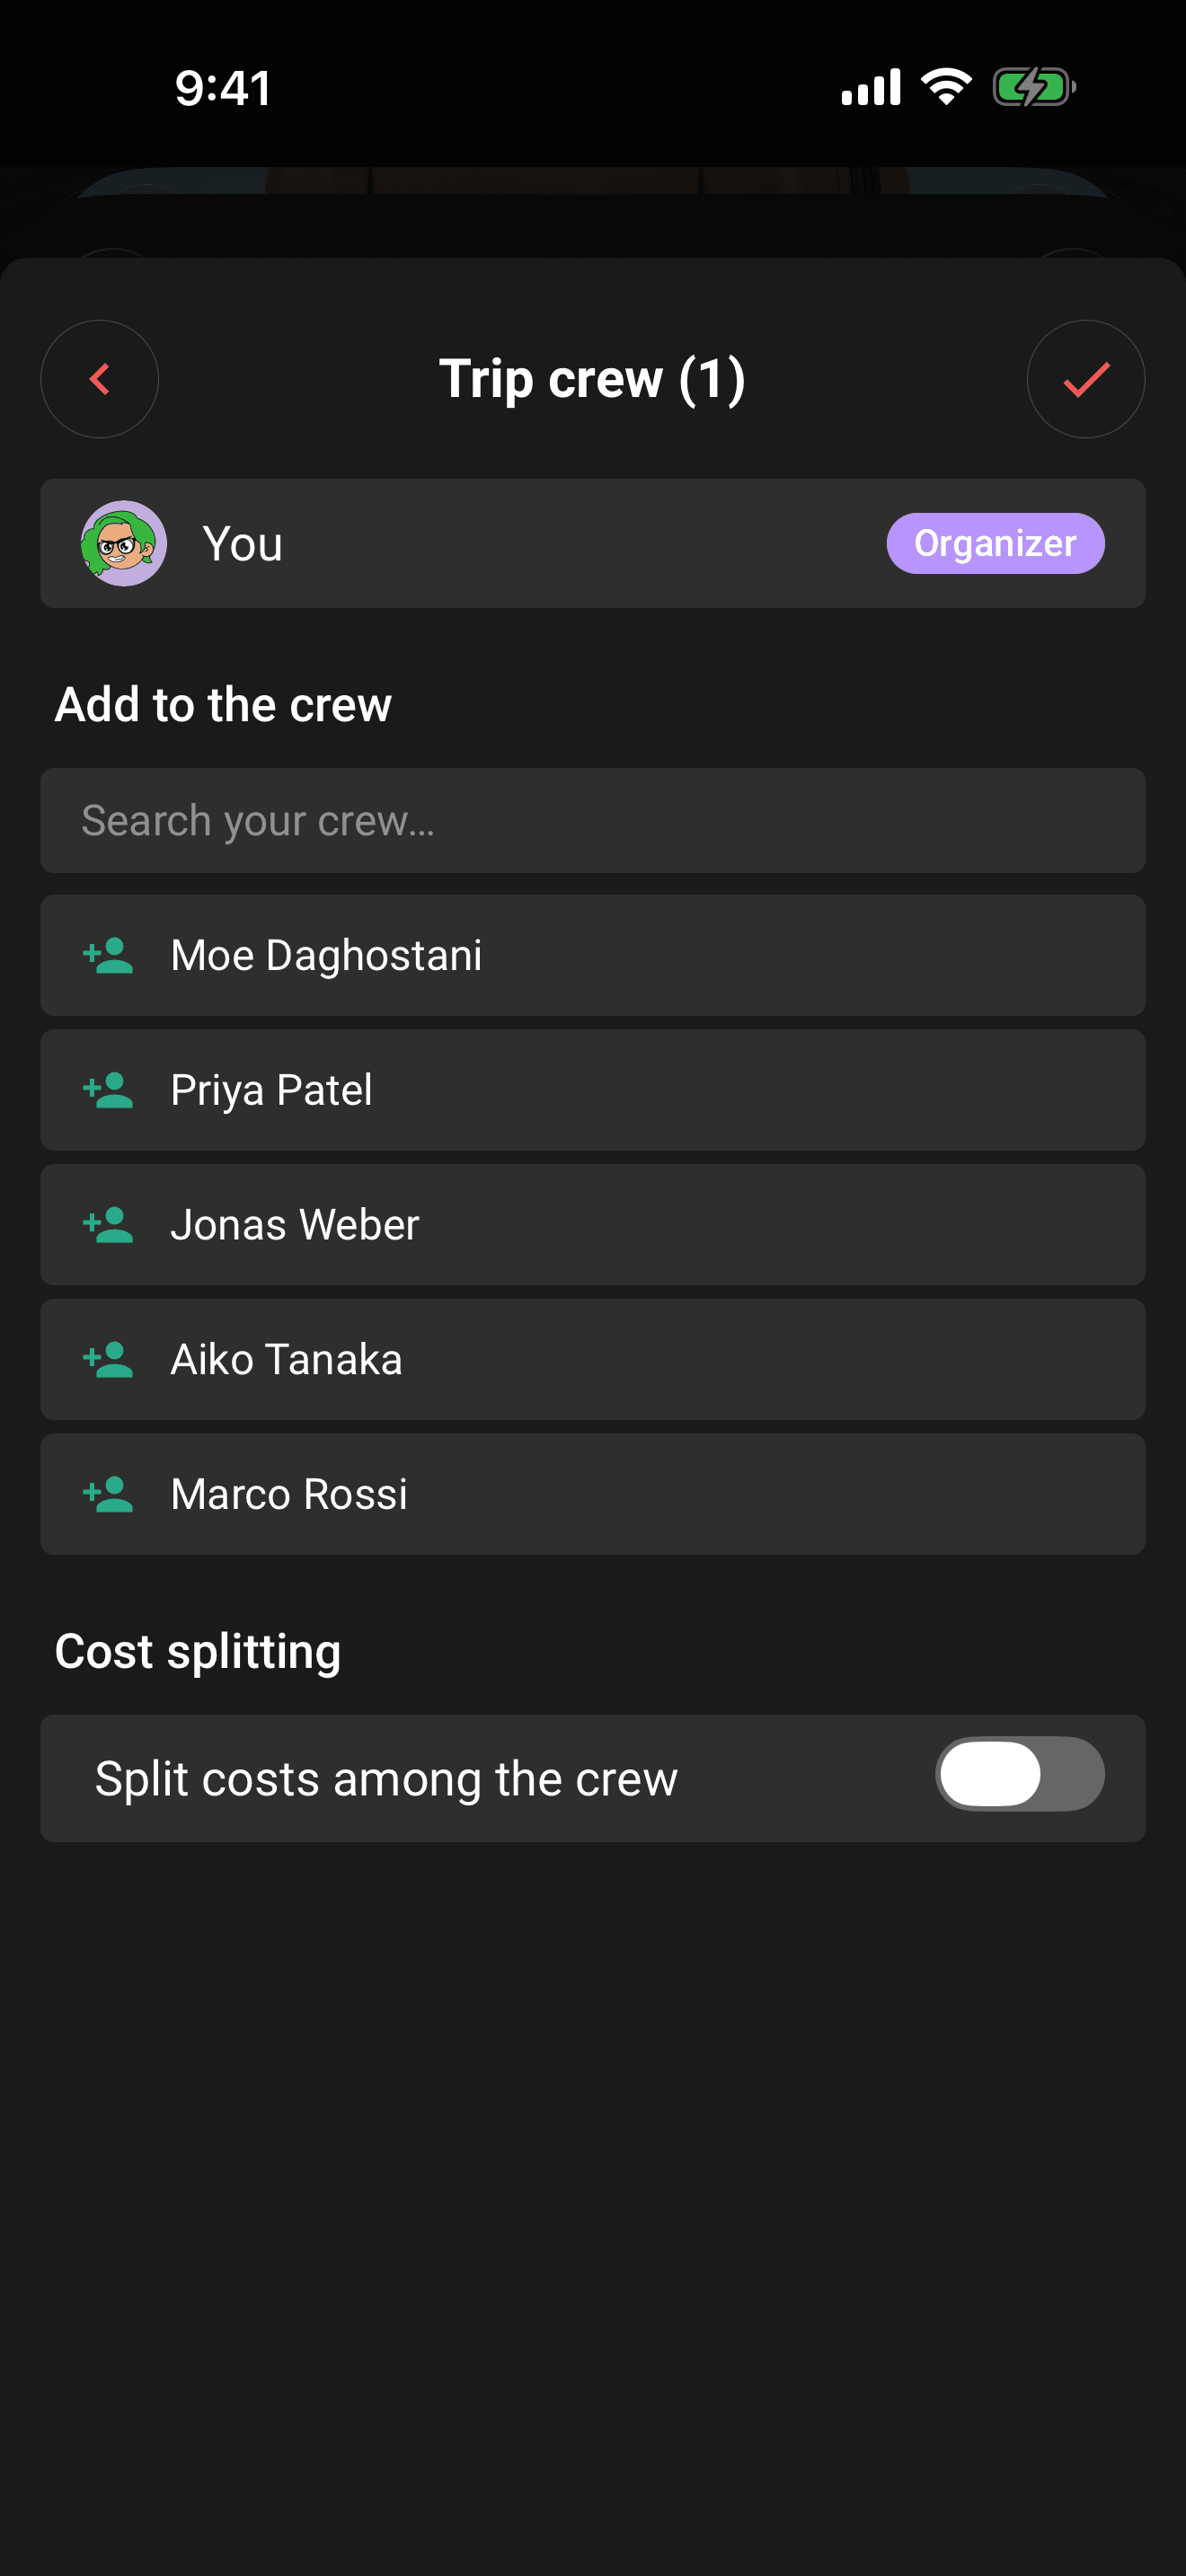
Add crew members directly, open the trip and tap the crew circle in the Hub's quick-action row. Add each person by name; include their email address and Limbo sends them an invite.
Only the trip owner owner can create or revoke the invite link, and creating one needs an internet connection. Organizers organizer can add crew members directly. Anyone with a valid code can join.
4. Add your first plans
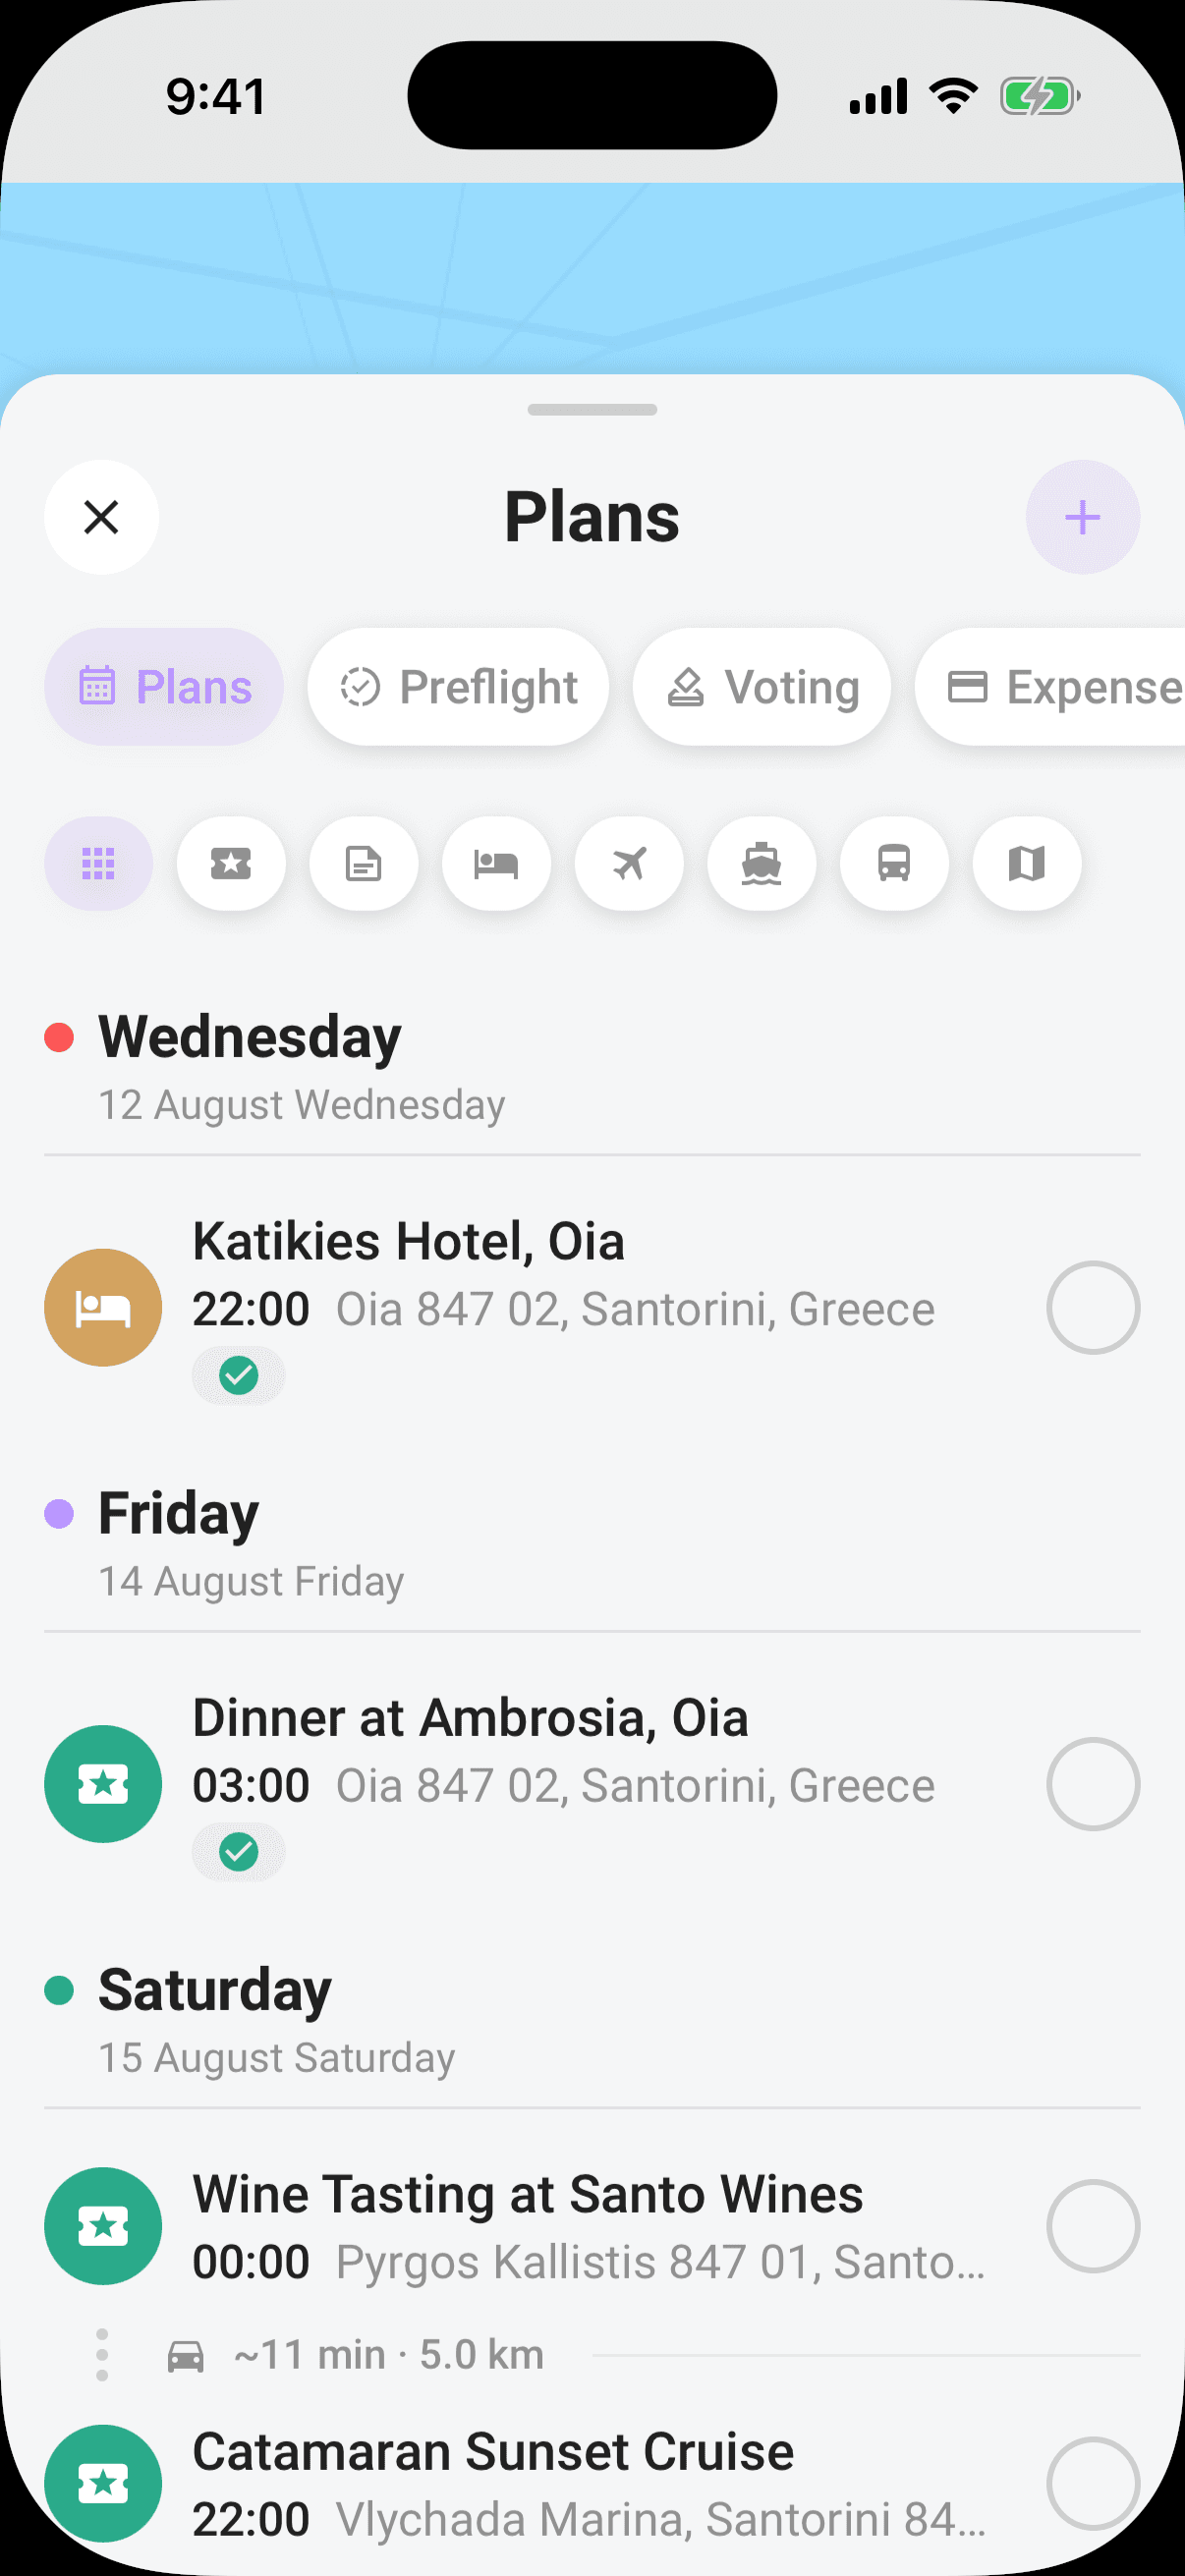
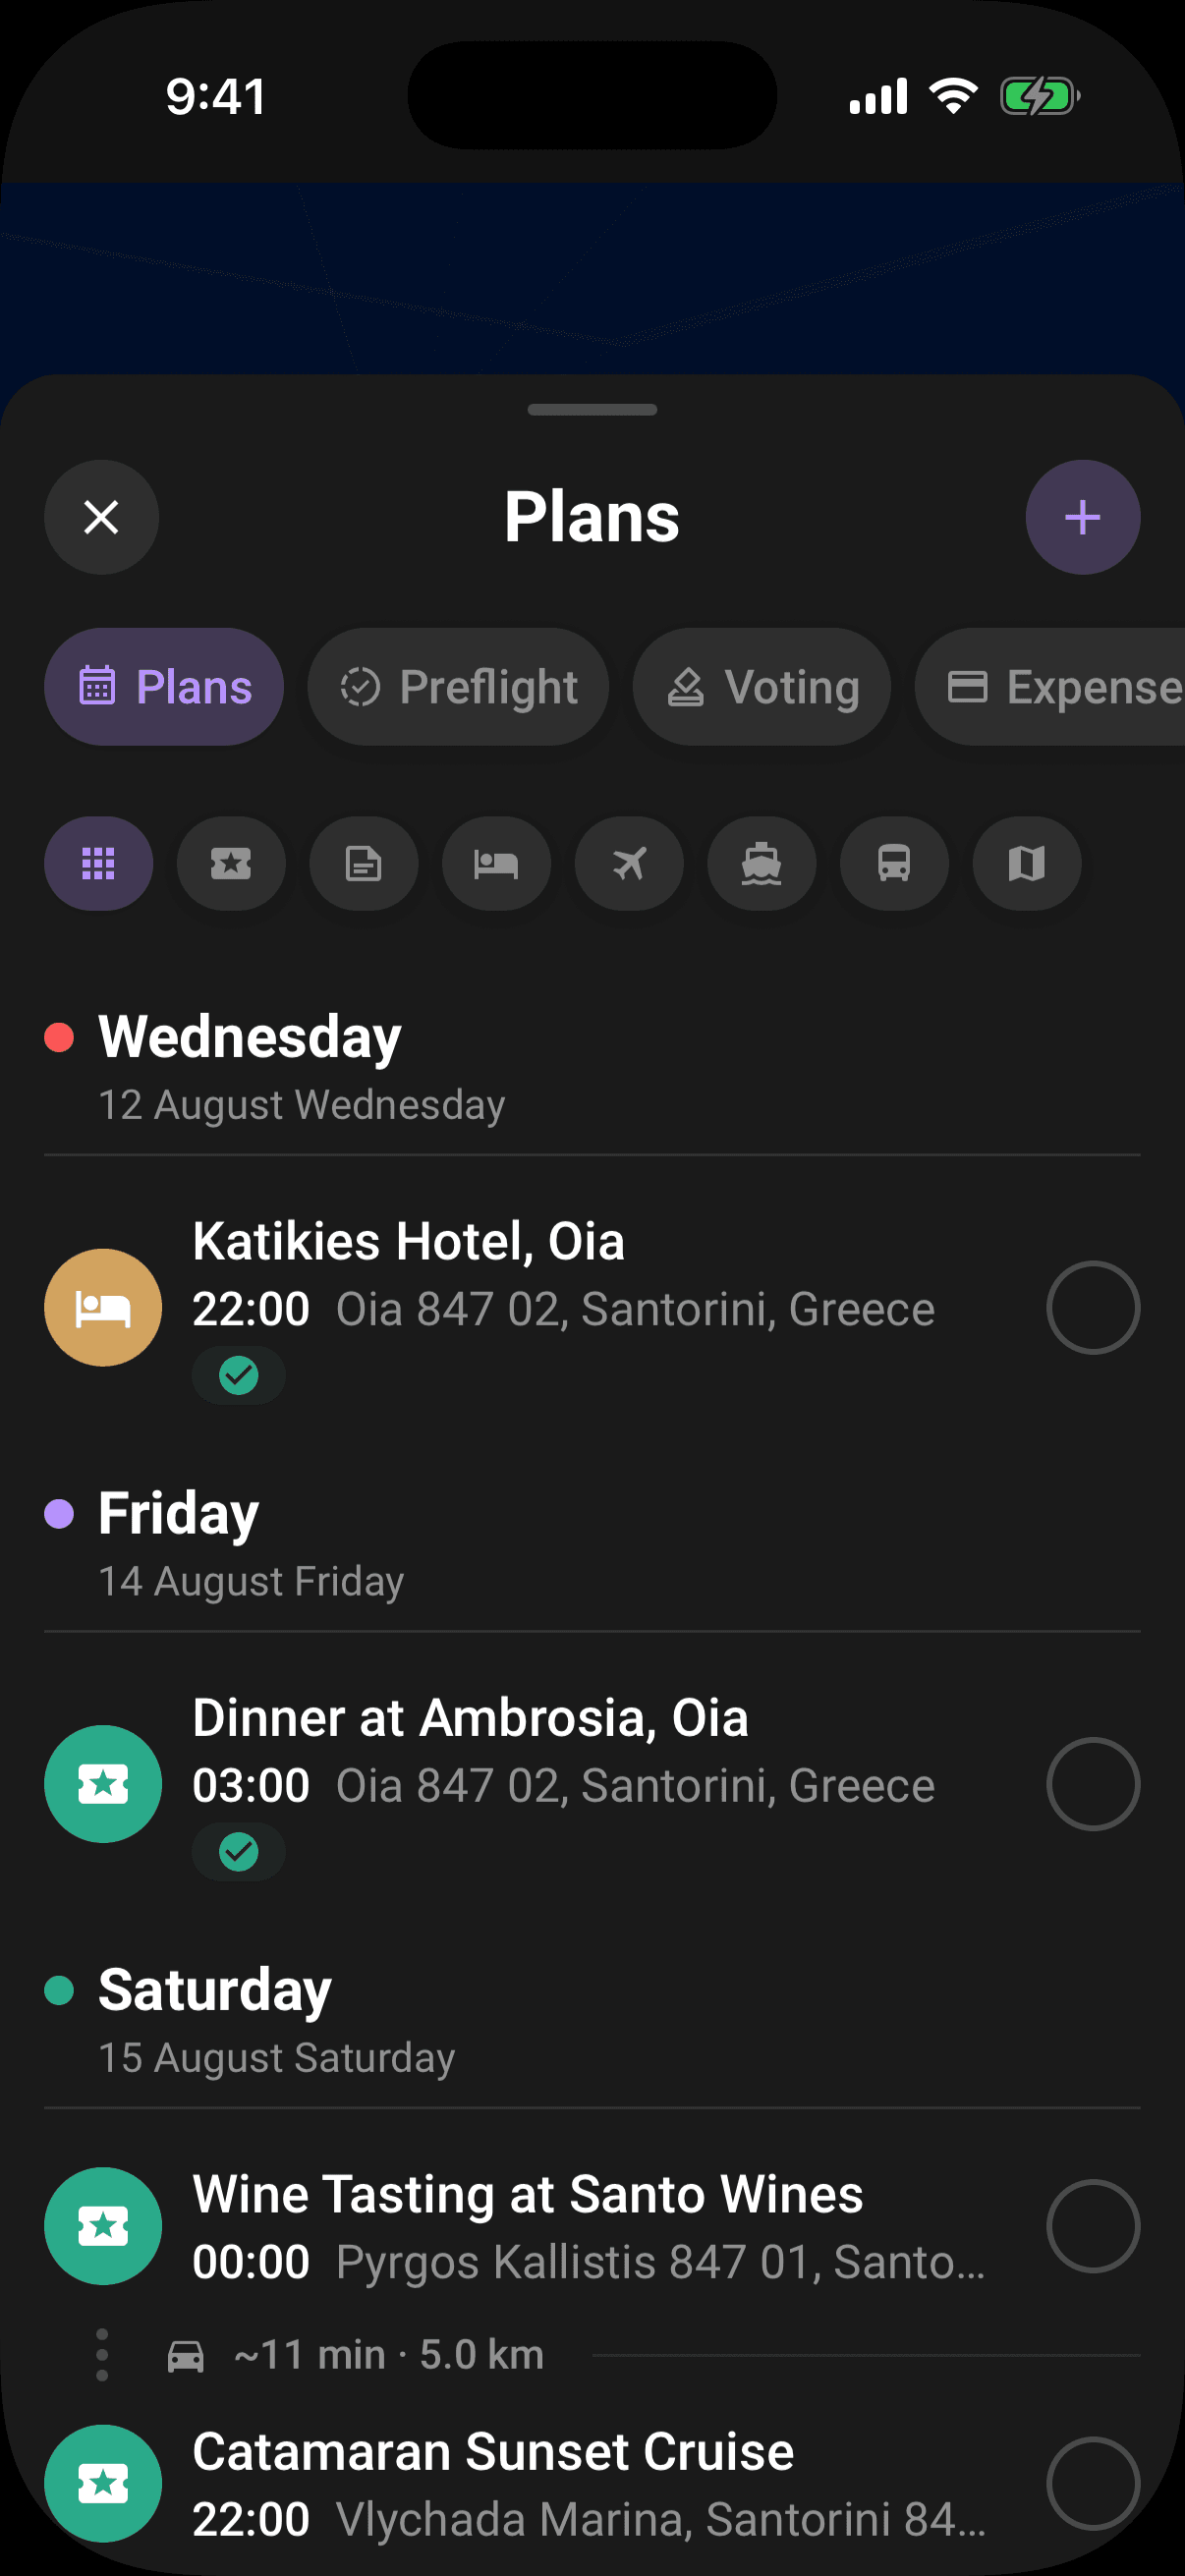
- 1Open the trip. It lands on the map-first Hub, with quick actions pinned at the top of the draggable sheet.
- 2Tap the + quick action, or tap the Plans tile and then the + in the section header.
- 3Pick a type: accommodation, flight, activity, transport, tour, cruise, or note.
- 4Fill in the required fields for that plan type. Most place-based plans need a name and location; notes need a title and note text. Add a date, time, and cost when useful.
- 5Tap the checkmark in the top-right corner. The plan appears on its day and, when it has a location, on the map.
Adding and editing plans needs edit access: organizers have it automatically, and the owner can tick Edit for any non-organizer crew member from the participants sheet.
Tip
5. Propose a plan for a vote
This is where Limbo stops being a list app. Instead of adding "Sunrise hike, 5 AM" and bracing for the group chat, you put it on the ballot.
- 1Add a plan to a trip that has Voting enabled. The form shows a notice that group voting is required; there is no per-plan voting switch.
- 2Save the plan. It opens as a ballot instead of going straight into the confirmed Plans timeline.
- 3Your eligible crew is notified that there's a decision waiting for them.
Each proposal gets a deadline from the trip's voting settings: either a rolling window (a set number of days after the proposal goes up) or a fixed date the owner chose. Proposing requires the same edit access as adding a plan, and the trip's Voting toggle must be on.
6. Vote, and watch the reveal
Your crew can vote Yes, No, or Abstain from three places: the Decisions inbox at the top of Home, a ballot card inside trip chat, or the trip's Voting section. To open it from the Hub, tap any section tile to raise the section sheet, then tap the Voting pill and stay on Votes.
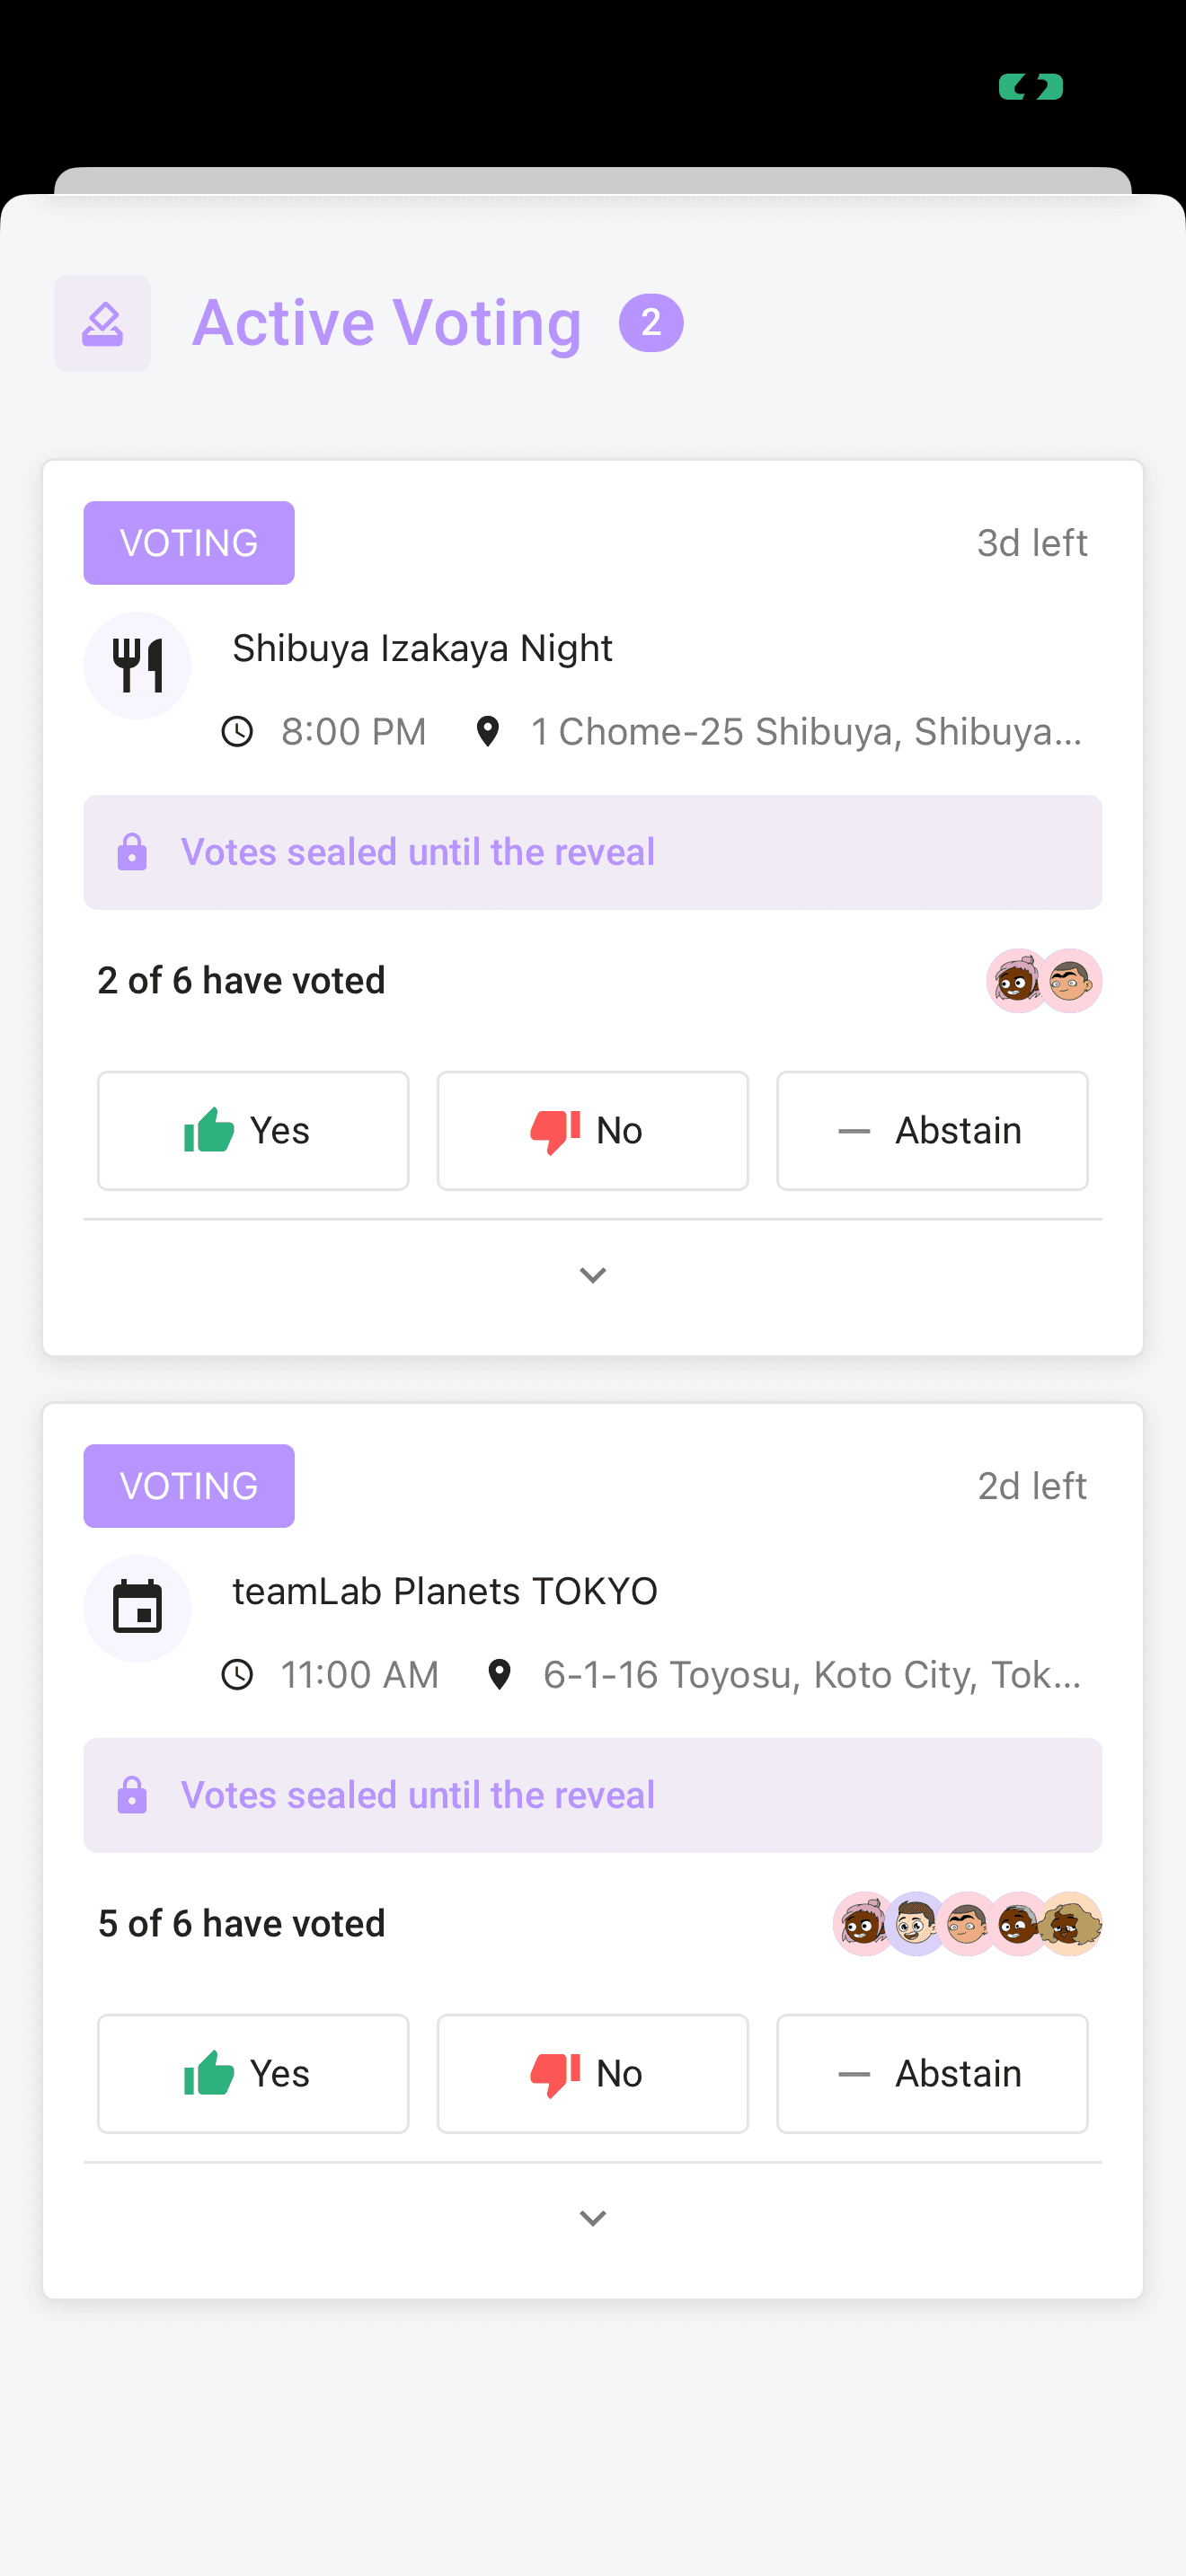
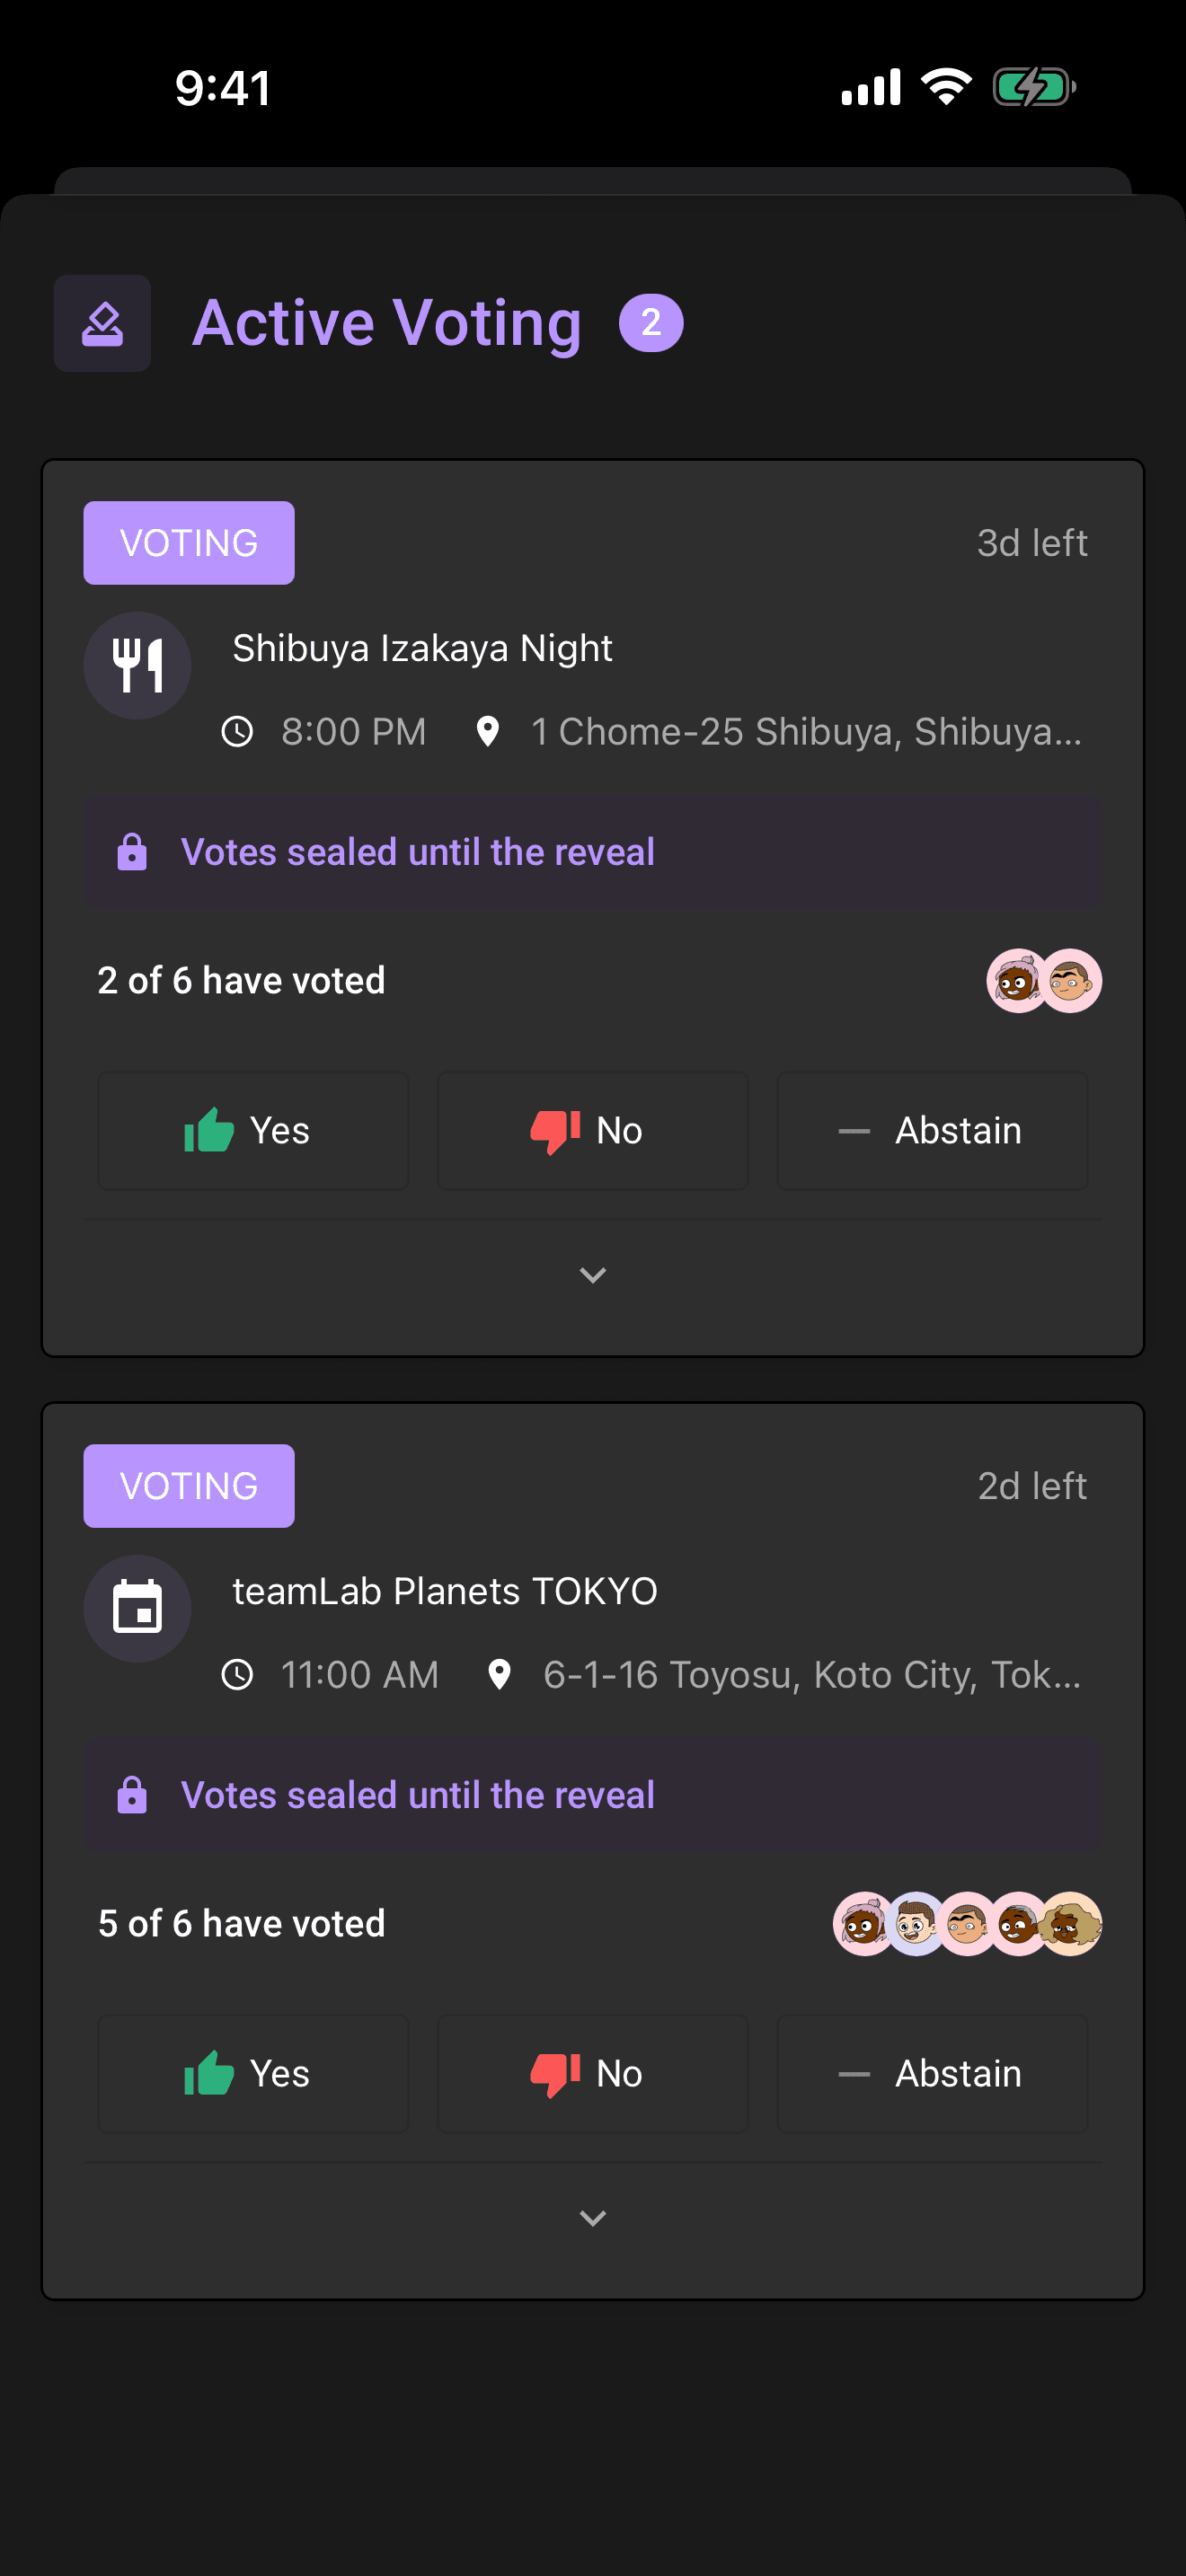
New ballots are sealed by default. While voting is open you can see who has voted, but not how anyone voted, only your own vote is visible to you. Tap a choice to cast your vote, you can switch to a different choice any time while the ballot is open. No anchoring, no peer pressure.
A sealed ballot closes when everyone eligible has voted or the deadline passes. If the trip's minimum-participation rule is not met by the deadline, it closes awaiting an organizer's decision instead of revealing a verdict automatically.
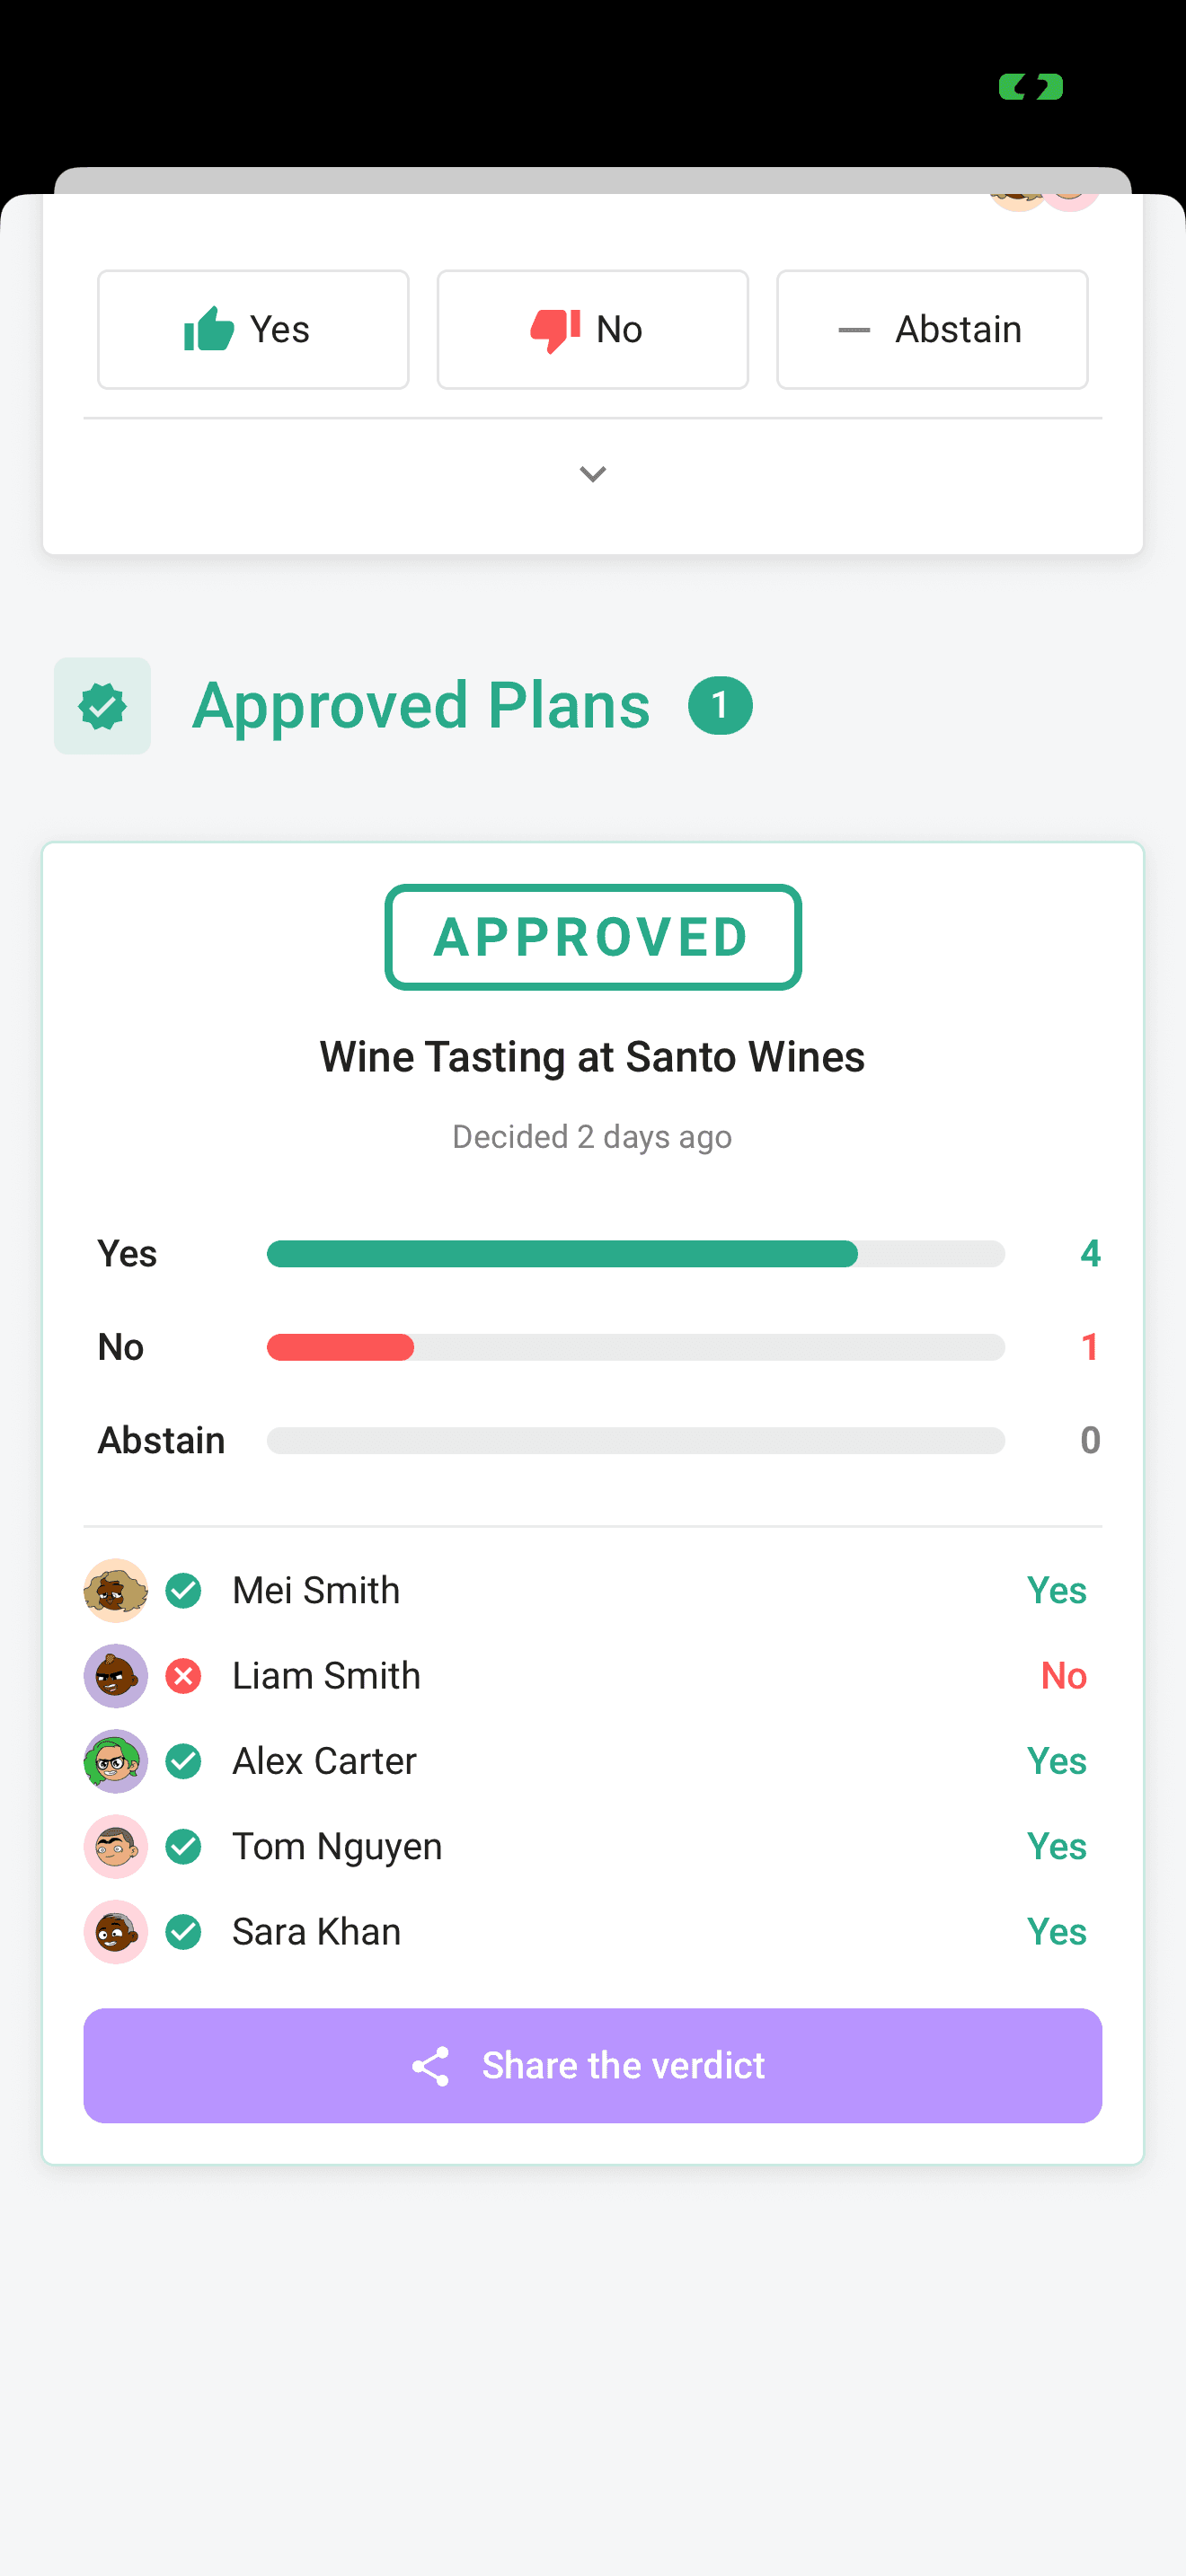
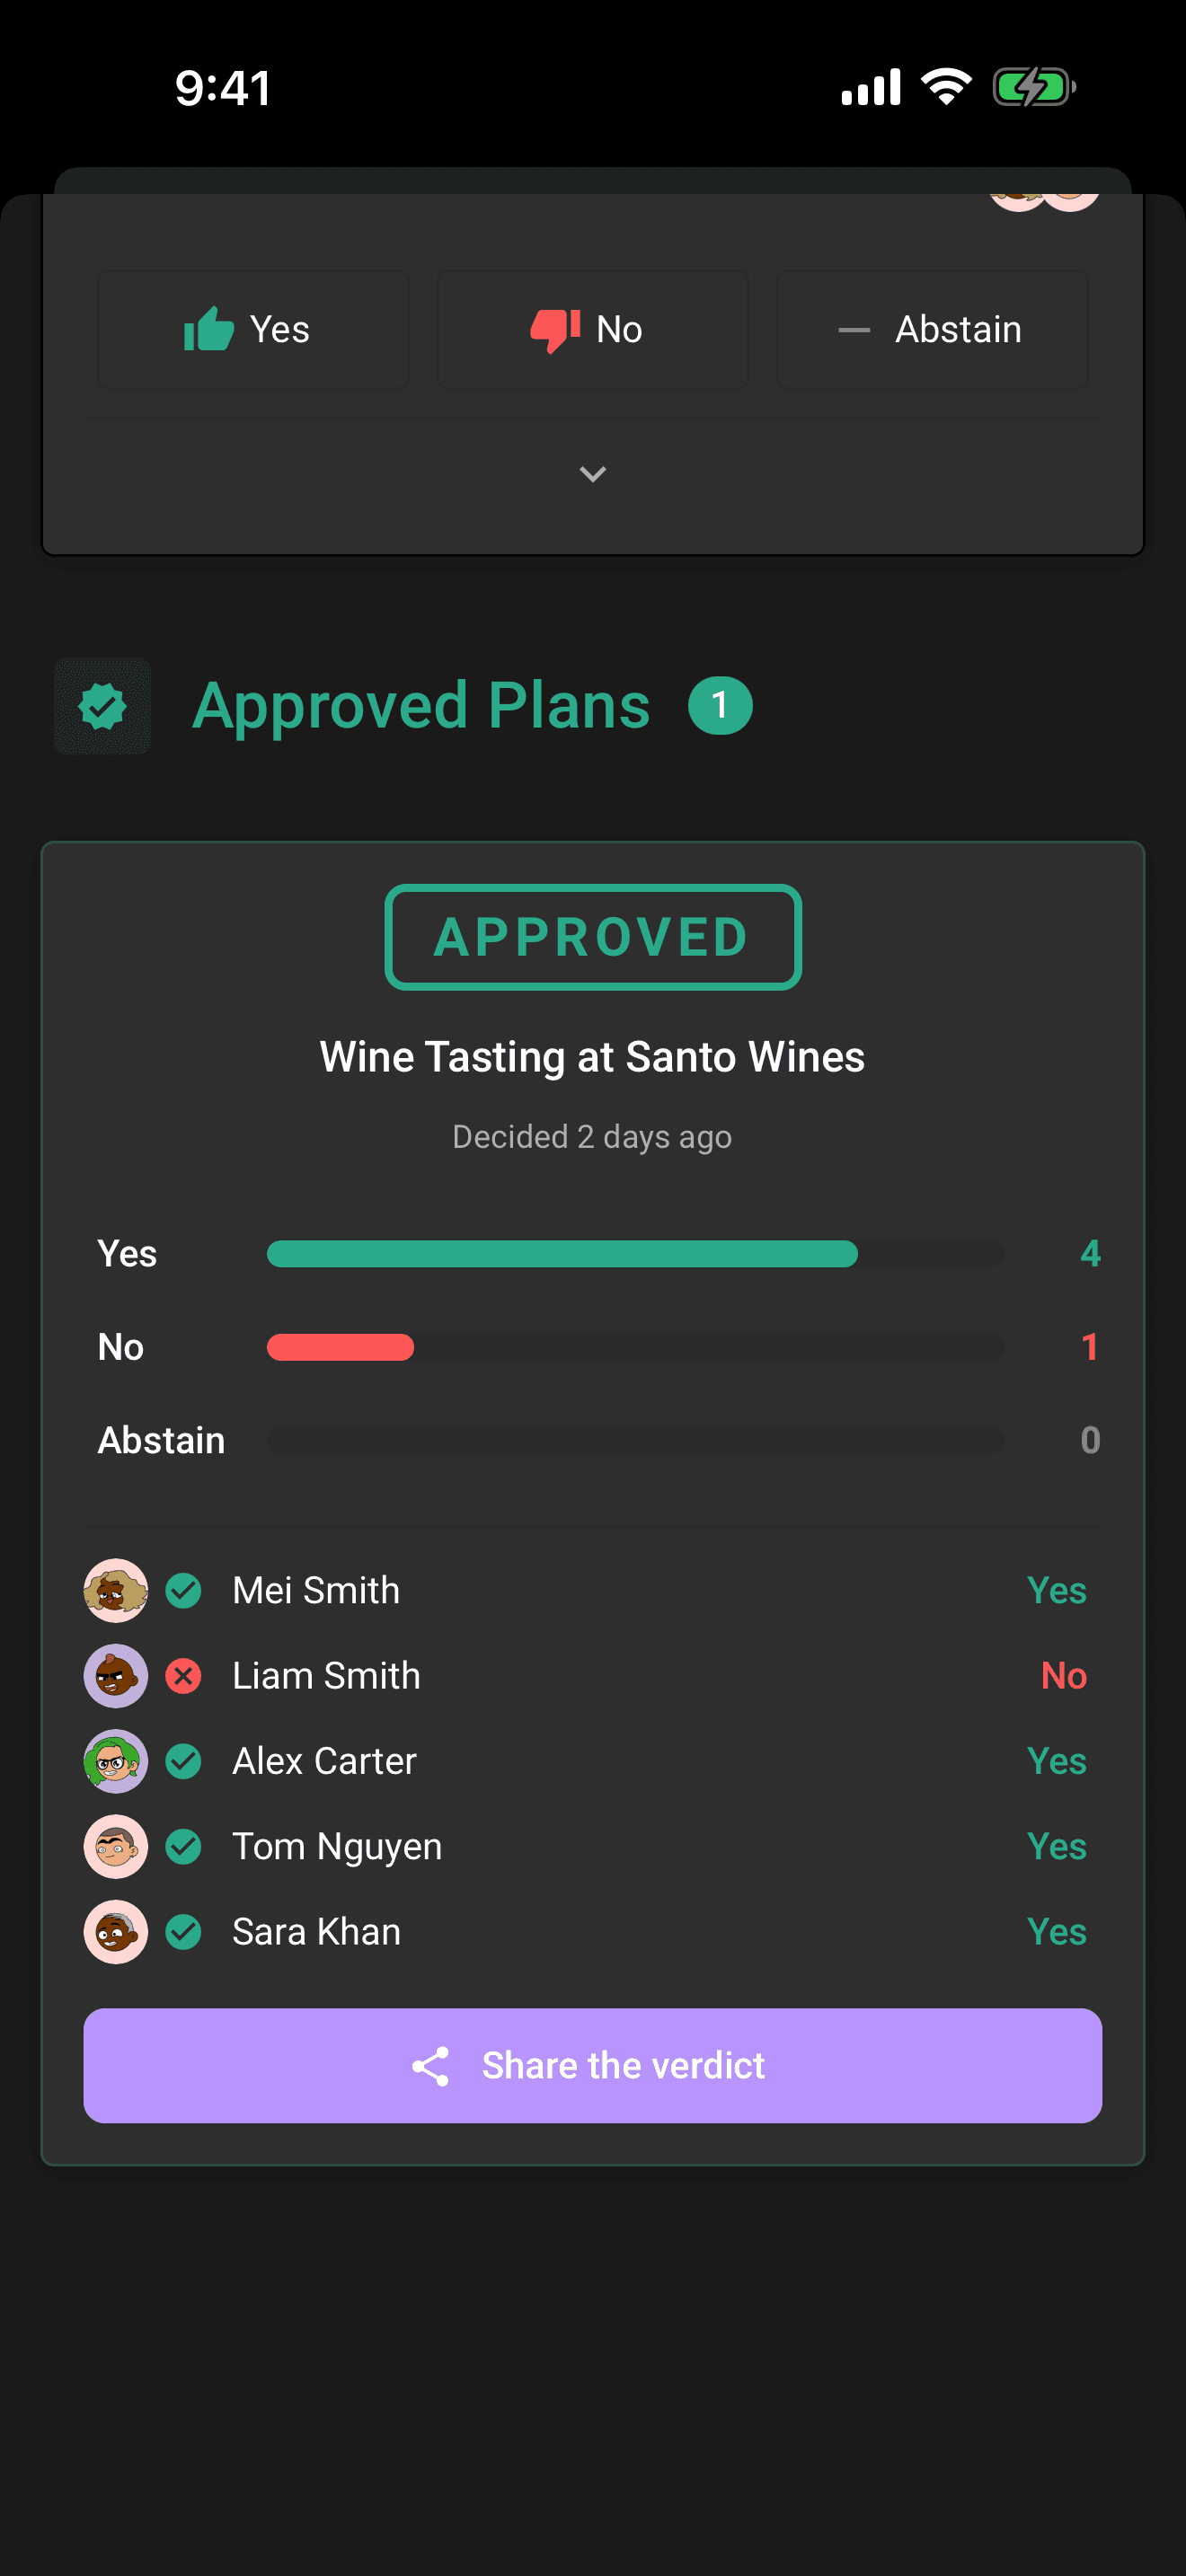
The result card stamps the plan APPROVED or REJECTED, animates the final tally, lists who voted which way (unless the owner turned on anonymous voting, in which case only the totals show), and names anyone who didn't vote, no vote, no complaints. Approved plans take their place in Plans; rejected ones move to the resolved list. Organizers can tap Share the verdict to send the result to a group chat outside Limbo.
If you're the trip owner owner, open the trip gear when the crew is ready and choose Confirm trip. Limbo explains that the trip is already saved and that making it official uses one Trip Pass. The action disappears after confirmation, and is not repeated on every approved plan result.
Every joined adult trip member member can vote; child crew and pending invites are not eligible. Organizers organizer get two extra powers: Decide now ends a vote early with an approve-or-reject override, and Reopen voting clears the votes on a settled plan and starts a fresh ballot.
7. Keep talking in trip chat

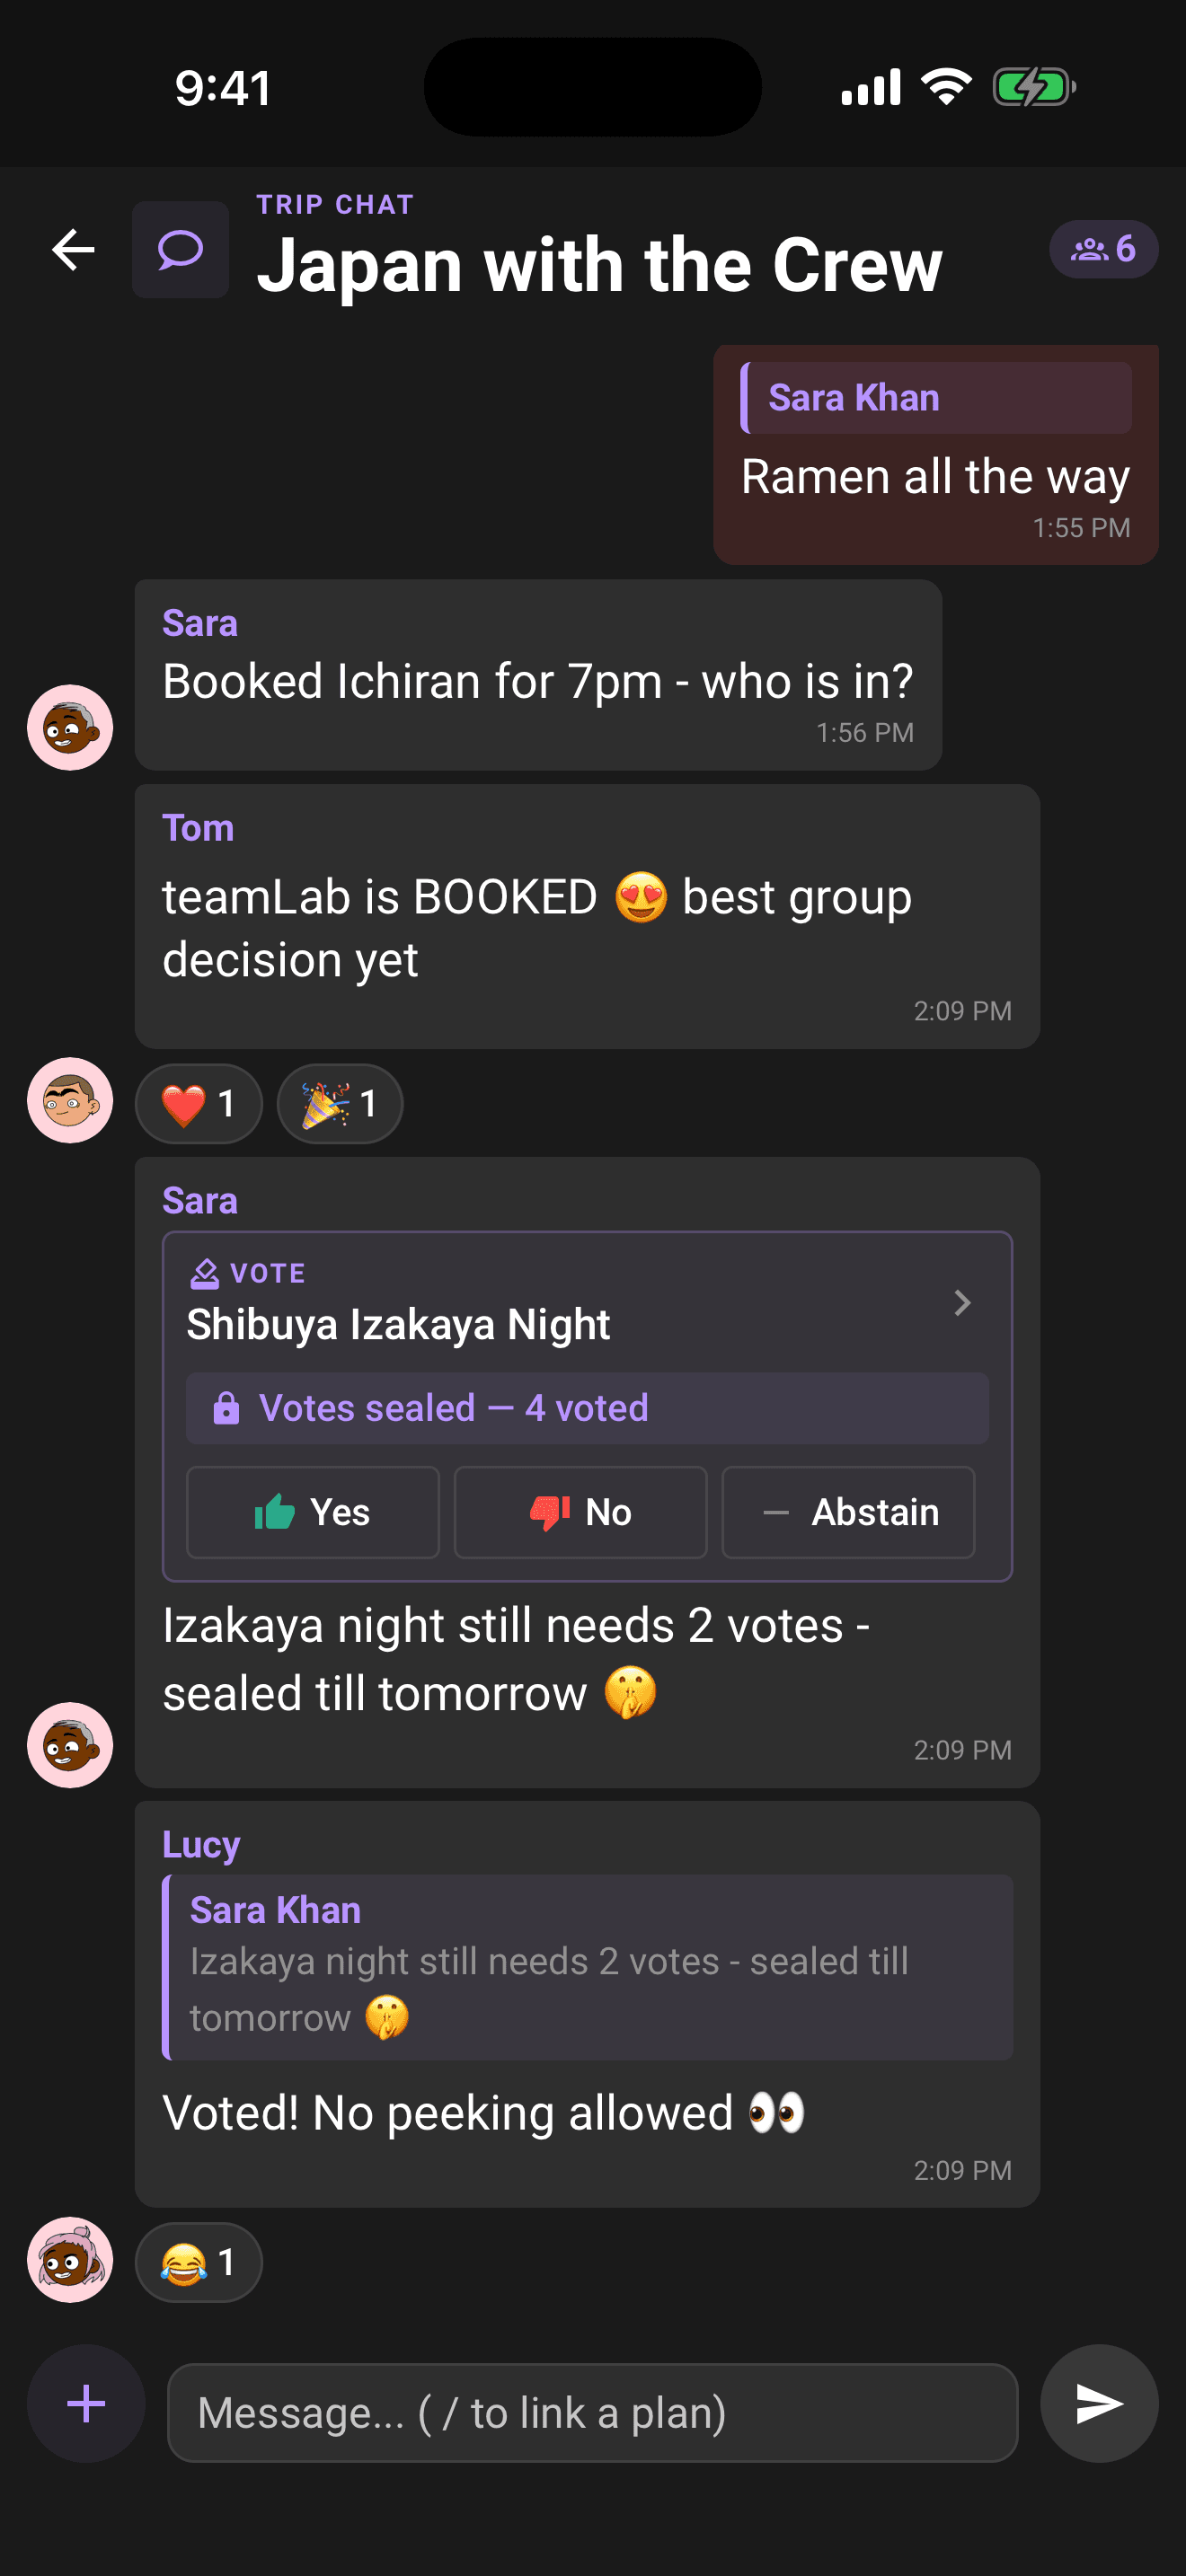
The chat circle pinned at the top of the trip Hub is always available. The shortcut on the Home trip card appears once the trip has at least two crew members (crew marked as children do not count toward that shortcut). Everyone on the trip can chat: send messages and photos, react with emoji, reply, edit or delete your own messages, and run quick polls for the small stuff that doesn't need a formal ballot. Type / to link any plan into the conversation, and open ballots appear as votable cards right in the chat stream, so nobody has to leave the conversation to have their say.
That's the whole loop: propose, vote, reveal, repeat, until the itinerary is something everyone actually agreed to.
Related articles
Create your account and log in
Sign up with email, Apple, or Google, sign in with a one-time email code, verify your email, plus password resets, logging out, and deleting your account.
Create a trip
Every field on the new-trip form, name, destination, dates, timezone, currency, plus what the voting toggle really does.
Trip Passes: how paying for a trip works
Planning is always free: the trip owner spends one pass to lock an approved trip in, and your crew never pays.
The Home screen explained
A tour of Home: the decisions inbox, trip cards with Preflight progress and chat, plans waiting for review, notifications, and the buttons that start everything.
Divvy up the work
Pitch In is your trip's shared to-do list, add the big jobs, watch the "X of N claimed" progress fill in, and see every task move from up-for-grabs to done.
Understand who owes whom
Use Balances to see your position, a simplified repayment list, every person's net balance, and recorded settlements.