Create a trip
Describe a trip in your own words, check the details, and discover places picked for your crew.
A trip is the container for everything in Limbo: plans, ballots, chat, expenses, and Checklist jobs all live inside one. Any member can create a trip, and creating one makes you its owner owner: you control voting settings, the invite link, edit access, and organizer promotions for that trip.
Start with an idea
- 1On Home, tap the cockatoo with the + badge in the bottom-right corner.
- 2Describe your trip: where and when you want to go, who is coming, activities you love, and an optional budget. Tap Shape my trip. Leave the box empty for Guide me step by step.
- 3Check Where & when. Limbo asks for a destination and both dates if they were missing, and confirms the location with Google before continuing.
- 4Choose your crew type and total number of travellers, including children. Pick a Relaxed, Balanced, or Active pace and any interests.
- 5Add an optional budget and currency. Choose whether the amount is for the whole trip, per person, per day, or per person per day.
- 6Review the map, name, dates, crew, style, and total budget. Tap a pencil to change a section, then Create trip & find places.
For example: “Paris for a week in November, a family of five with two kids. Disneyland, parks and hands-on science, with relaxed days and a total budget of €3,000.” Check the extracted dates and details before saving.
On iPhone, the next-step button stays above the keyboard while you type your trip details.
The traveller count guides suggestions; it does not invite people or create accounts for them. Invite your crew after the trip is created. Smart trips start with voting enabled and sealed ballots.
Your first place cards use your brief and choices. If you leave interests open, you get a mix of popular local favourites. The destination’s timezone comes from its confirmed location, and a per-person or per-day budget is converted into a total for the trip.
Smart setup requires an internet connection. If reading the brief or confirming a destination fails, your current details remain on screen for you to edit or retry. Closing setup discards the unsaved draft.
Prefer the standard form?
Tap Create manually at the top of setup to open the standard form. It lets you create a trip with just a name and add destination, dates, and preferences later. Fill in the fields described below, then tap the checkmark in the top-right corner. If anything required is missing, an error banner tells you what to fix.
After you save, the cockatoo walks through a short boarding animation before the new trip opens. Discover your trip then shows suggested places for your destination. Swipe left to skip or right to add a proposal for your crew. You can close the cards and return through Find your crew’s next yes on the trip overview. Learn about suggestions and limits. The walk lasts about three seconds; a slower save may take longer. With your device’s Reduce Motion setting enabled, Limbo shows a still image and skips the walk. If saving fails, the form returns without waiting for the animation.
Tap the create button or checkmark once and wait for the result. Repeated taps while creation is still waiting do not start another trip. If you leave the form or switch accounts, a delayed response will not take over your new screen. A request already sent may still create the trip, so check Home before creating it again after a connection problem.
In a wide browser window, related groups of fields share two columns to reduce scrolling. Read across each row, then continue down. Smaller windows keep the familiar stacked form; resizing does not clear what you have entered.
Already have an invite code? Tap Have an invite code? → Join a trip at the top instead. Your create-trip fields are not submitted.
Note
Manual form fields
Trip name (required): what your crew sees on trip cards, invites, and notifications. It is the only required field.
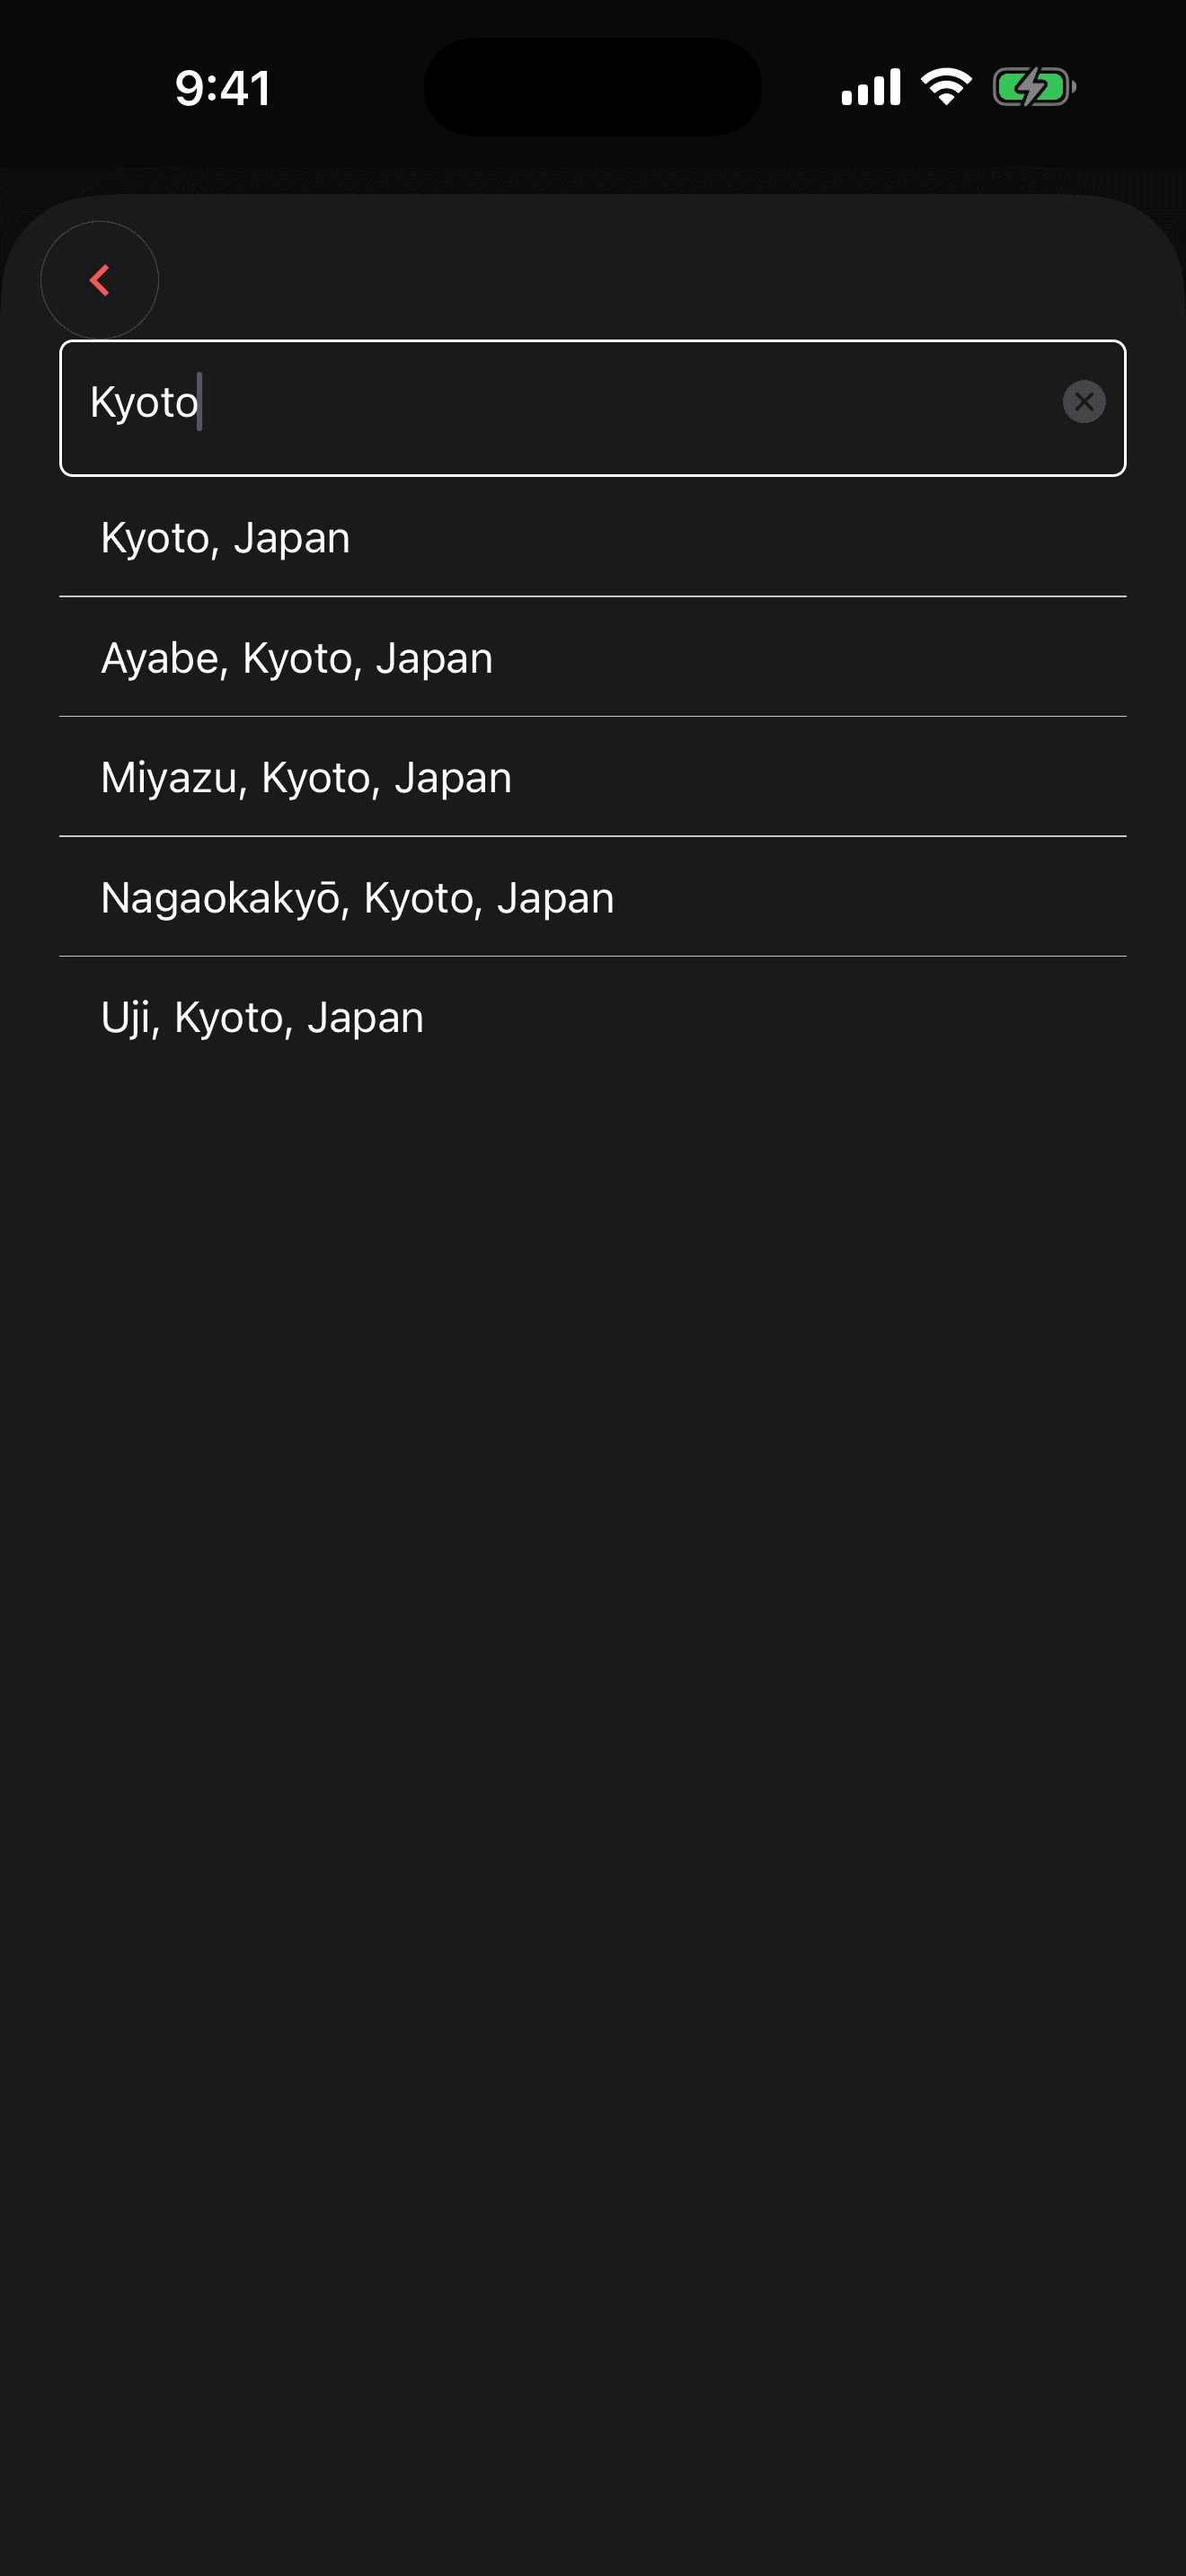
Destination (optional): start typing and pick a matched place from the list. If the place service is unavailable or you intentionally want a custom label, choose Use “…” without a map pin instead. A custom destination can still be saved and can help identify the trip, but it has no matched coordinates; the trip map therefore relies on any located plans until you replace it with a matched place. You can also leave the destination open and add it later.
Start and end dates (optional): set them now or skip them. To add or change dates later, open the trip, choose Trip actions → Edit, then save with the checkmark. Plans groups your itinerary by day.
Tap a date field and Limbo slides up a calendar in a bottom sheet, pick the day right there (same on iOS and Android). If a plan needs a time, the usual time picker handles that part.
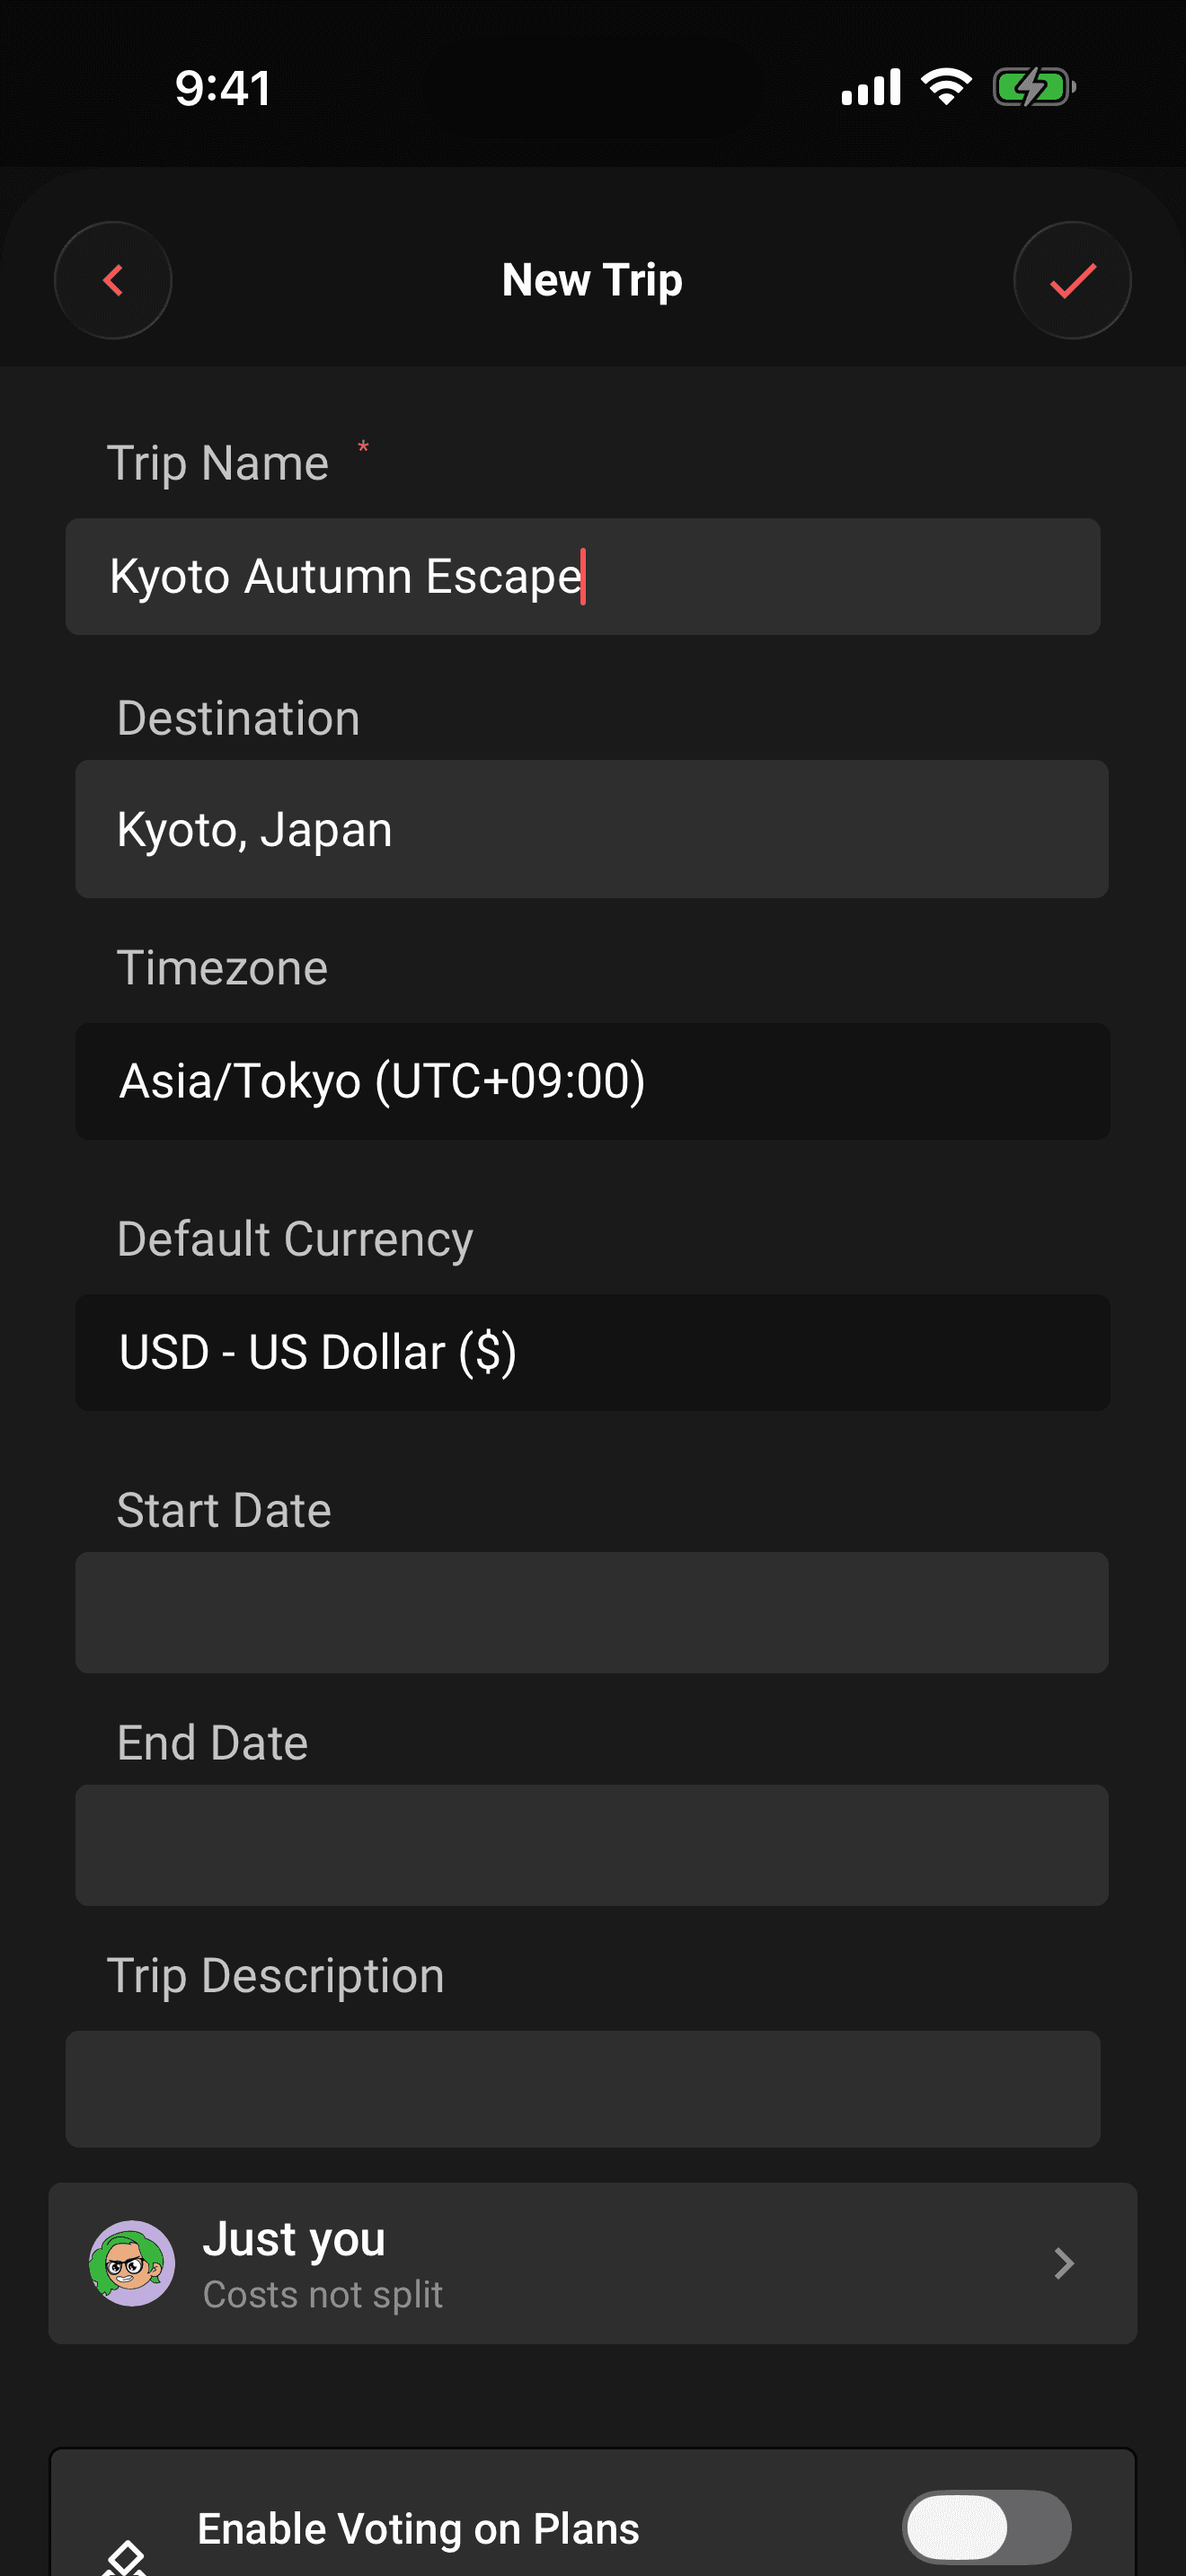
Timezone: starts with your device's zone and updates when you select a Google destination match with a known timezone. Calendar dates use the trip's timezone. If you change the destination or timezone before creating the trip, the calendar days you already chose stay the same. Plan times across the trip display in this timezone.
Default currency: the currency for totals in the trip's Expenses view. Costs you enter on plans roll up into this currency.
Description (optional): a short blurb about the trip for your crew.
Crew
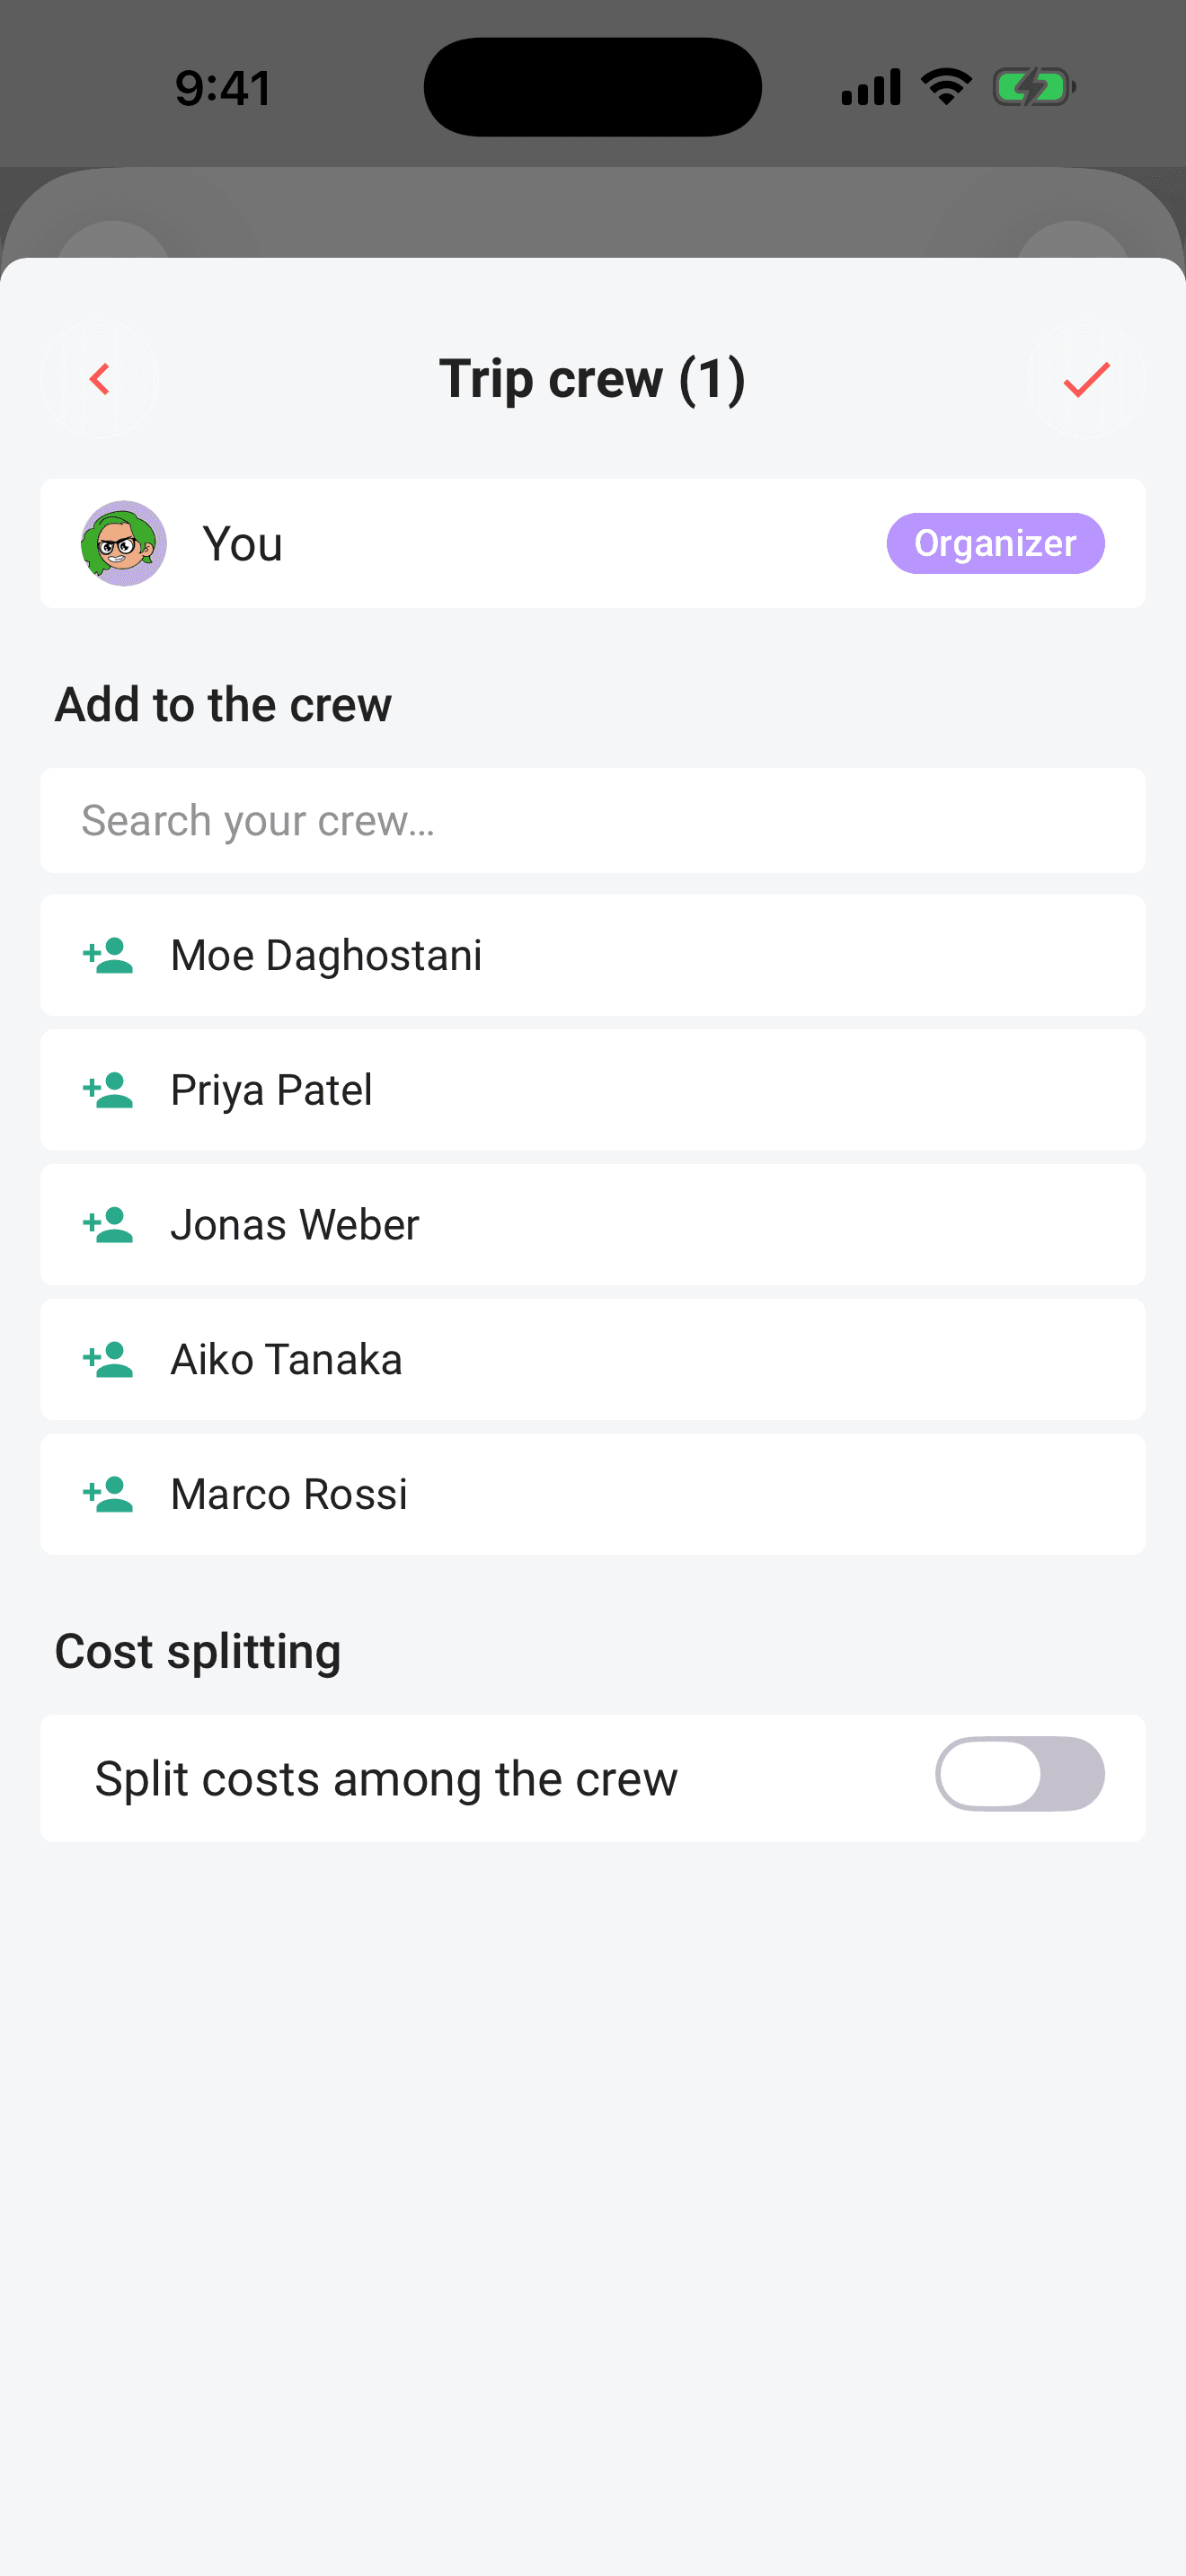
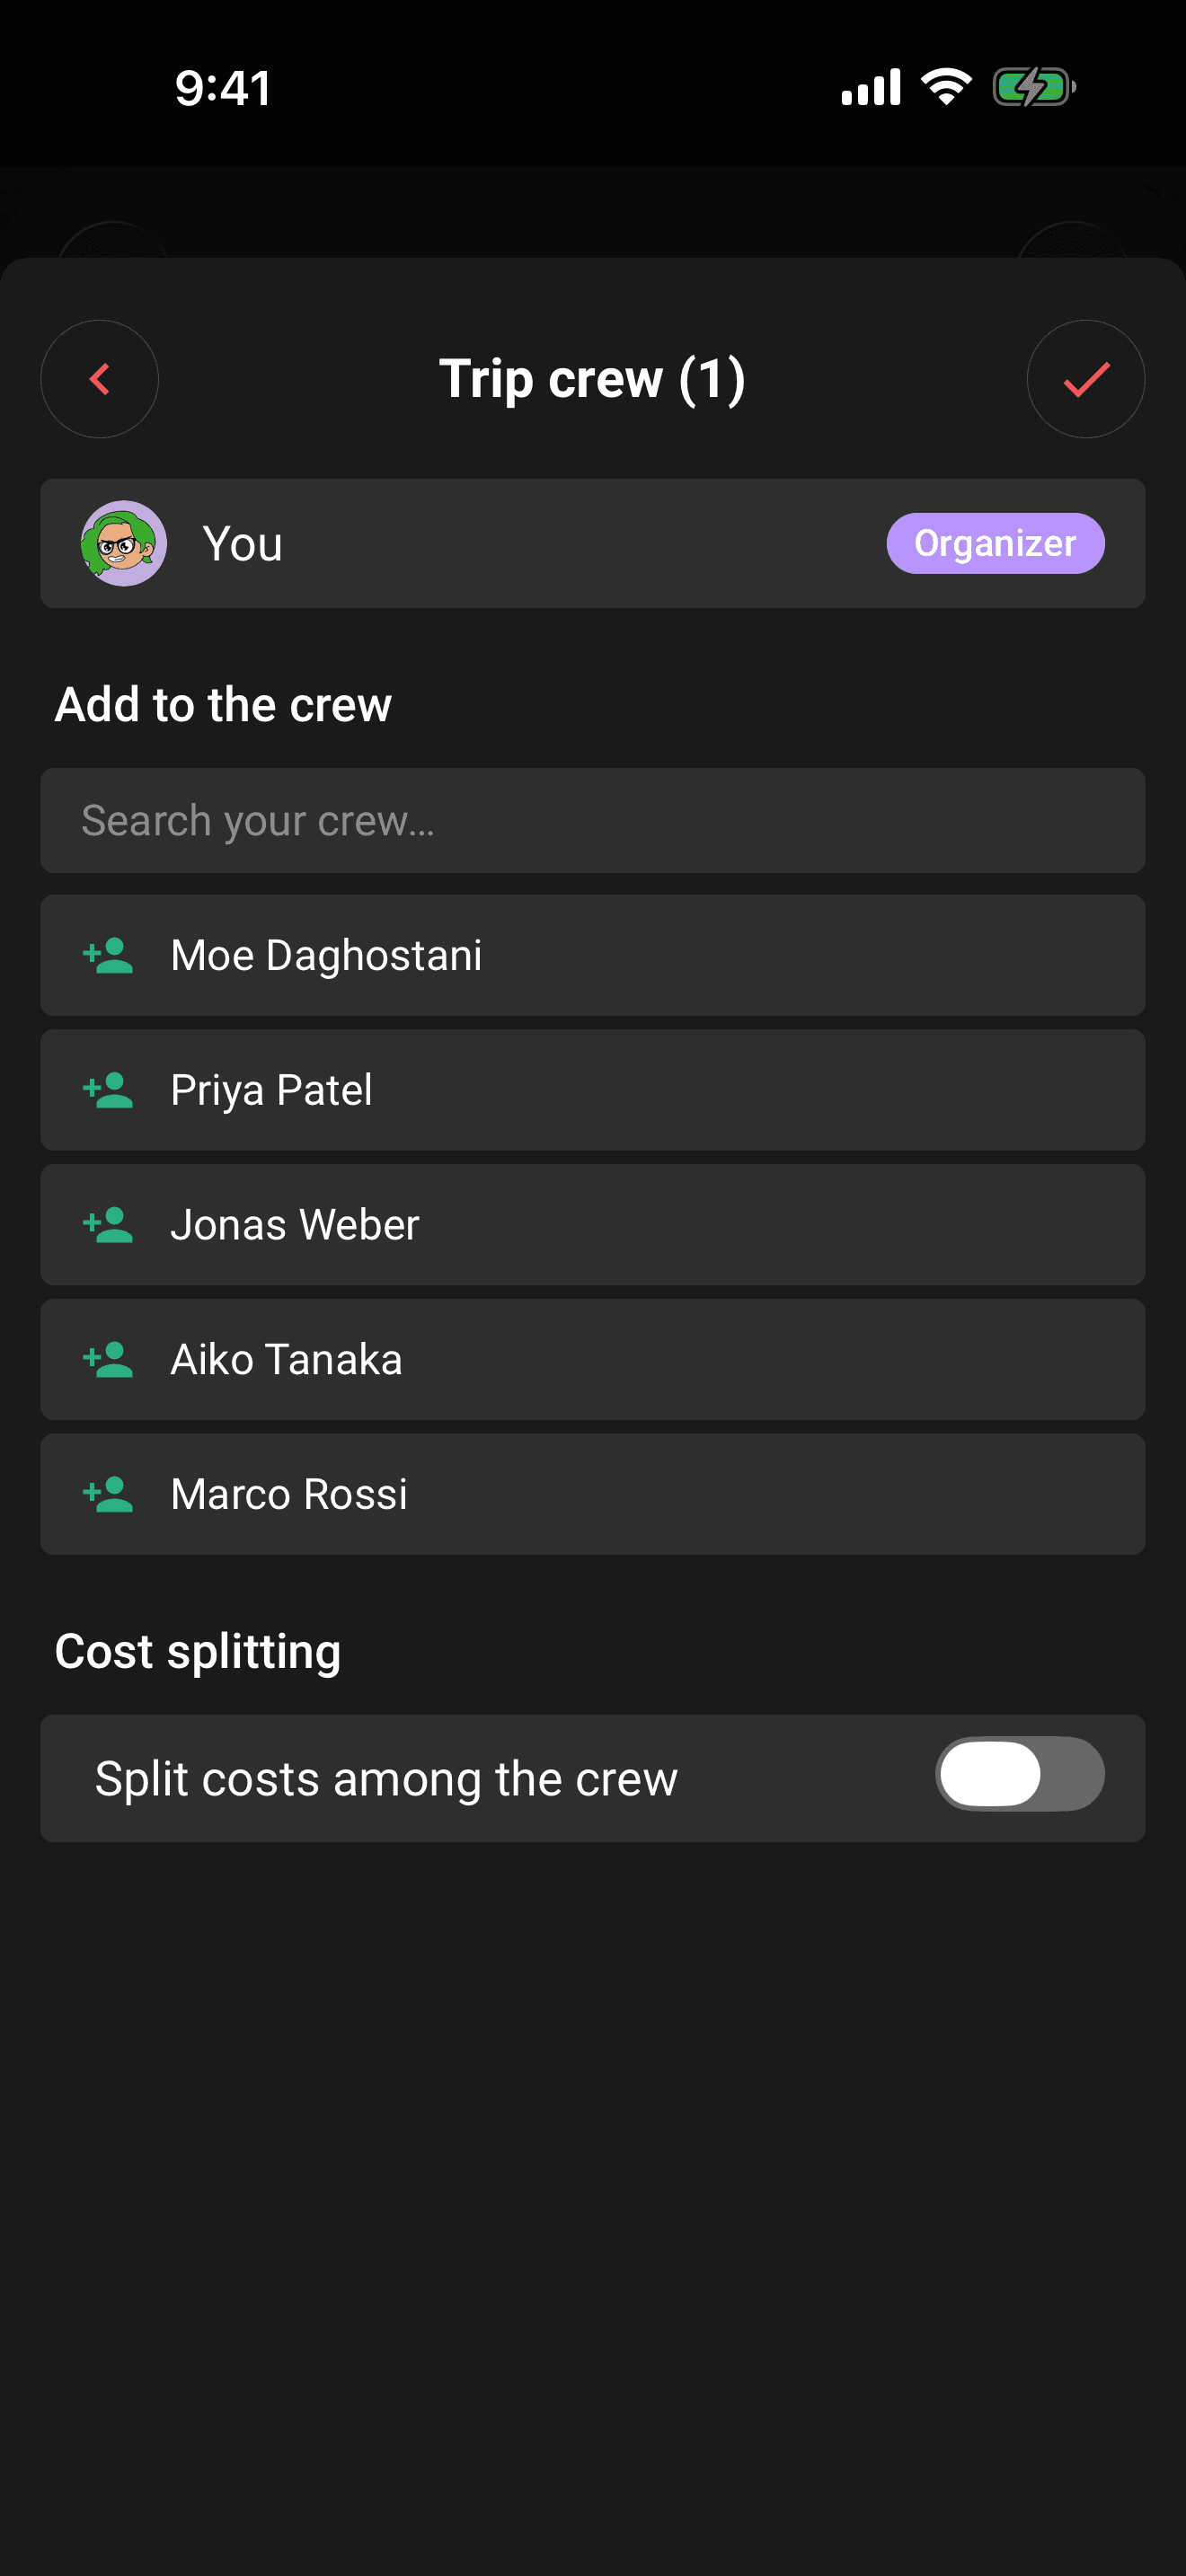
The Participants row shows who's on the trip so far. Tap it to open the participants sheet, where you can:
- search your existing crew members and add them to this trip,
- give any non-organizer crew member the Edit permission (so they can add and edit plans),
- share the trip's invite link (owner only).
You don't have to sort the crew out now; you can invite everyone after the trip exists. The full options, including join codes and organizer roles, are in Invite your crew. The sheet also holds the optional cost split setup (equal or custom percentages) if you plan to settle expenses through Limbo.
The voting toggle: what it actually means
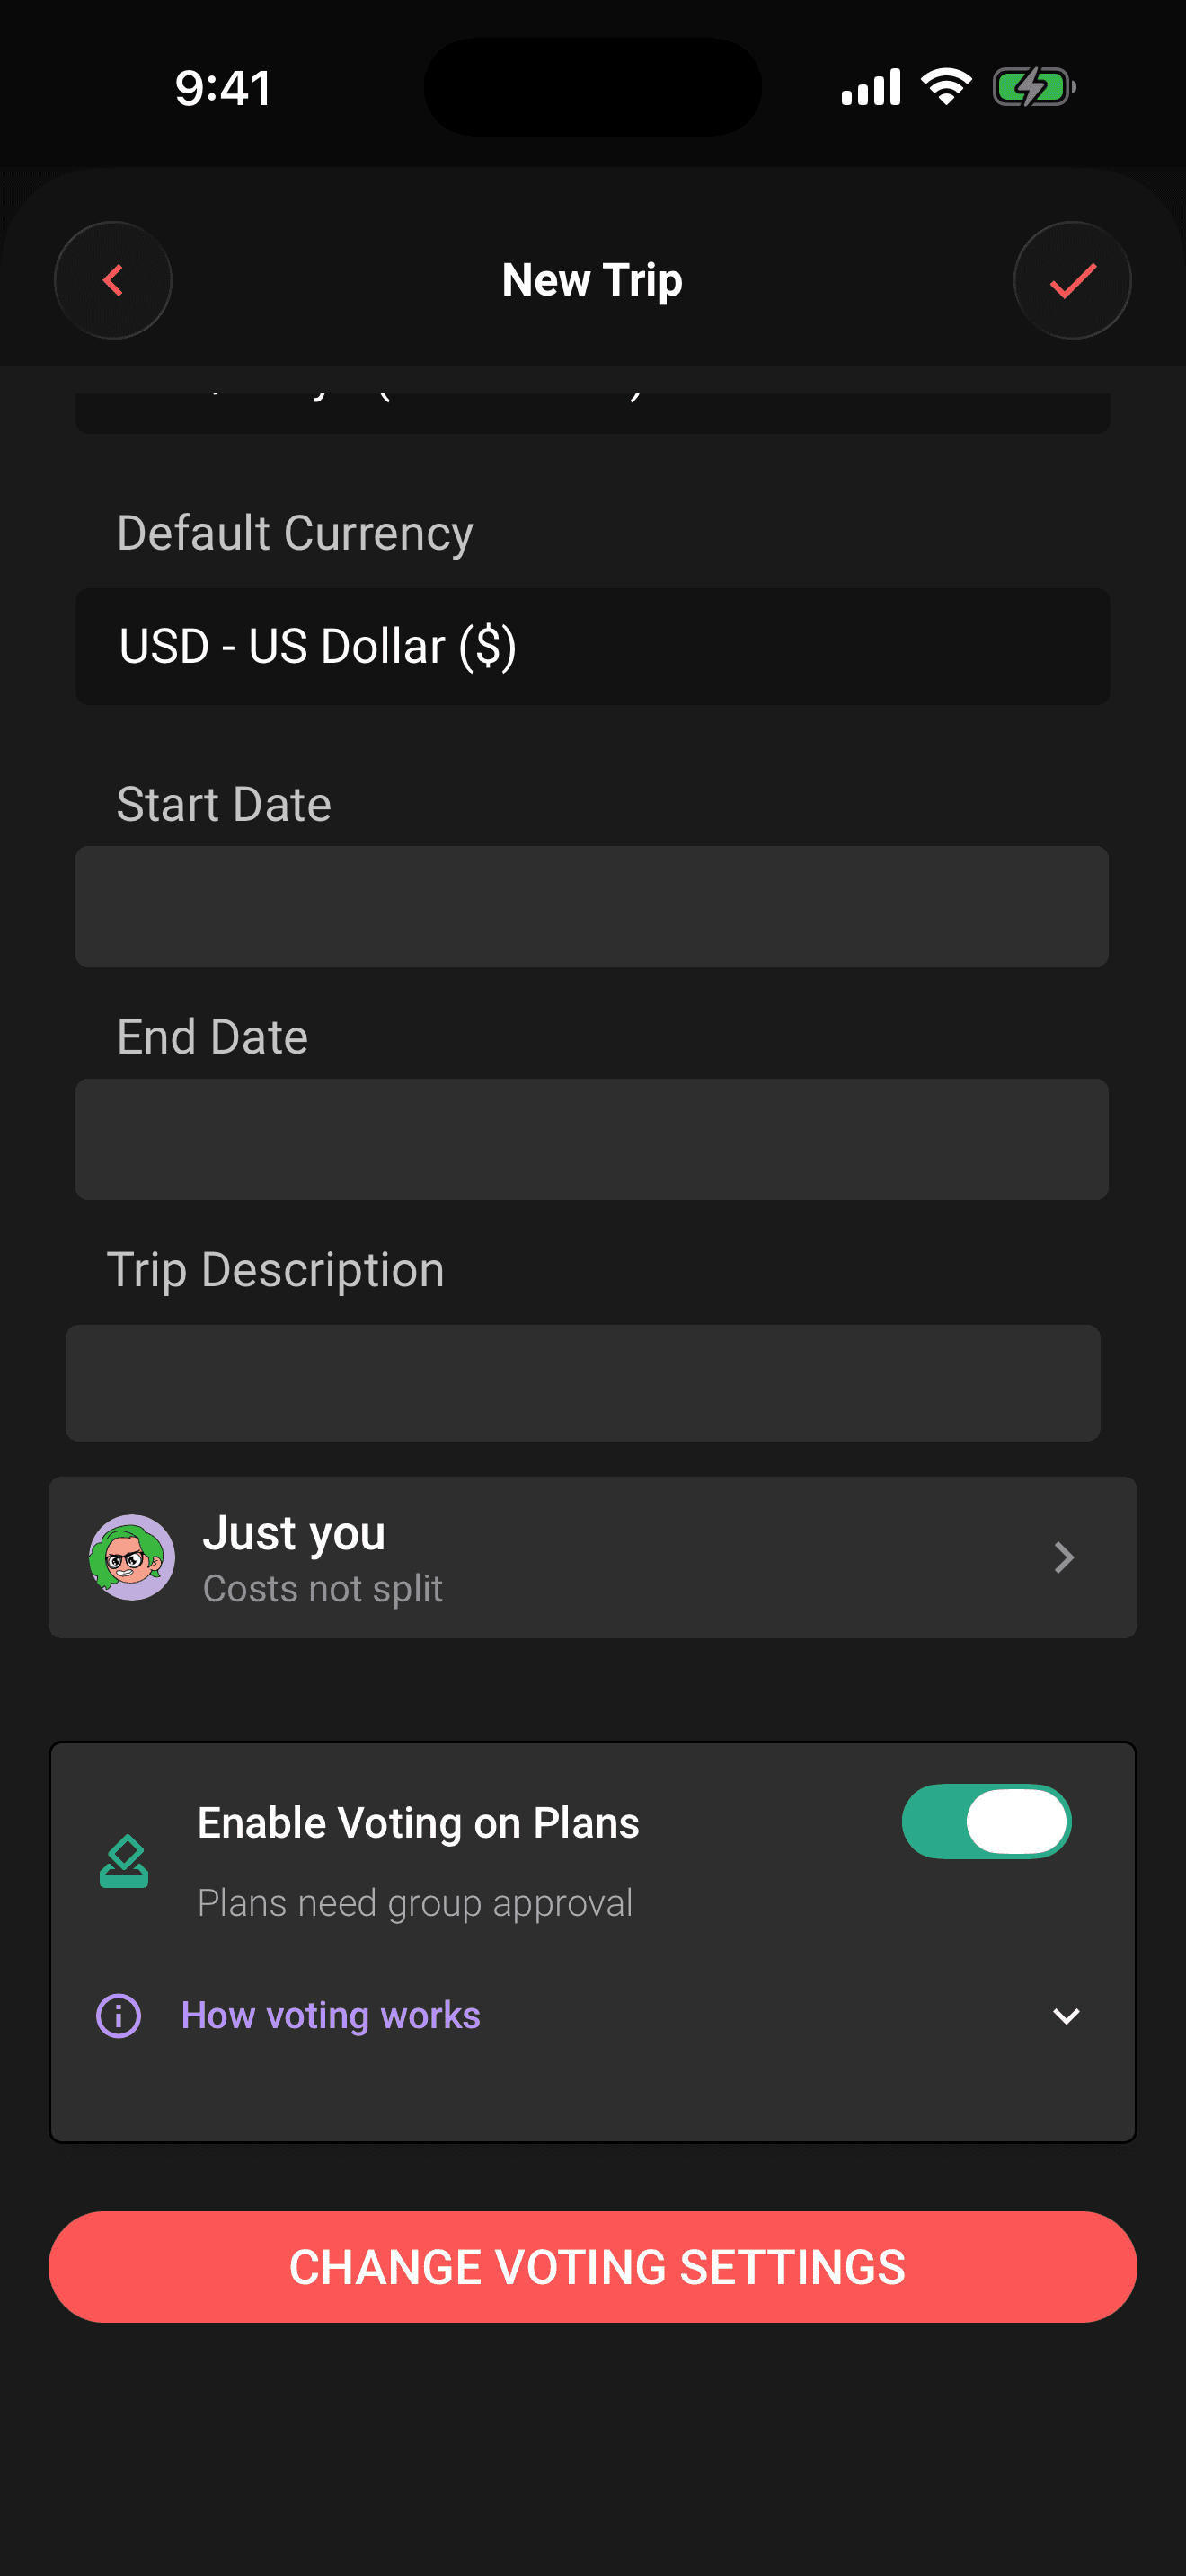
Switching Voting on turns the trip into a ballot box:
- Anyone with edit access can flip a toggle on a new plan to propose it instead of just adding it.
- Proposals open as ballots: the crew votes Yes, No, or Abstain before the plan lands on the itinerary.
- New ballots are sealed by default: who-has-voted is visible while voting is open, but nobody sees the choices until the reveal.
Tap the settings button next to the toggle to tune the rules: pick a preset, or set the approval threshold, a minimum participation level, the Ballot Privacy switches (Sealed votes and Anonymous voting), and the deadline style: a rolling window of 1–30 days per proposal, or one fixed date for the whole trip.
When the trip is ready to become official, the trip owner owner opens the trip gear and chooses Confirm trip. Confirming is free and does not spend a pass; the full walkthrough is in Plan your first group trip.
Leave voting off and the trip works like a classic shared itinerary, plans just get added. You can change your mind later, but only the trip owner owner can switch voting on or off and edit the voting settings after creation.
Permissions
member Any member can create a trip. The creator becomes the trip owner owner. Owner-only powers on this form and later include the invite link, voting settings, edit-access grants, and organizer promotion.
Related articles
Plan your first group trip
The full walkthrough: create your account, set up a trip, invite your crew, propose plans, and run your first sealed vote.
Join a trip with an invite link or code
Tap an invite link or enter a 6-character code to preview a trip and join the crew.
Trip Passes have been retired
Trip Passes are no longer sold or required, while historical purchase records remain preserved.
Understand who owes whom
Use Balances to see your position, a simplified repayment list, every person's net balance, and recorded settlements.
Organizer powers
Tune the voting rules, decide a ballot early, or reopen a settled vote. What organizers and the trip owner can each do.