Your profile and account settings
Change your avatar, name, email, and password, and pick the date format Limbo uses everywhere.
Your profile is what your crew sees on trips, ballots, and in chat: your photo and name appear on trip cards, voter lists, and messages. This article covers everything on the Account screen, plus the date format setting that lives one level up in Settings.
Who can do what: everything here is your own account, so any member can change it. Nobody else, not even a trip owner, can edit your profile for you.
Getting to your account
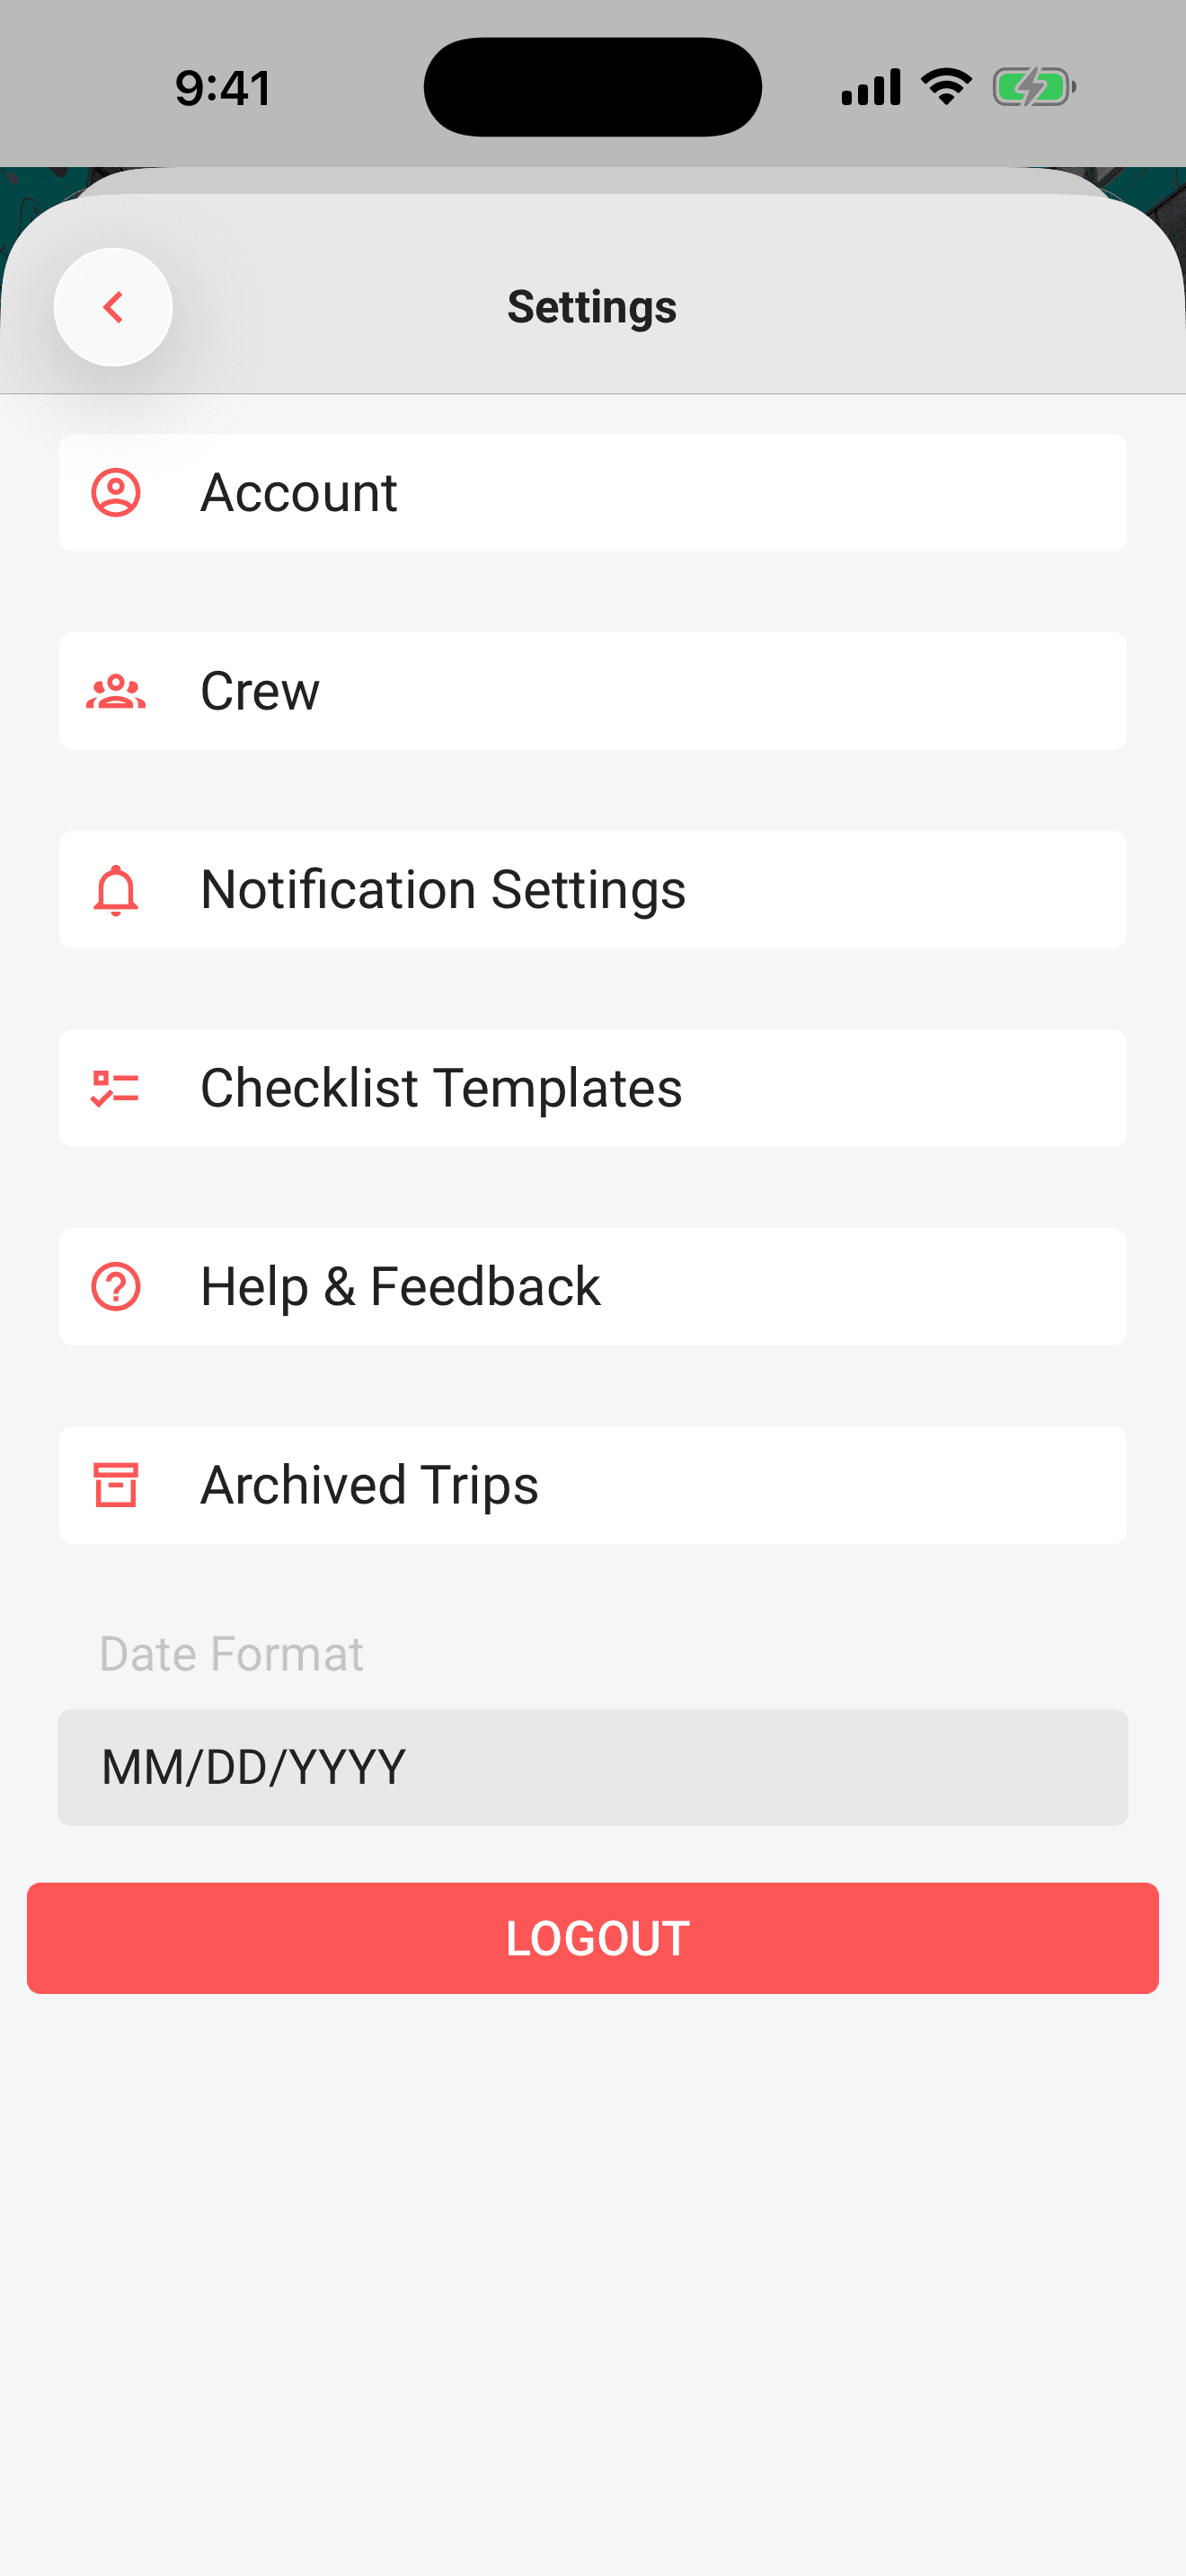
- 1On the Home screen, tap your avatar in the top-right corner to open Settings.
- 2Tap Account.
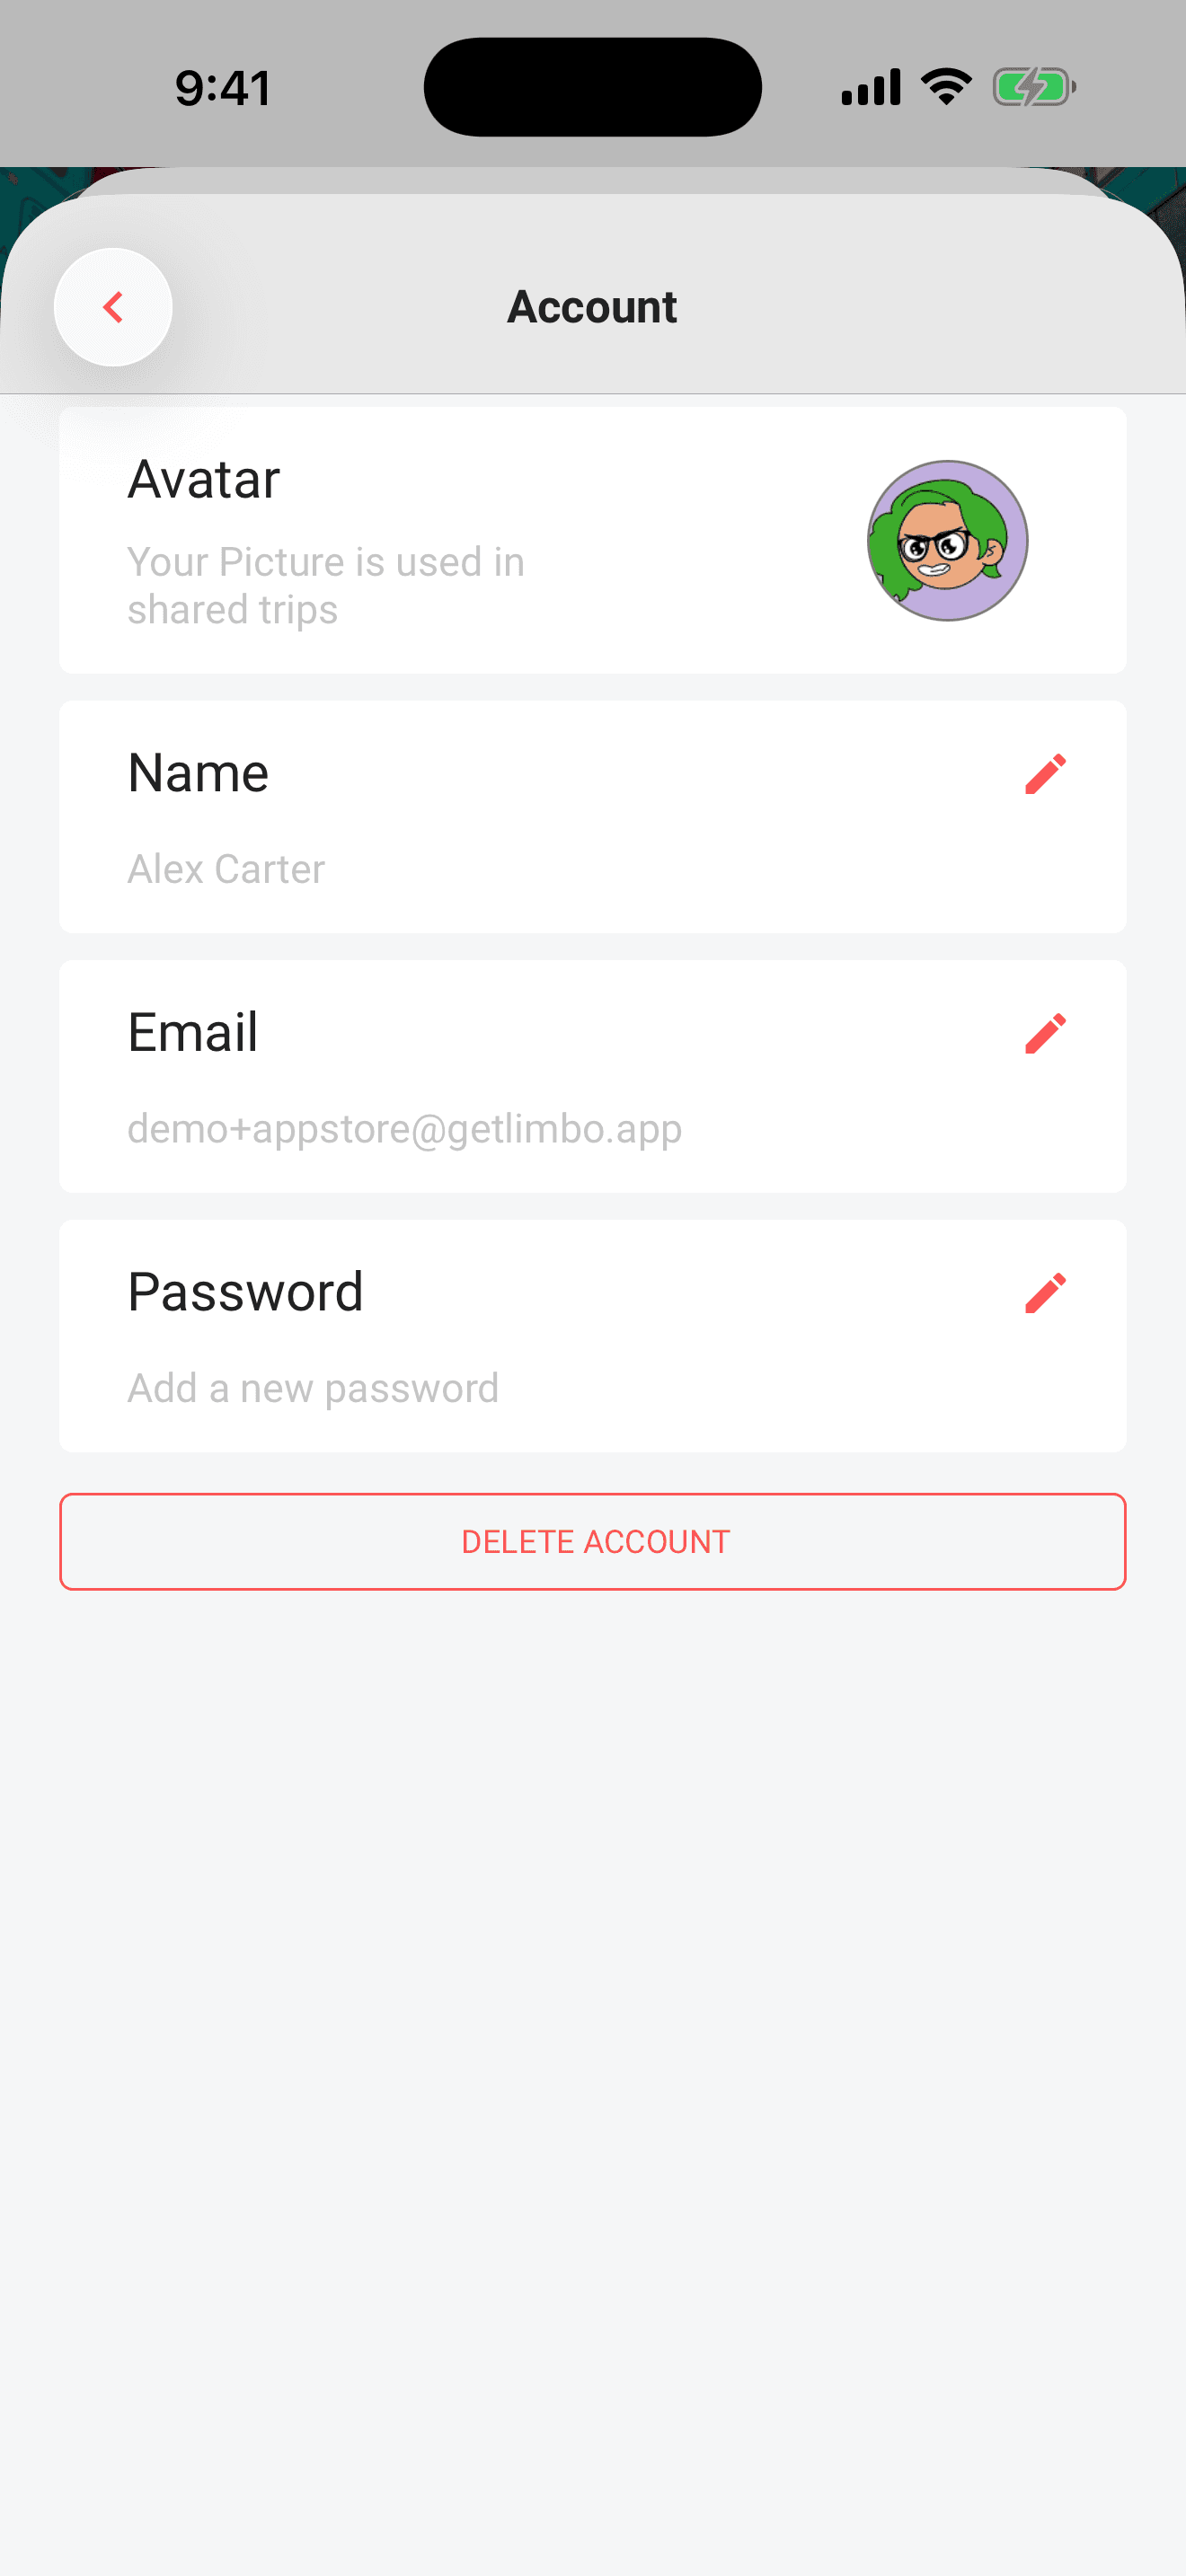
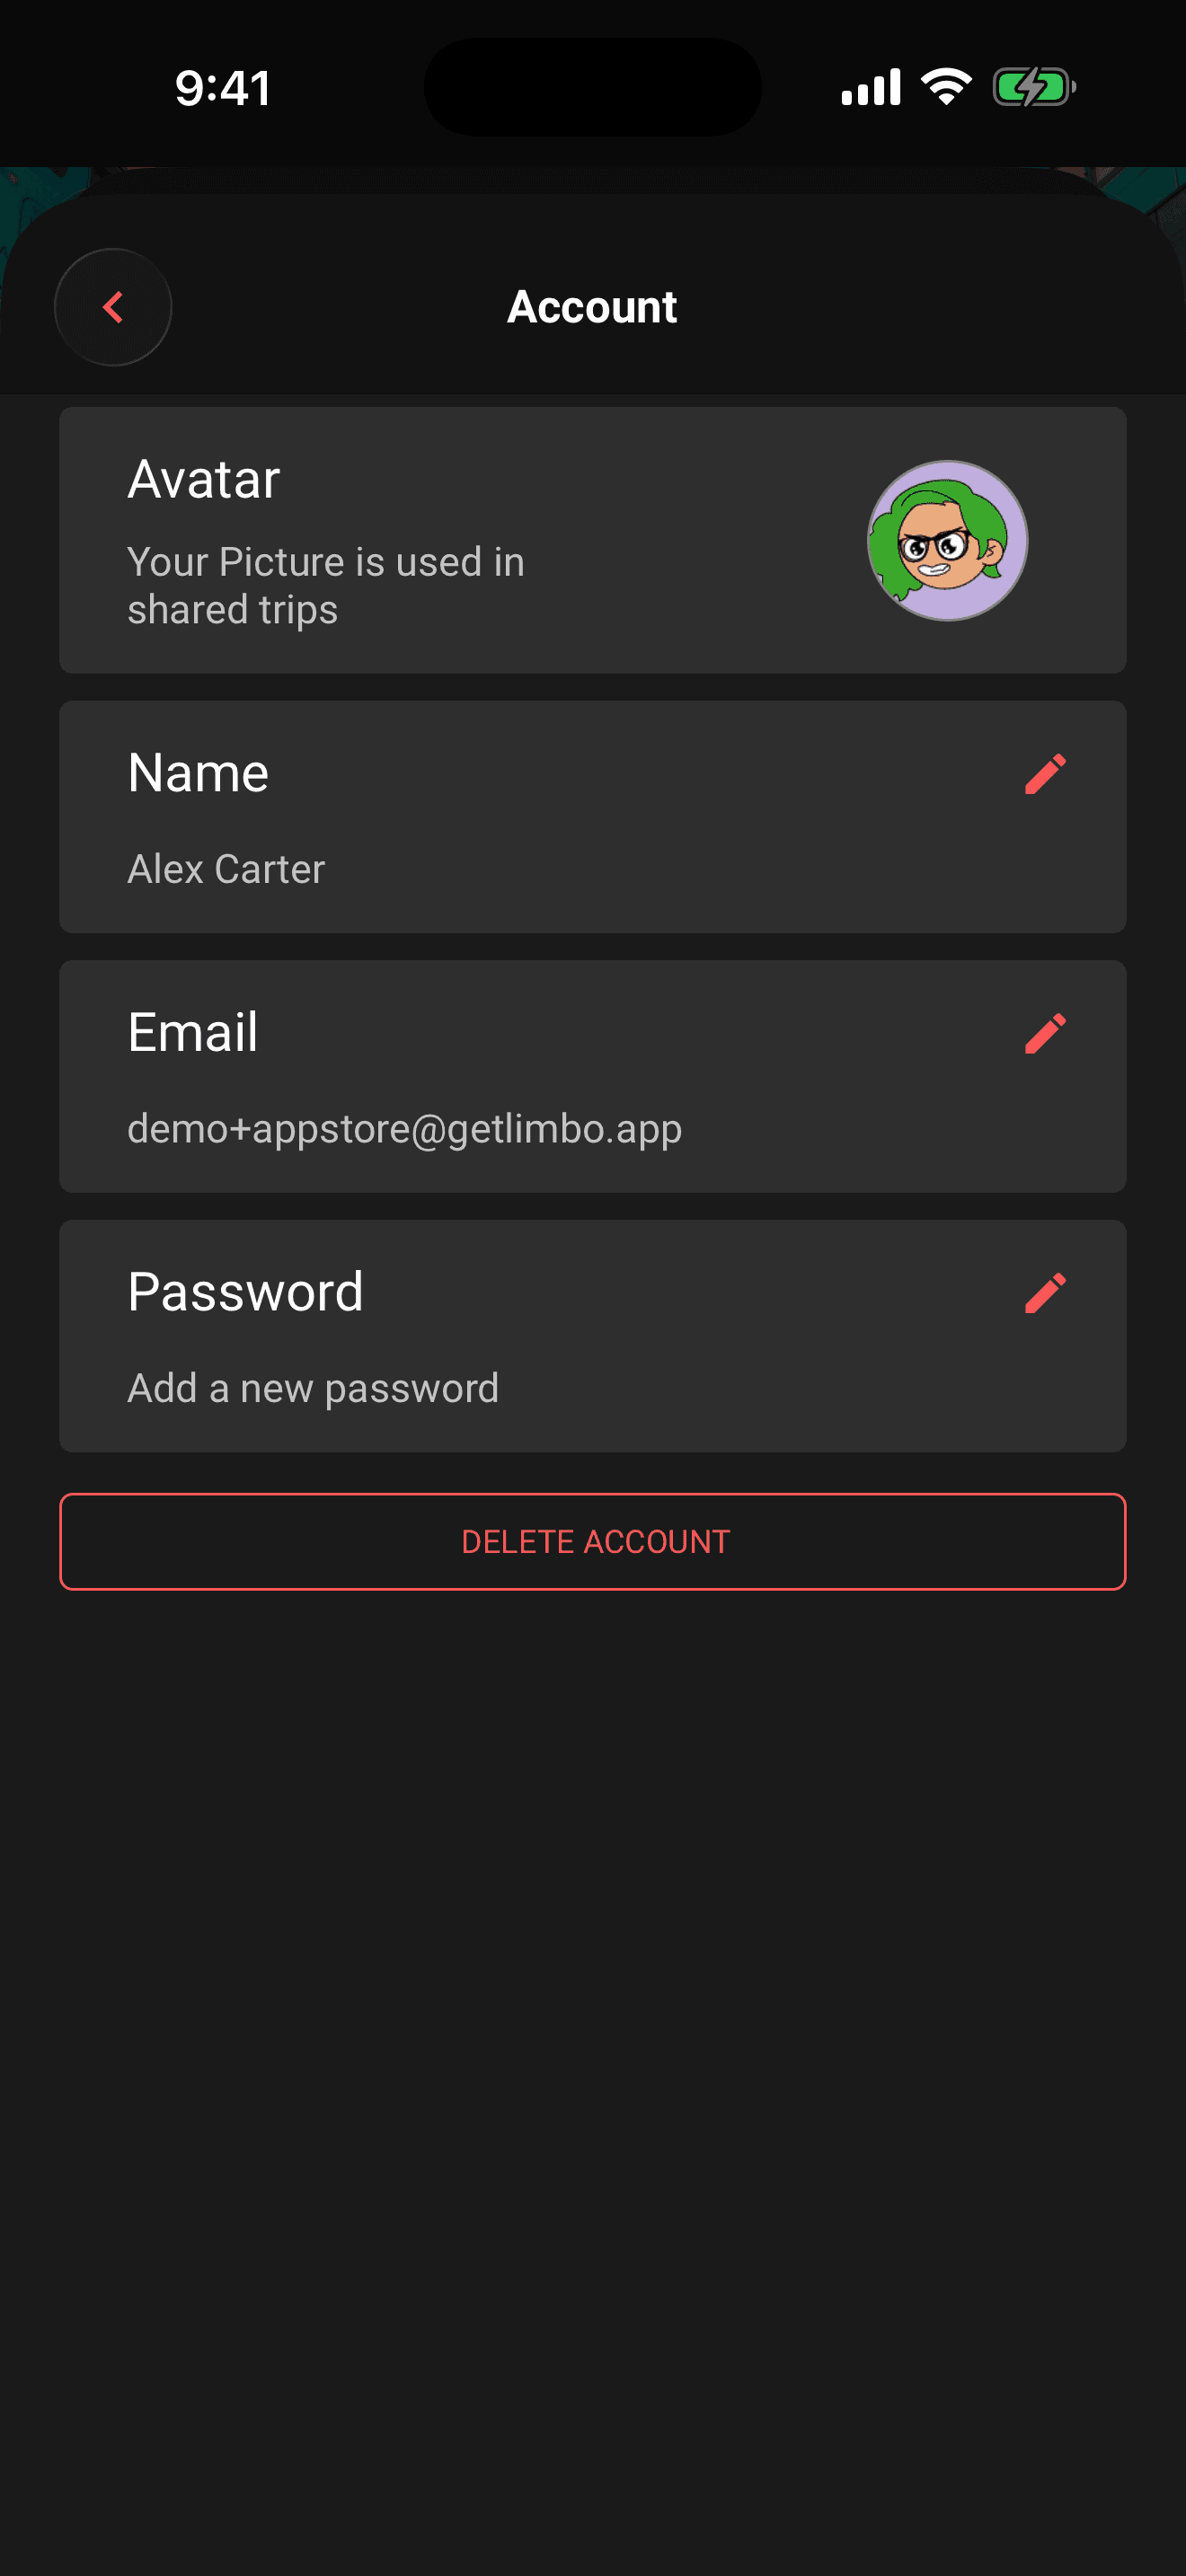
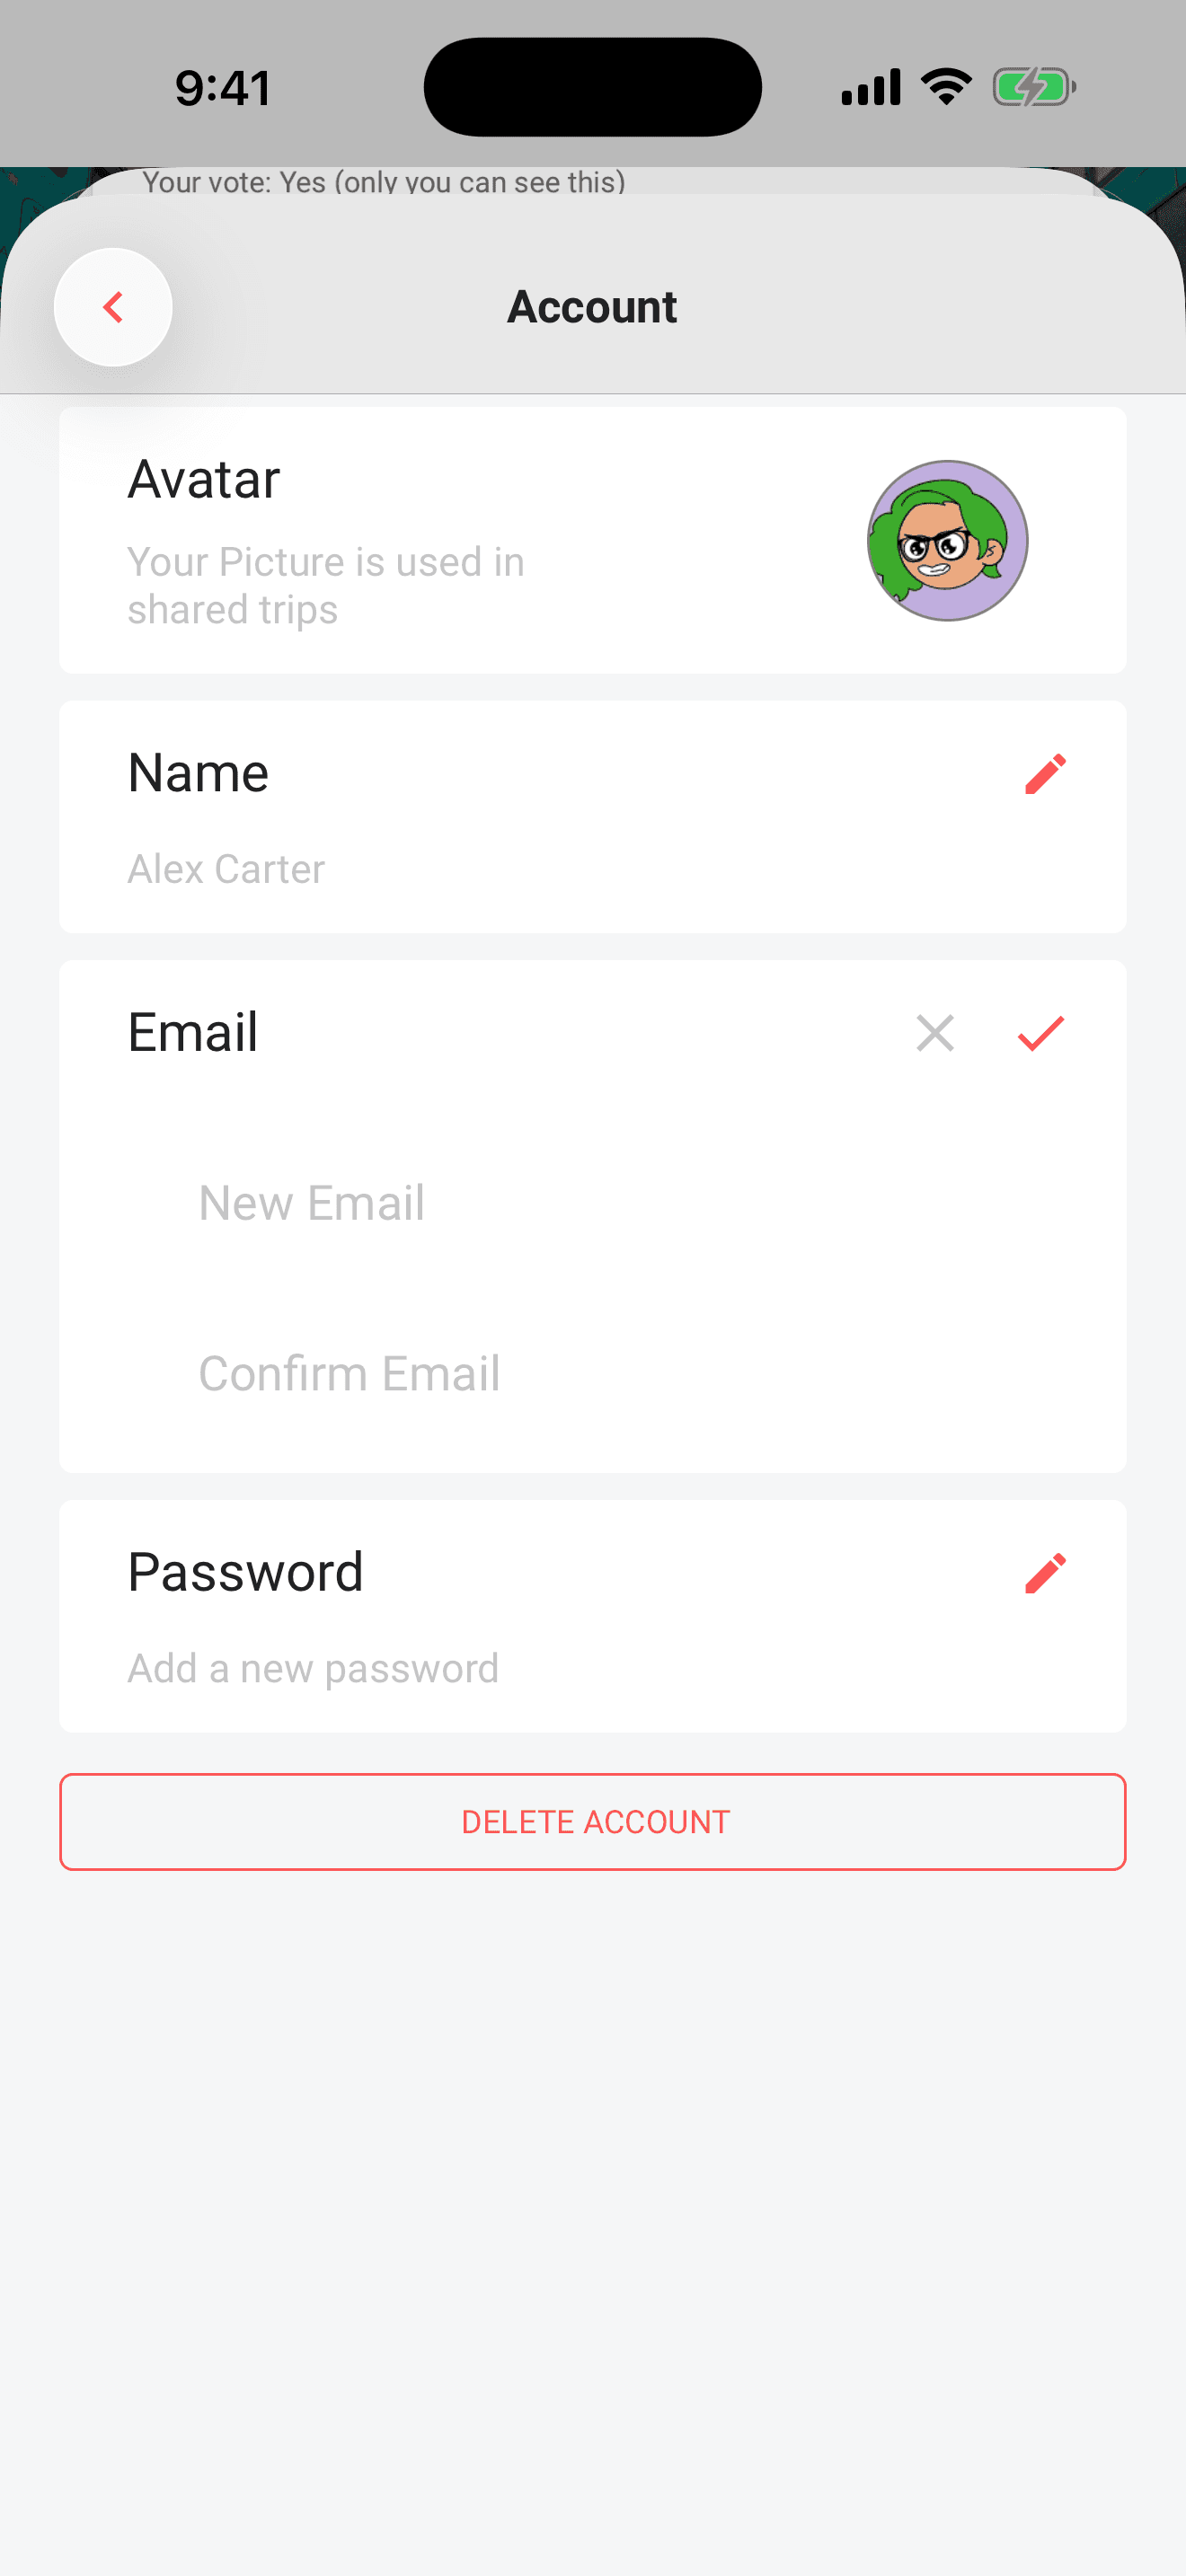
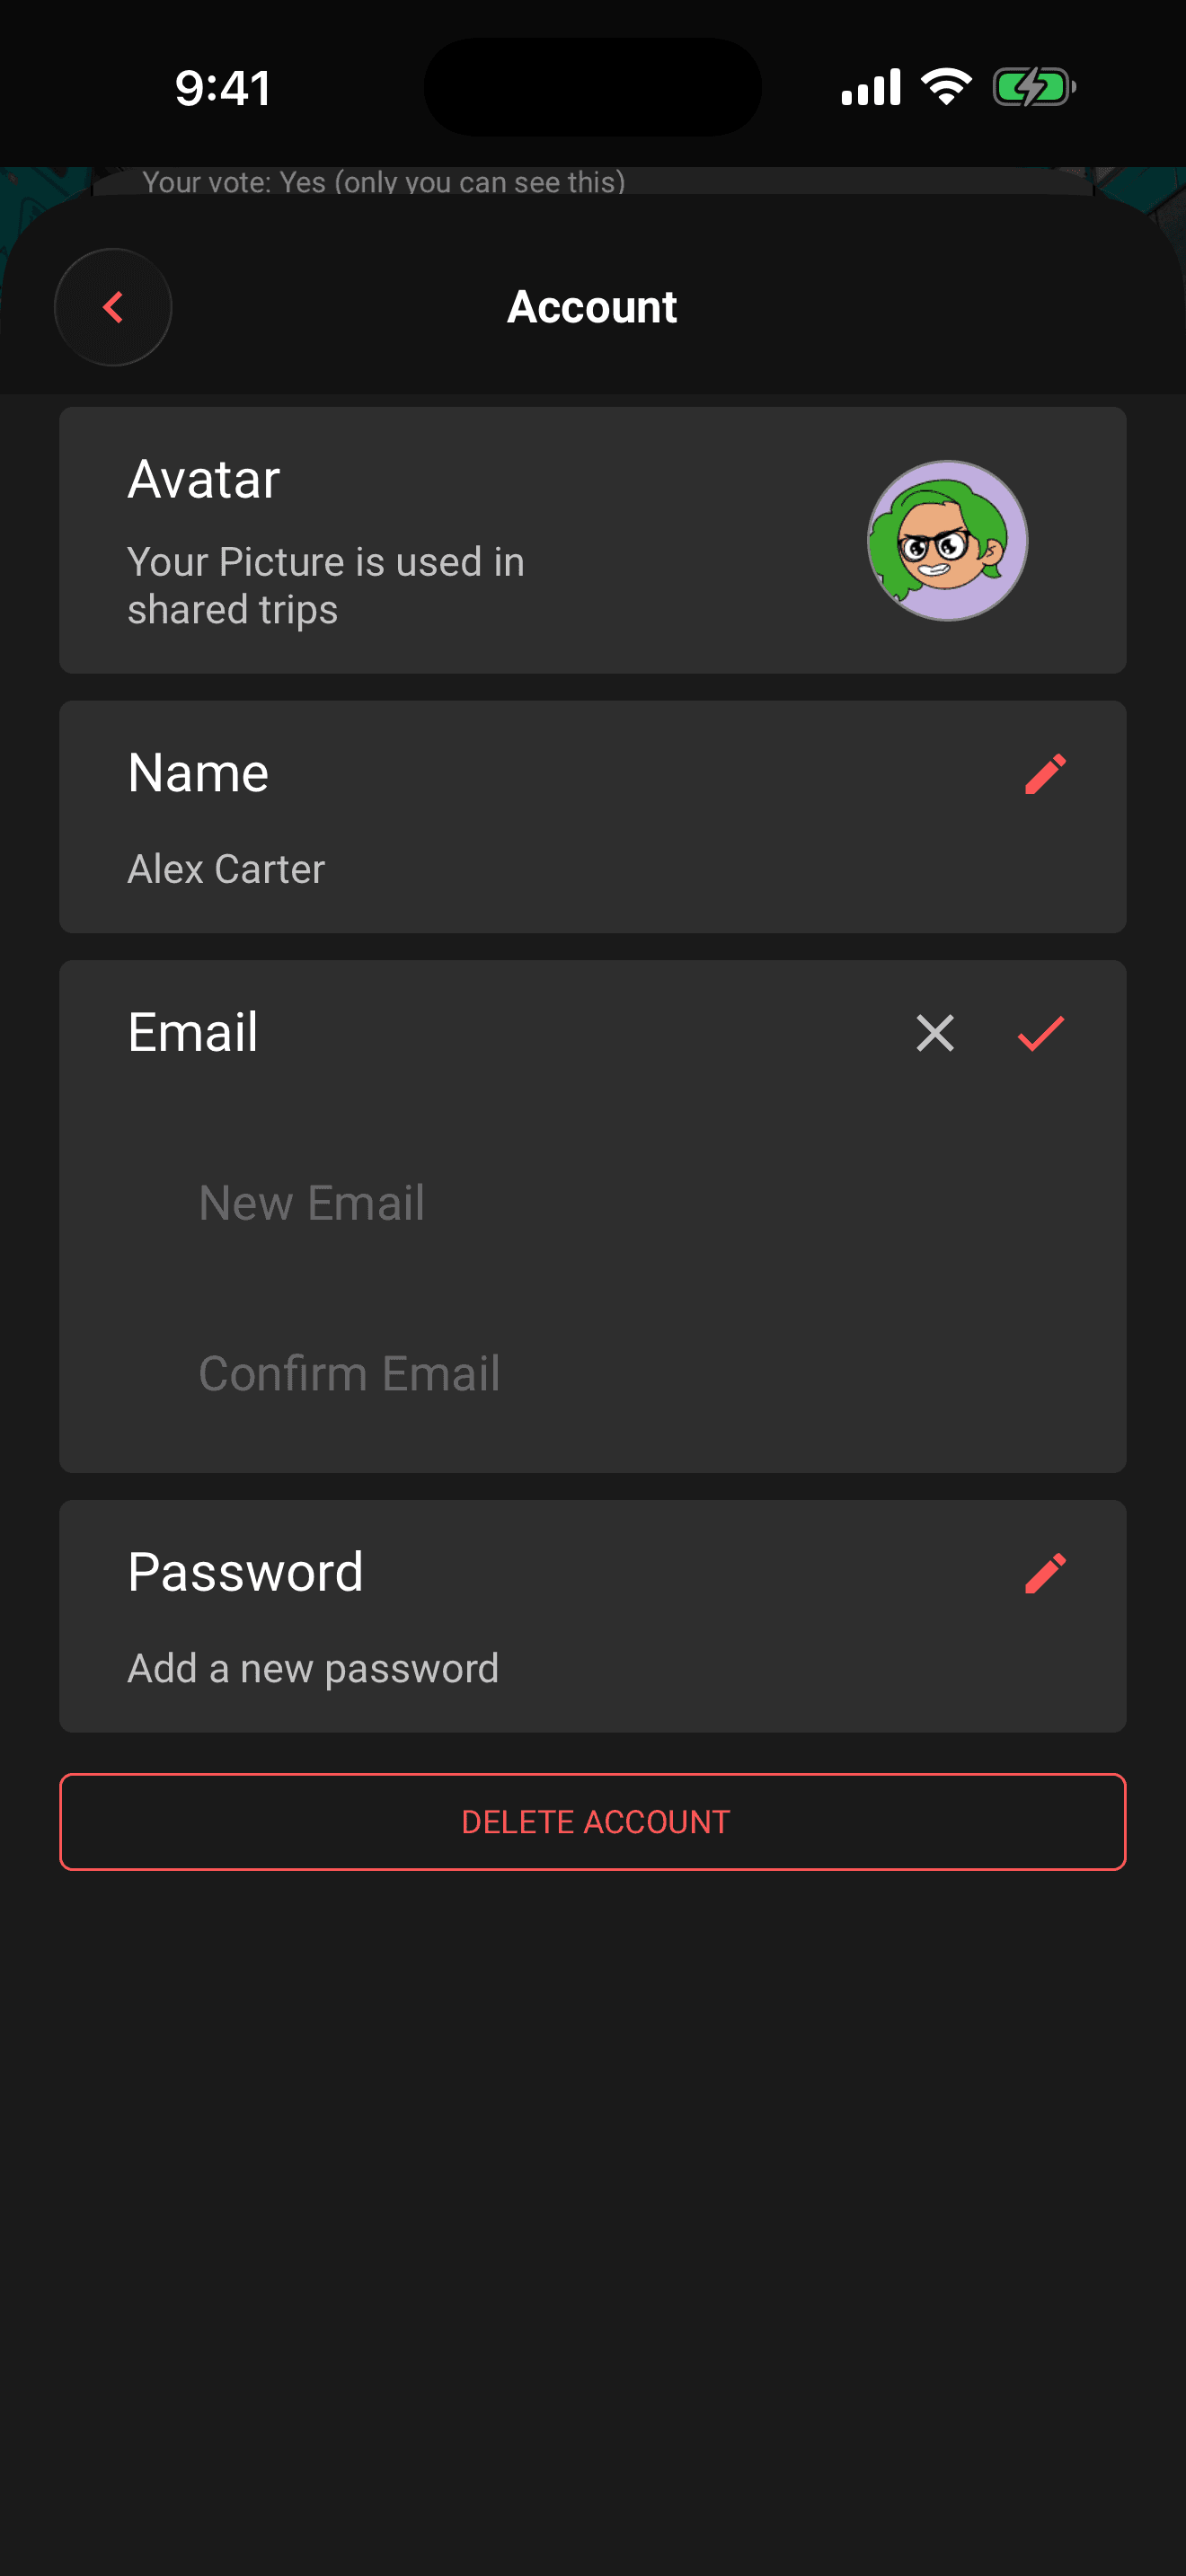
Each field on the Account screen edits in place: tap a row and it expands into its input fields, with a check to save and an X to cancel where the pencil was.
Avatar
Tap the avatar row to change your photo. Limbo asks for photo-library access the first time, then lets you pick a picture and crop it. The new photo uploads right away and replaces your avatar everywhere: shared trips, voter lists, and chat.
Name
Tap the Name row and type your full name in one field. Limbo treats the first word as your first name and everything after it as your last name. Tap the check to save.
Your email is how you sign in and where trip invites and email notifications arrive. To change it:
- 1Tap the Email row.
- 2Enter the new address twice: New Email and Confirm Email must match.
- 3If your account has a password, enter it to confirm it's really you.
- 4Tap the check to save.
Limbo sends a verification link to the new address. Until you tap that link, your current address stays as your login and the Account screen shows the new address as pending. You can cancel a pending change from the same screen.
After you verify the link, sign in with the new address. Limbo ends the old session as a security precaution; the old address can no longer sign in to that account.
Note
Signed up with Apple or Google? If your account has no Limbo password, the password field is skipped. For security, request the change soon after signing in; if Limbo asks for recent authentication, sign out, sign back in with Apple or Google, and try again.
Password
The Password row works two ways:
- Update your password: if you already have one, enter a new password, confirm it, and enter your current password.
- Add a new password: if you signed up with Apple or Google, you can add a Limbo password here so you can also sign in with email and password.
Forgot your current password? Sign out and use Forgot Password. Limbo emails a short-lived, one-time sign-in code without changing your existing password and opens the recovery-code screen automatically. After you verify the code, return to Account → Password and choose a new password within 10 minutes. If that recovery window expires, repeat the recovery steps.
Date format
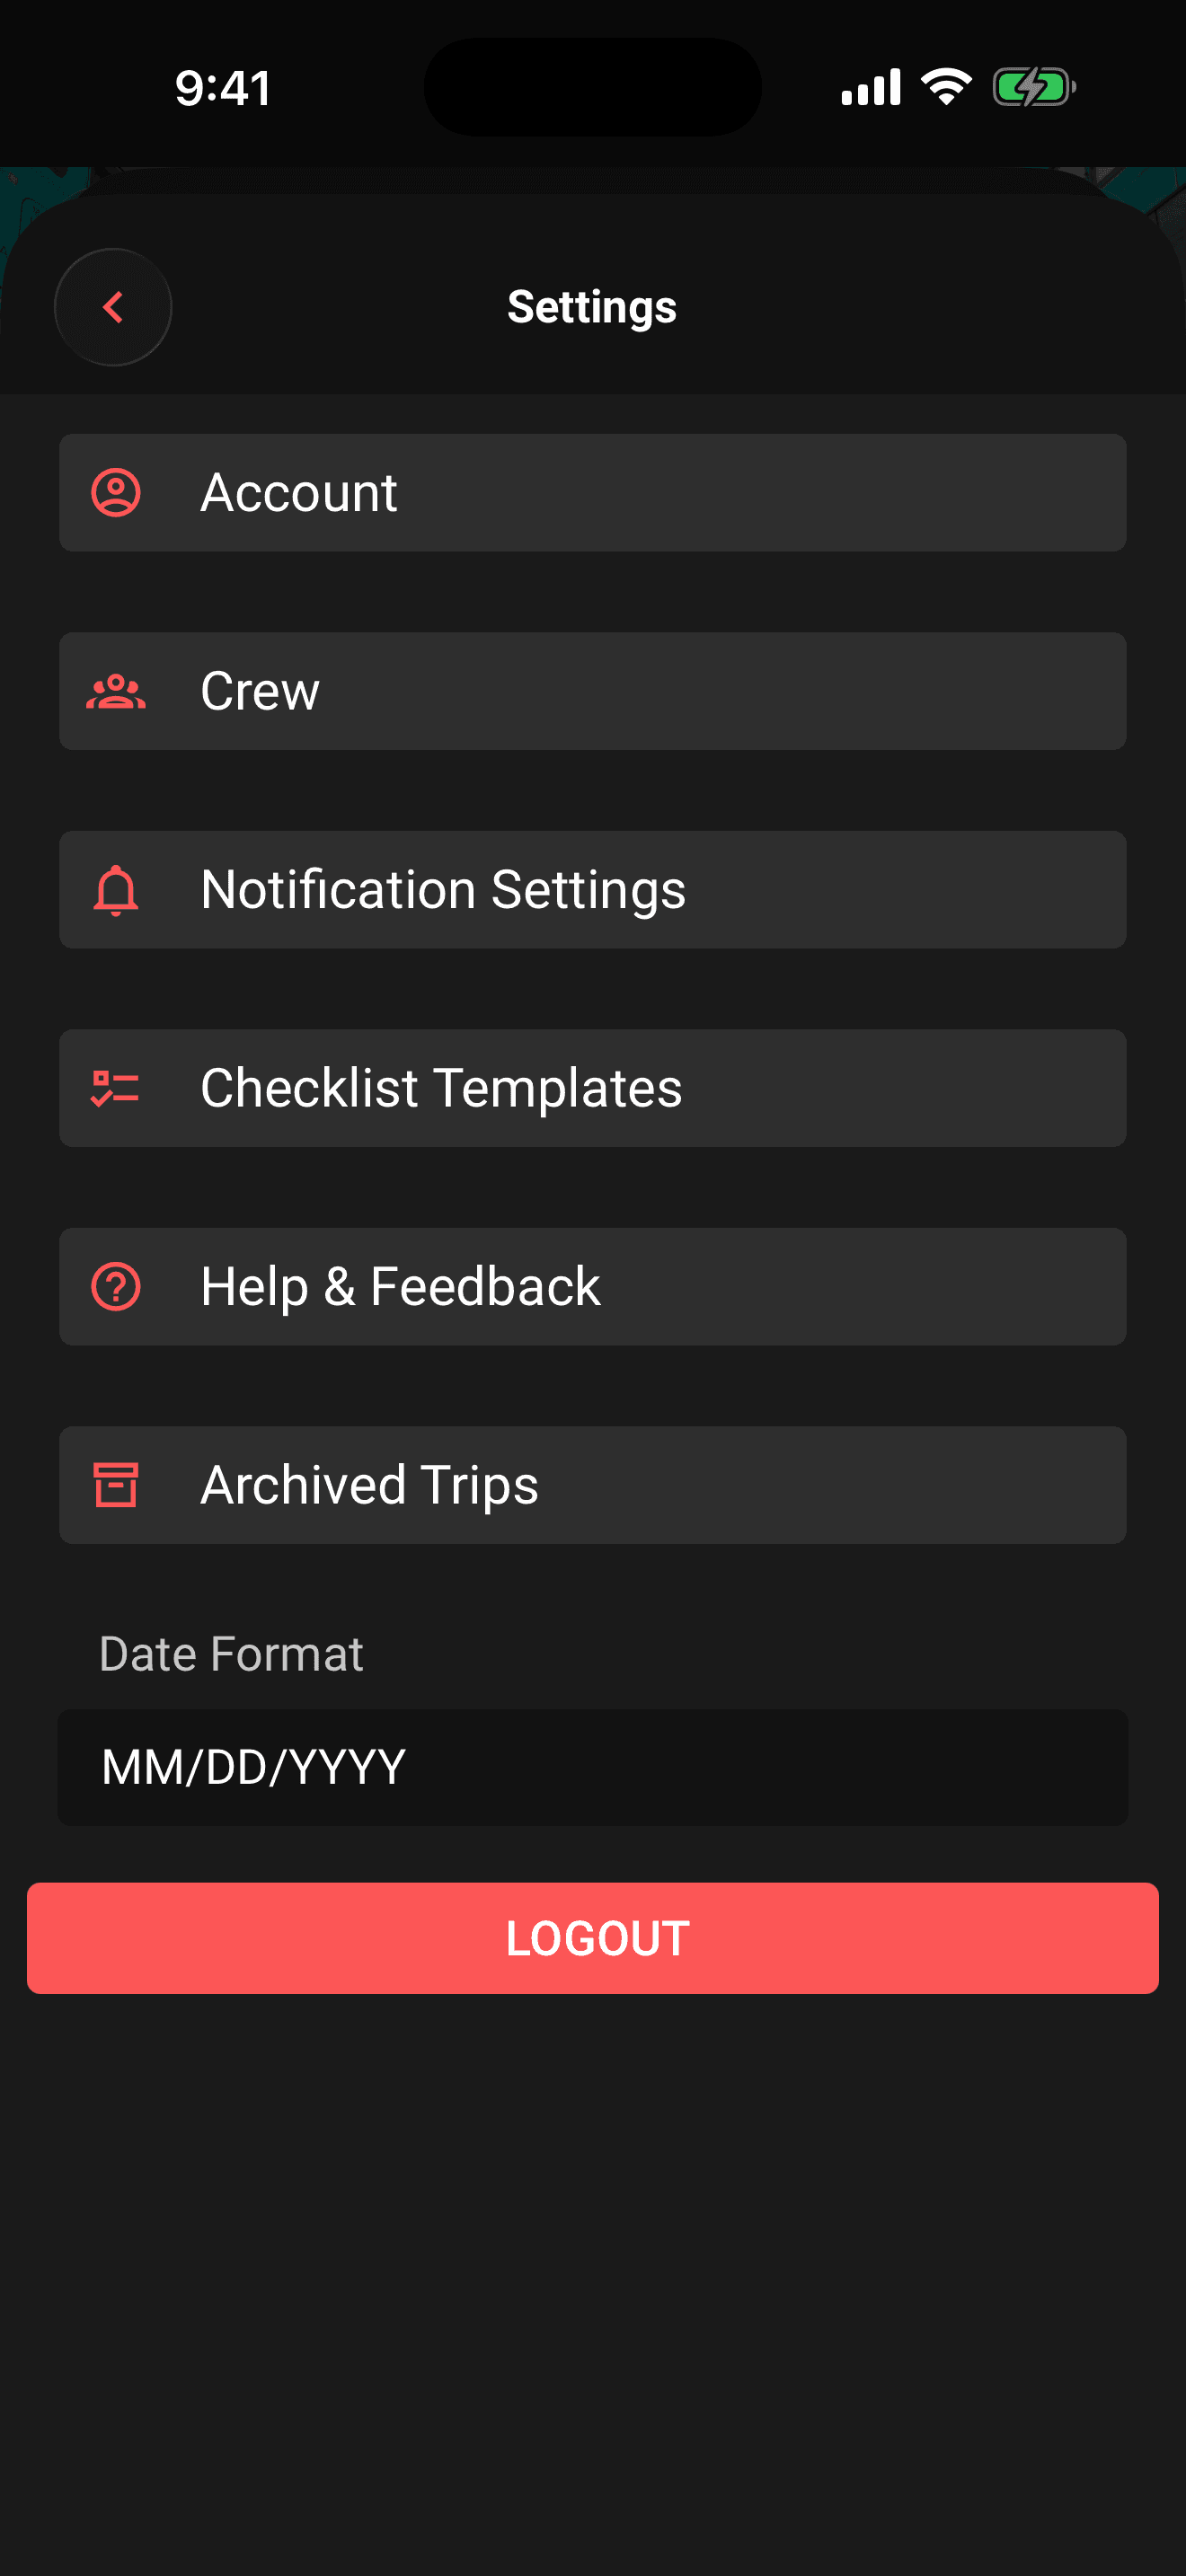
The date format setting sits on the main Settings screen, just below the menu items. Tap the Date Format dropdown and pick one of seven styles: MM/DD/YYYY, DD/MM/YYYY, MM-DD-YYYY, DD-MM-YYYY, YYYY-MM-DD, DD.MM.YYYY, or MM.DD.YYYY. The change saves immediately and applies everywhere Limbo shows a date.
Tip
Travelling with a mixed US/European crew? Each person picks their own date format, your choice only changes what you see.
Related articles
Delete your account
The exact deletion flow, what happens to your trips, votes, and messages, and why it can't be undone.
Create your account and log in
Sign up with email, Apple, or Google, sign in with a one-time email code, verify your email, plus password resets, logging out, and deleting your account.
Notifications: the bell, the inbox, and your settings
Where notifications land, where tapping one takes you, and how to control push, email, and in-app alerts per type.