Cruises
Plan a sailing with ports, dates, cabin details, port stops, passengers, and an automatic per-person price.
A cruise plan holds the whole sailing in one place: the ship, the embarkation and disembarkation ports, your cabin, every port stop on the itinerary, the passengers, and the price.
Adding and editing cruises requires edit access to the trip: organizers and crew members the owner has given edit permission. organizer Anyone on the trip can open the cruise's details sheet.
Add a cruise
- 1Add a plan and choose Cruise as the type.
- 2Give the cruise a name, e.g. "7-Night Western Caribbean".
- 3Pick the cruise line from the list (Royal Caribbean, Carnival, Disney, and more, or Other), and add the ship name and confirmation number if you have them.
- 4Search for the required embarkation port and set the embarkation date and time.
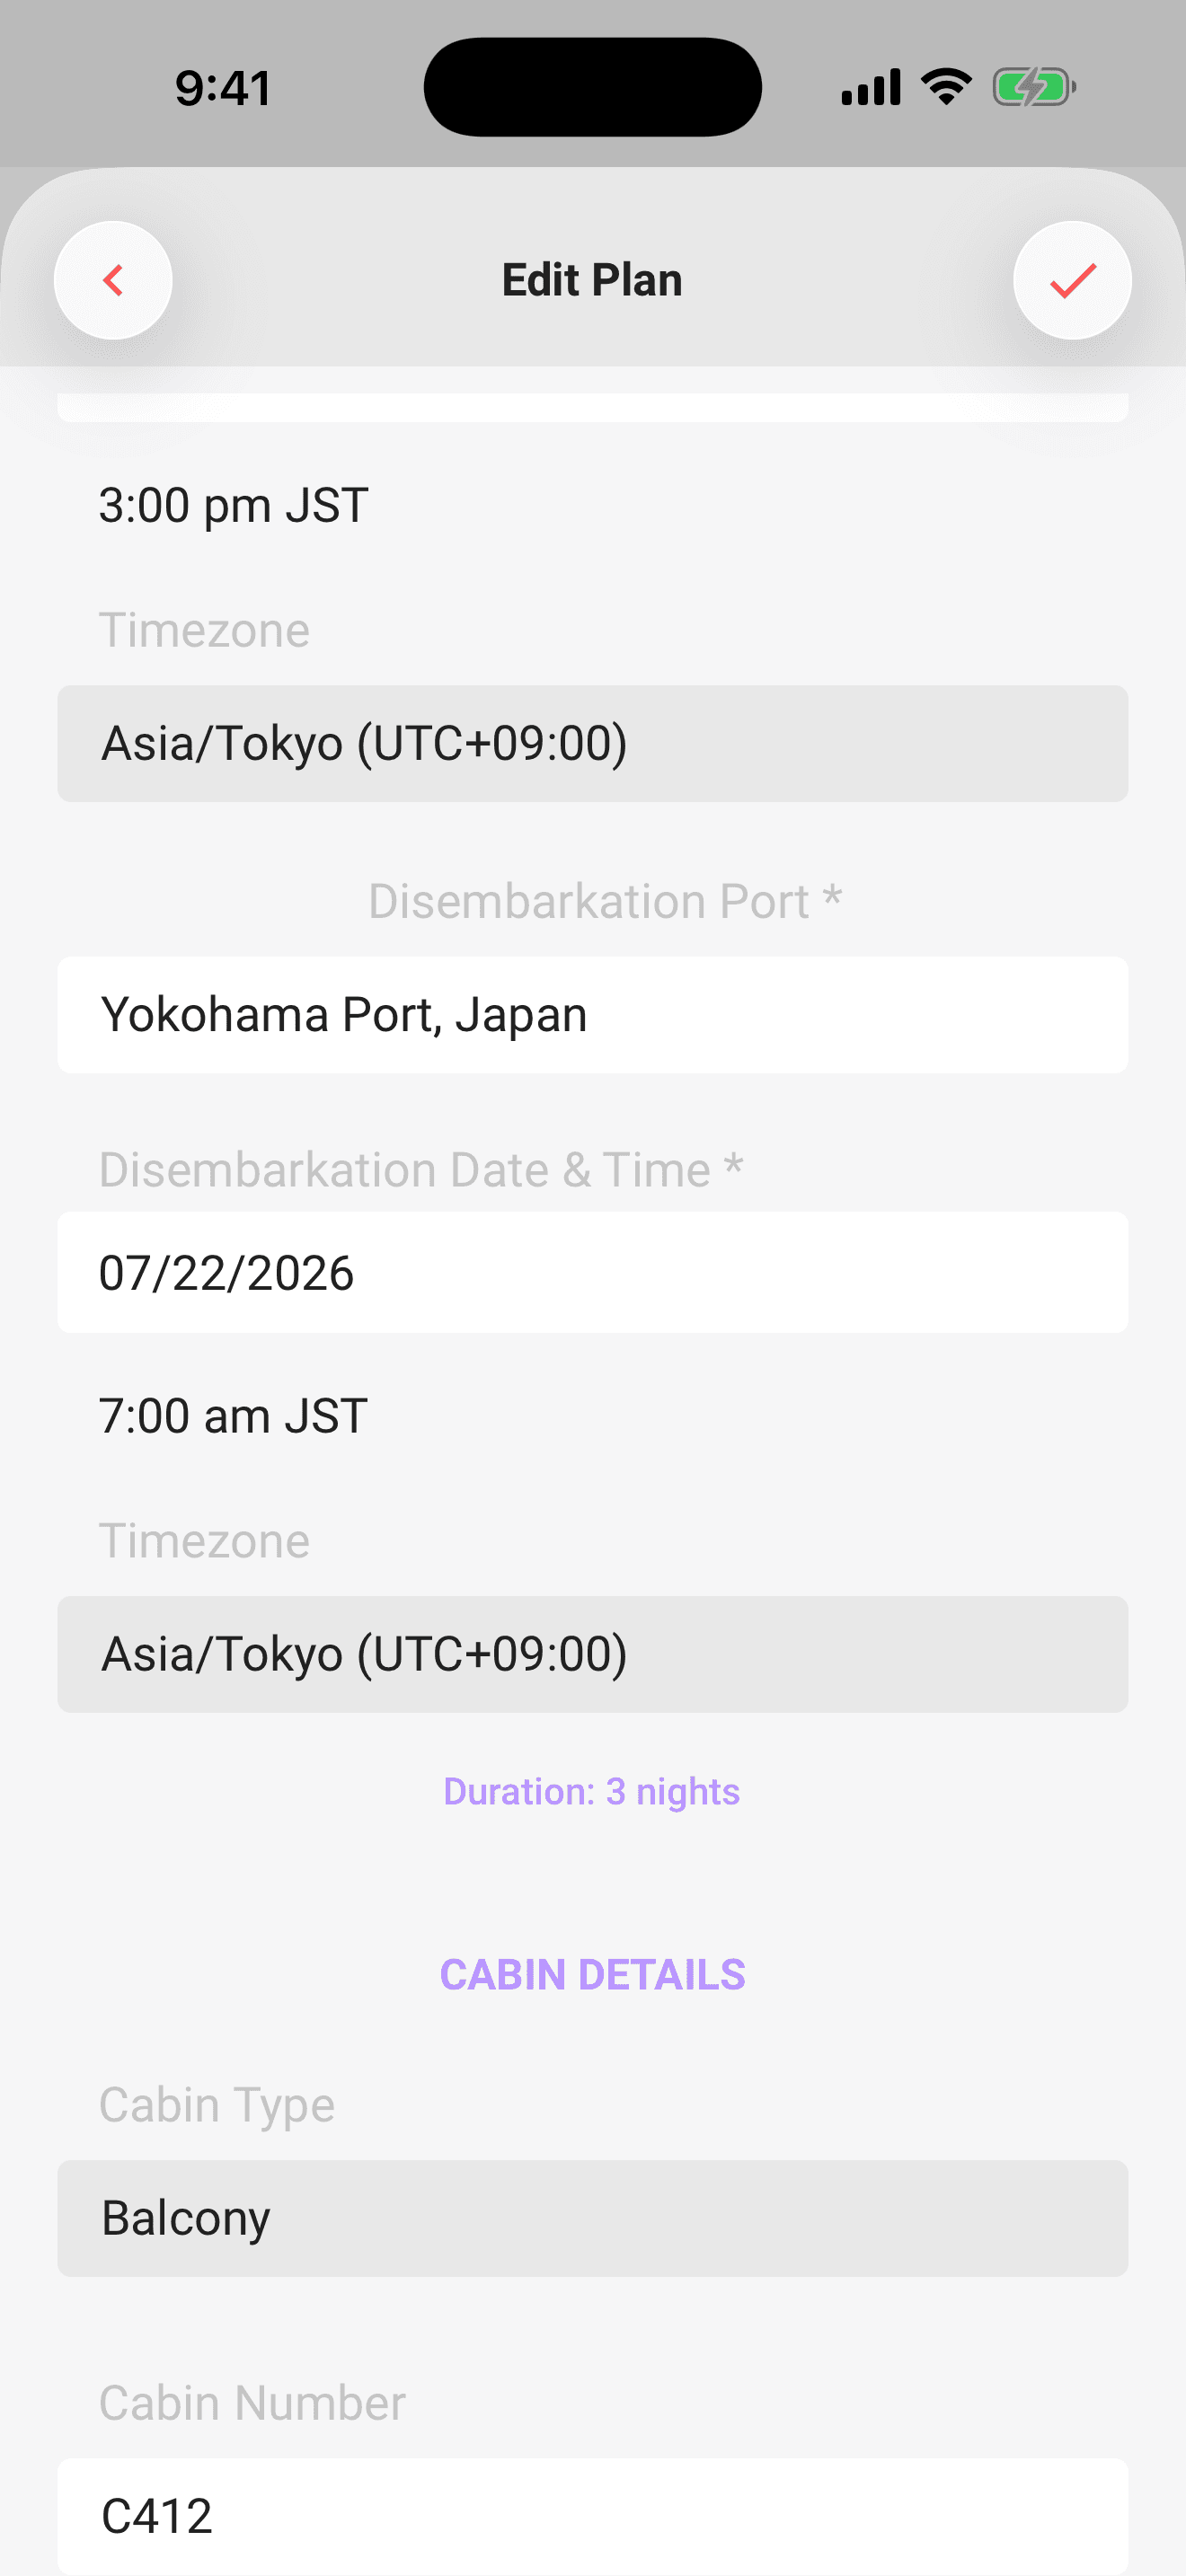
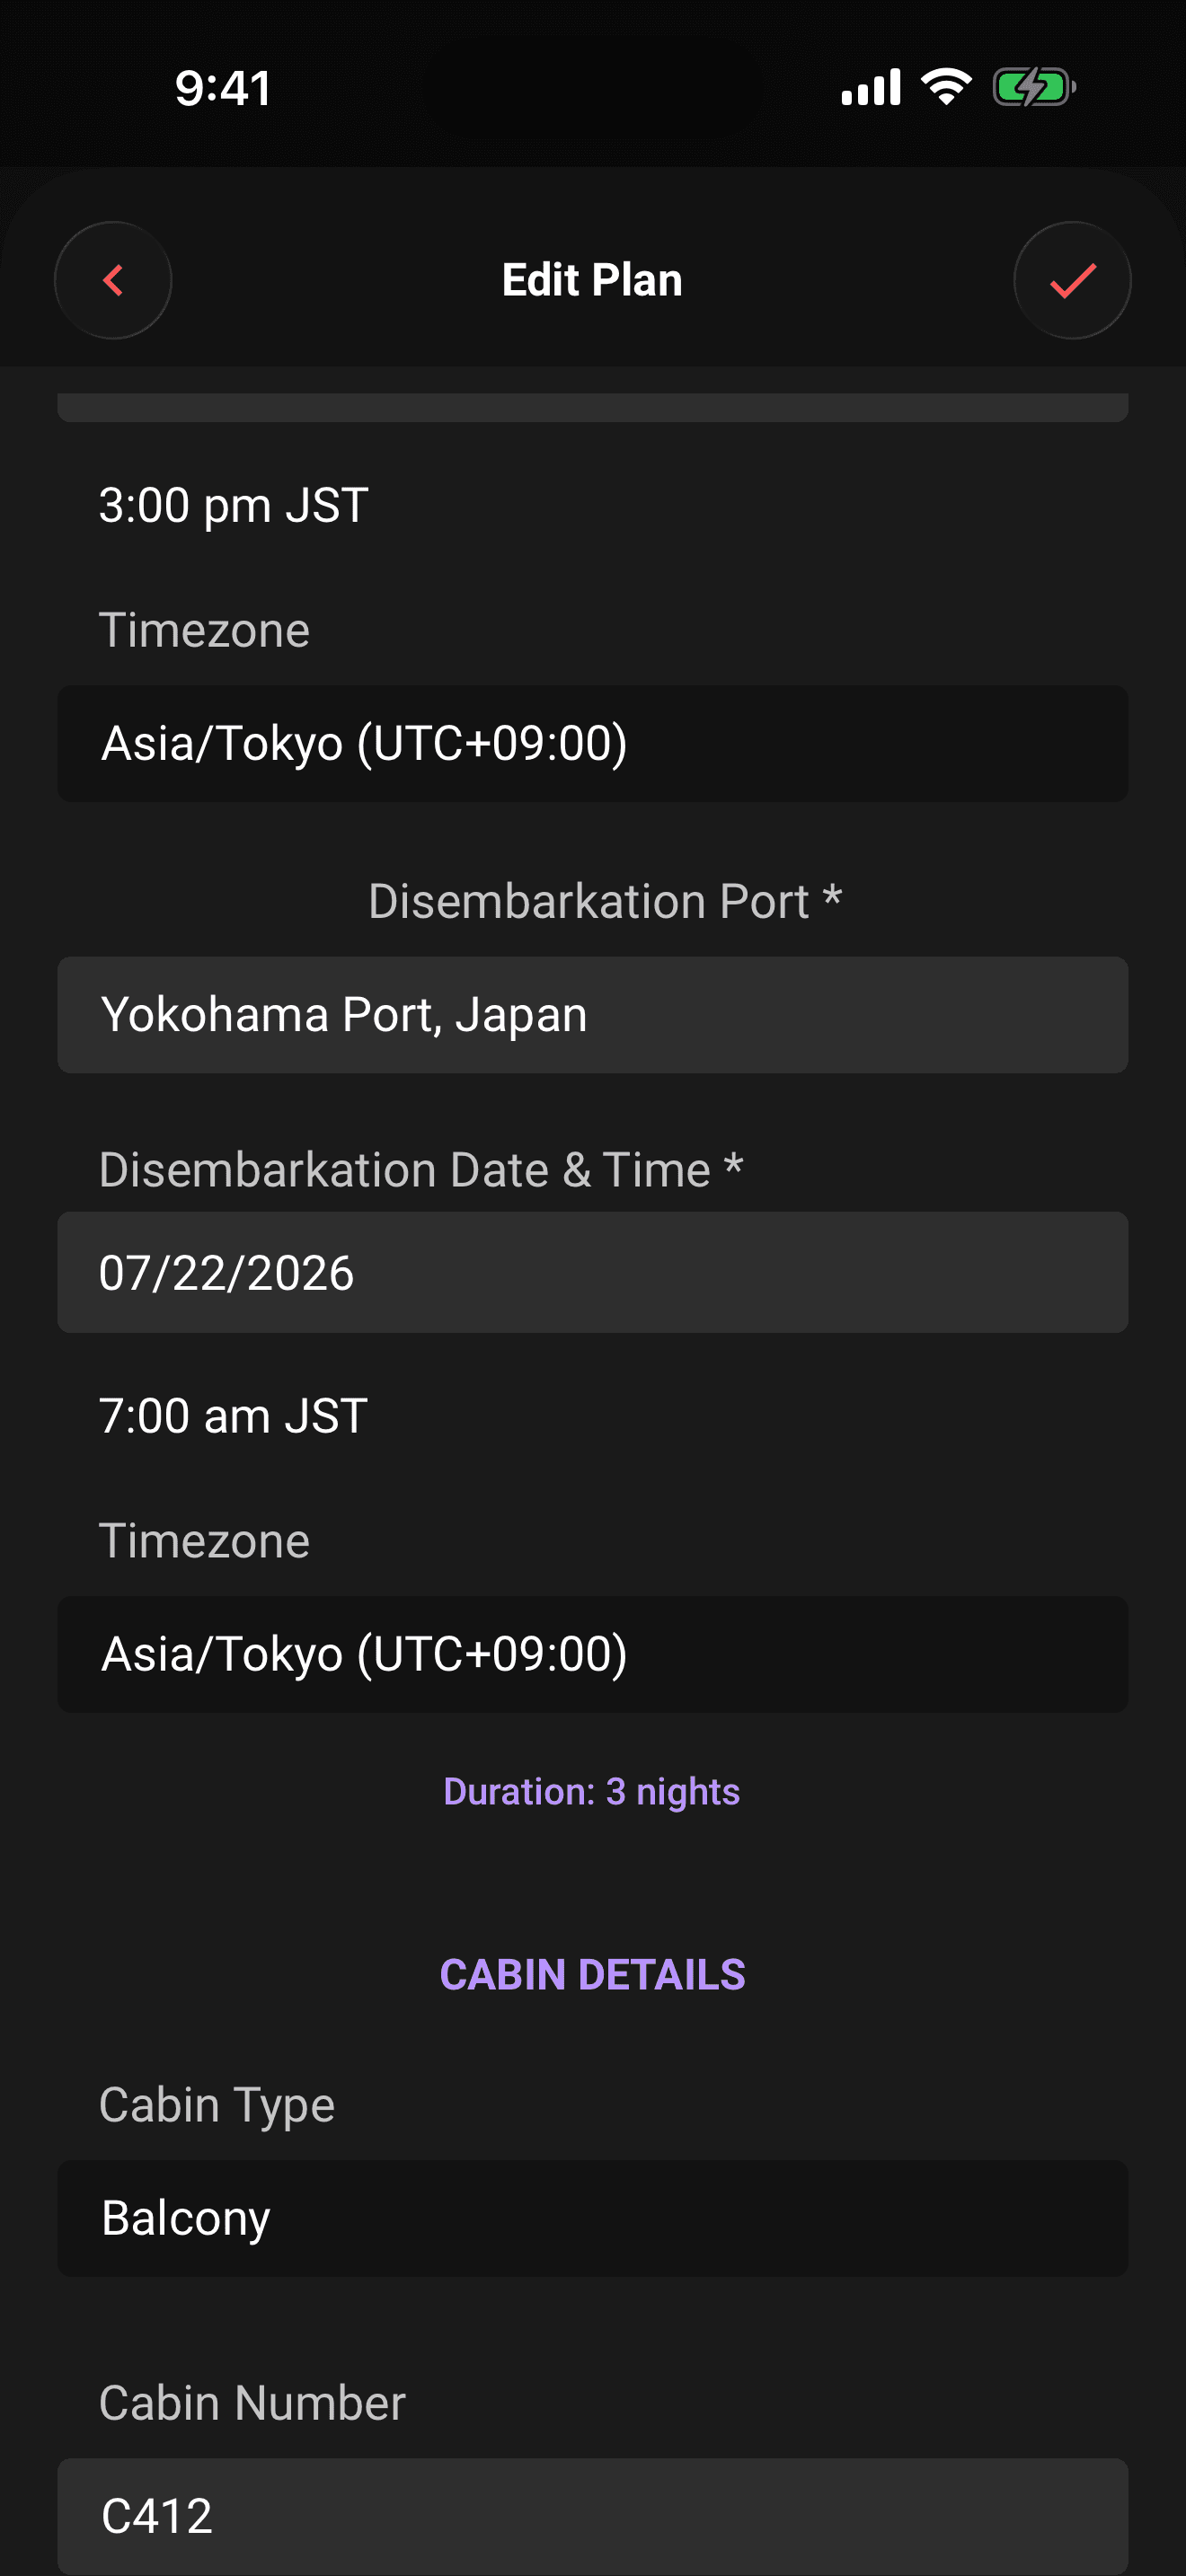
- 5Search for the required disembarkation port and set the disembarkation date and time.
- 6Add any notes, booking status, passengers, itinerary stops, and pricing you already know.
- 7Tap the checkmark in the top-right corner.
The name and both sailing ports must be present before the cruise can be saved. Cruise line, ship, confirmation number, cabin details, notes, and Mark as booked are optional. The add and edit forms expose the same fields, so those details remain available when the booking changes. Turn on Mark as booked and the green Booked status appears in the Plans timeline, the cruise details sheet, and any linked plan card in trip chat.
Limbo counts whole nights from the two dates for you (a same-day sailing is zero nights) and keeps each end's timezone from the port you picked, so boarding and arrival times remain in local time.
The disembarkation date cannot be before embarkation. When you edit an existing cruise, its historical dates remain selectable so an older booking can still be corrected; moving embarkation after the current disembarkation keeps the range valid.
Cabin details
The Cabin Details section takes a cabin type (Interior, Ocean View, Balcony, Suite, Junior Suite, or Penthouse) plus the cabin number and deck. The cabin number doubles as the default cabin assignment for any passengers you add afterwards.
Port stops: the itinerary editor
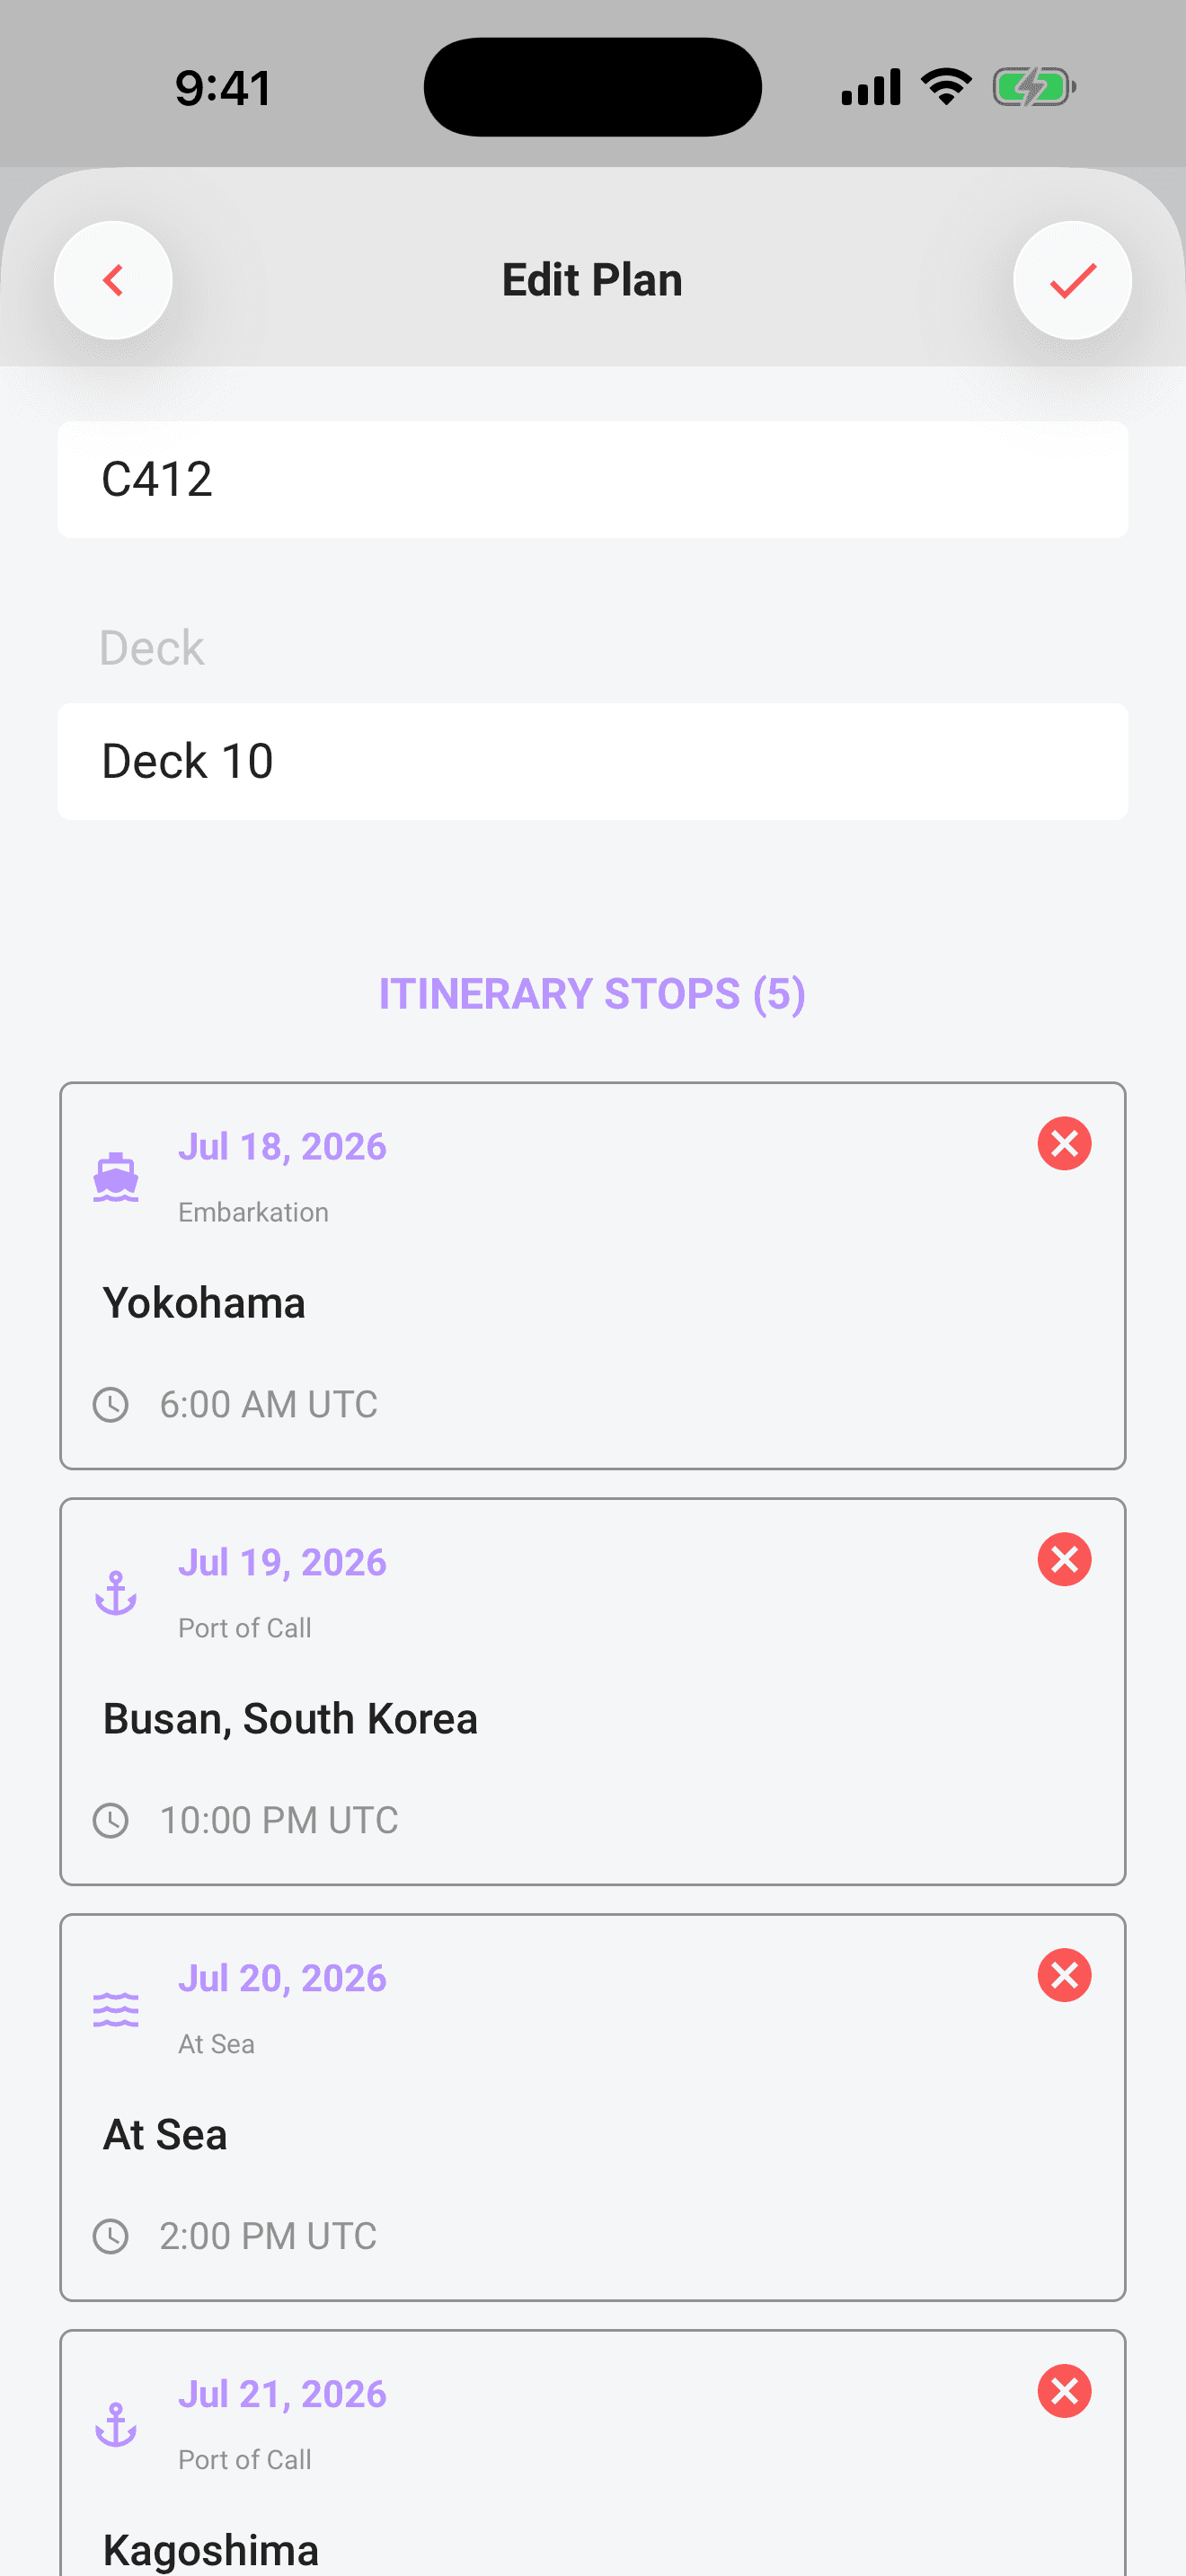
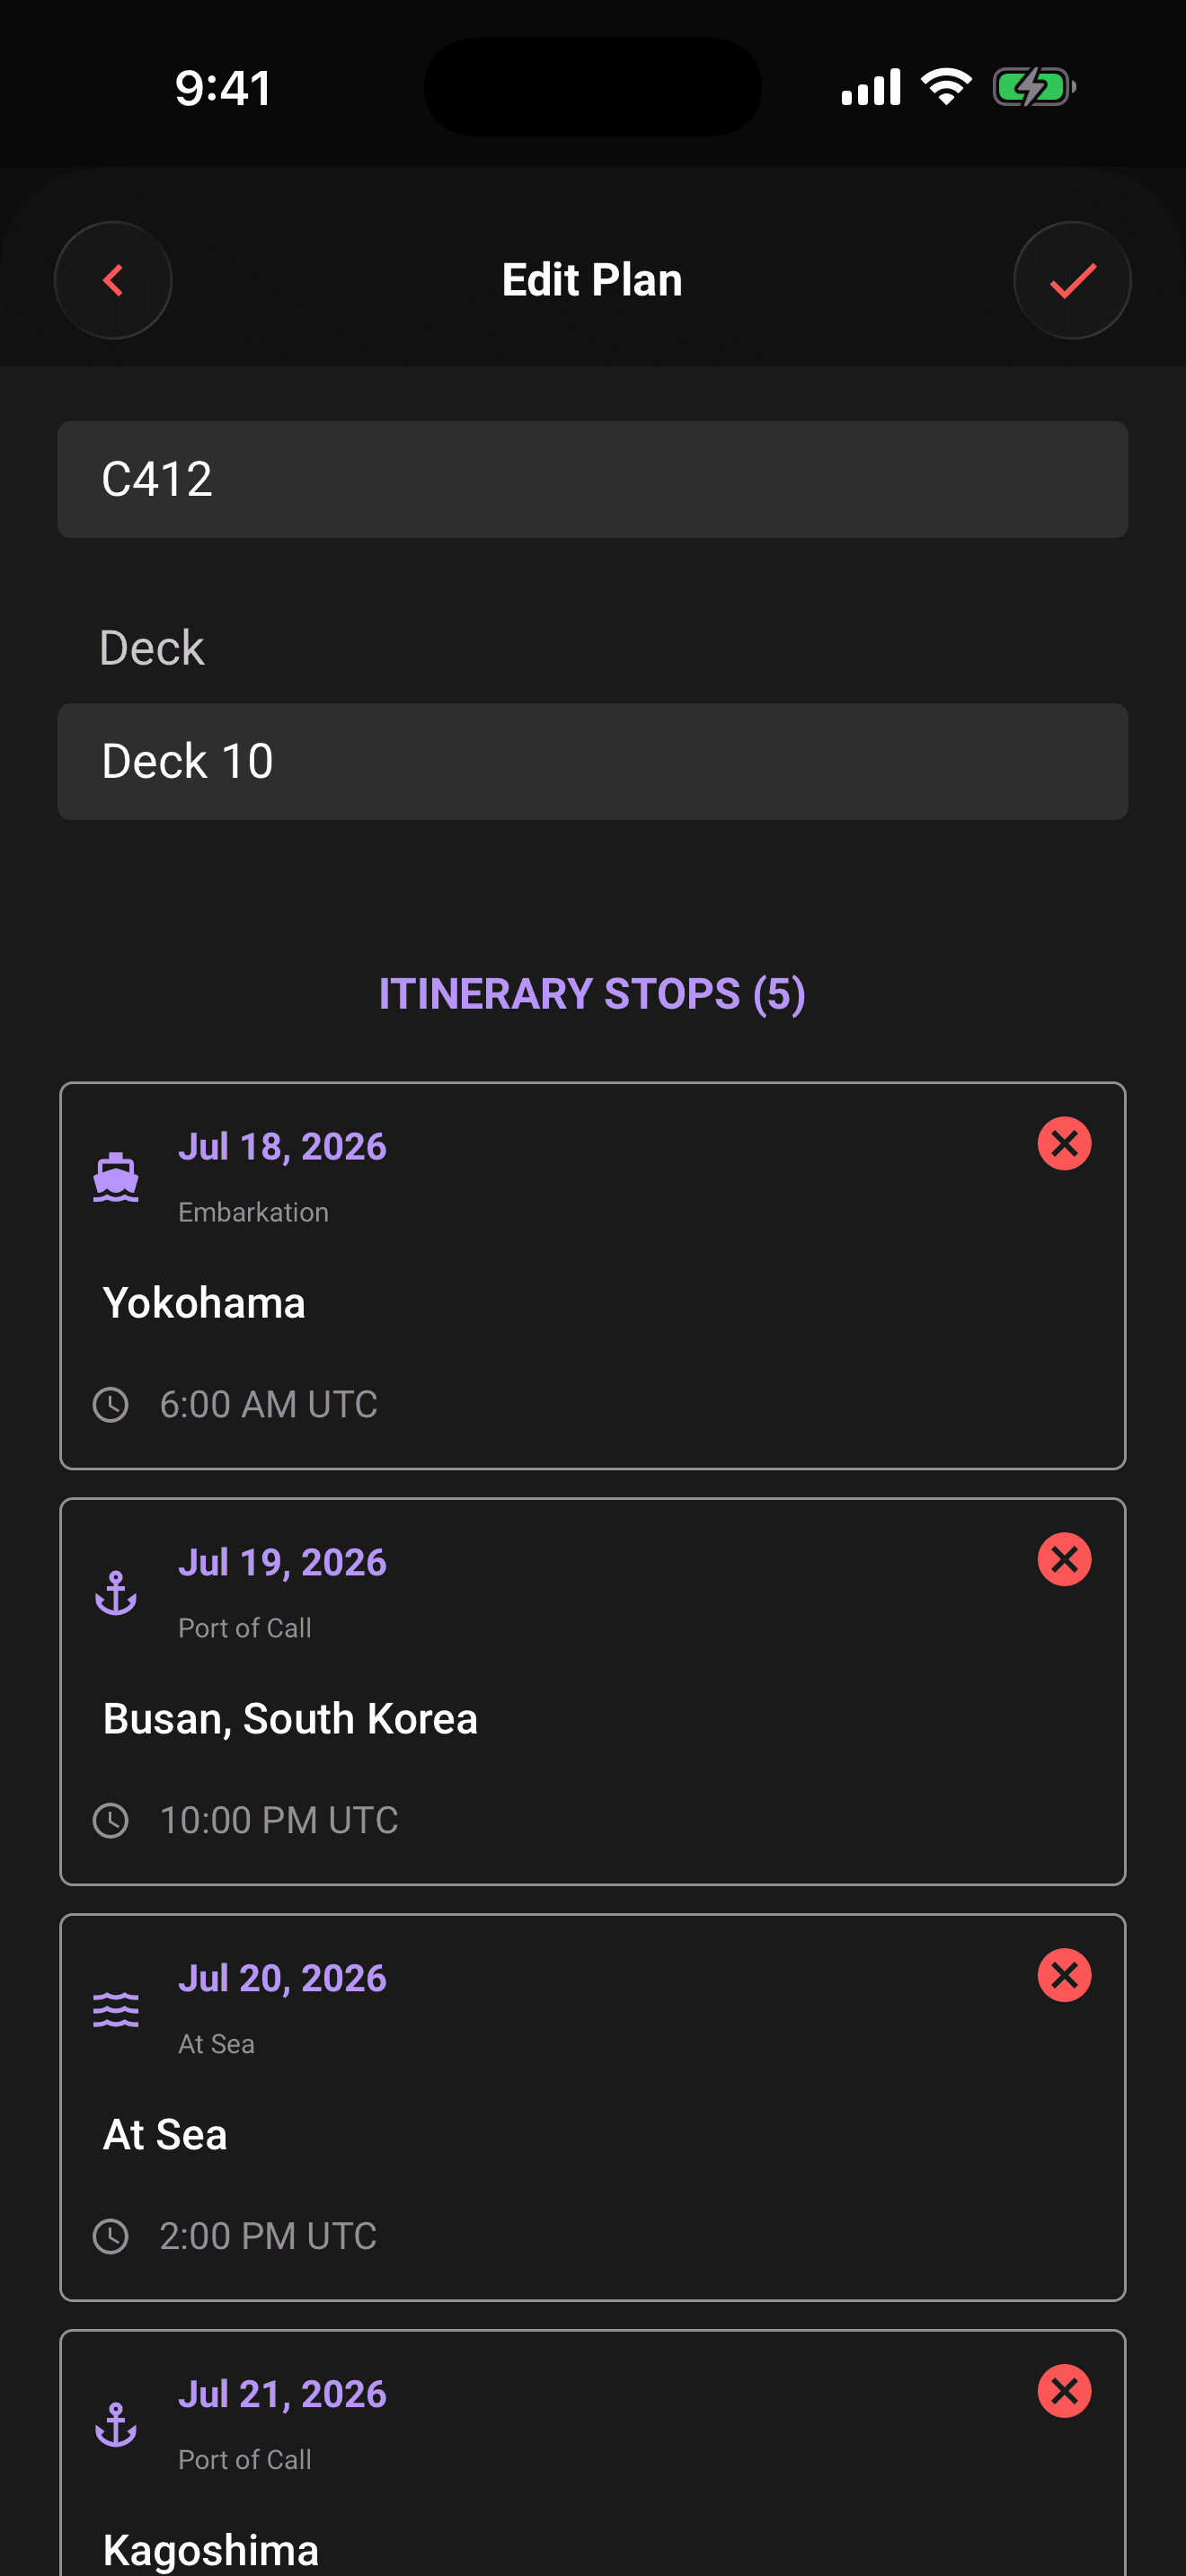
The Itinerary Stops section lists every stop on the sailing, numbered by day.
- 1Tap Add Port Stop.
- 2Pick the port type: Port of Call, At Sea, Embarkation, or Disembarkation.
- 3Search for the port location, or enter a description for an At Sea day.
- 4Set the required date and time. The stop starts in the cruise's embarkation timezone and changes to the selected port's timezone when one is available.
- 5For Port of Call and At Sea, choose the duration. Notes are optional.
- 6Save, the stop slots into the list by date, and day numbers renumber automatically.
Tap the pencil on an existing stop to edit its type, port, date, time, timezone, duration, or notes without deleting and recreating it. Tap the bin to remove a stop and confirm. A stop without a time shows as "All Day".
Passengers and the per-person price
Tap Add Passenger to add each traveller: full name (required), passenger type (Adult, Child, or Infant), and optional age, cabin assignment, and special needs. The cabin assignment pre-fills with your cabin number. Use the pencil on an existing passenger to update those details in place, or the bin to remove them.
Cruise date-and-time rows expose separate date and time controls. On iPhone, choose a time with the wheel and tap the checkmark to commit it before closing the sheet; this prevents an in-between wheel value from being saved.
In the Pricing section, pick a currency and enter the total price. A new cruise starts with the current trip's default currency, and you can choose a different one on either add or edit. Limbo divides the total by the passenger count and shows the per-person price automatically, recalculating whenever you add or remove a passenger. Removing the last passenger clears the derived per-person amount. When trip cost splitting is enabled, cruise add and edit forms also show the same split override and Paid by controls used by other costed plan types.
The cruise details sheet
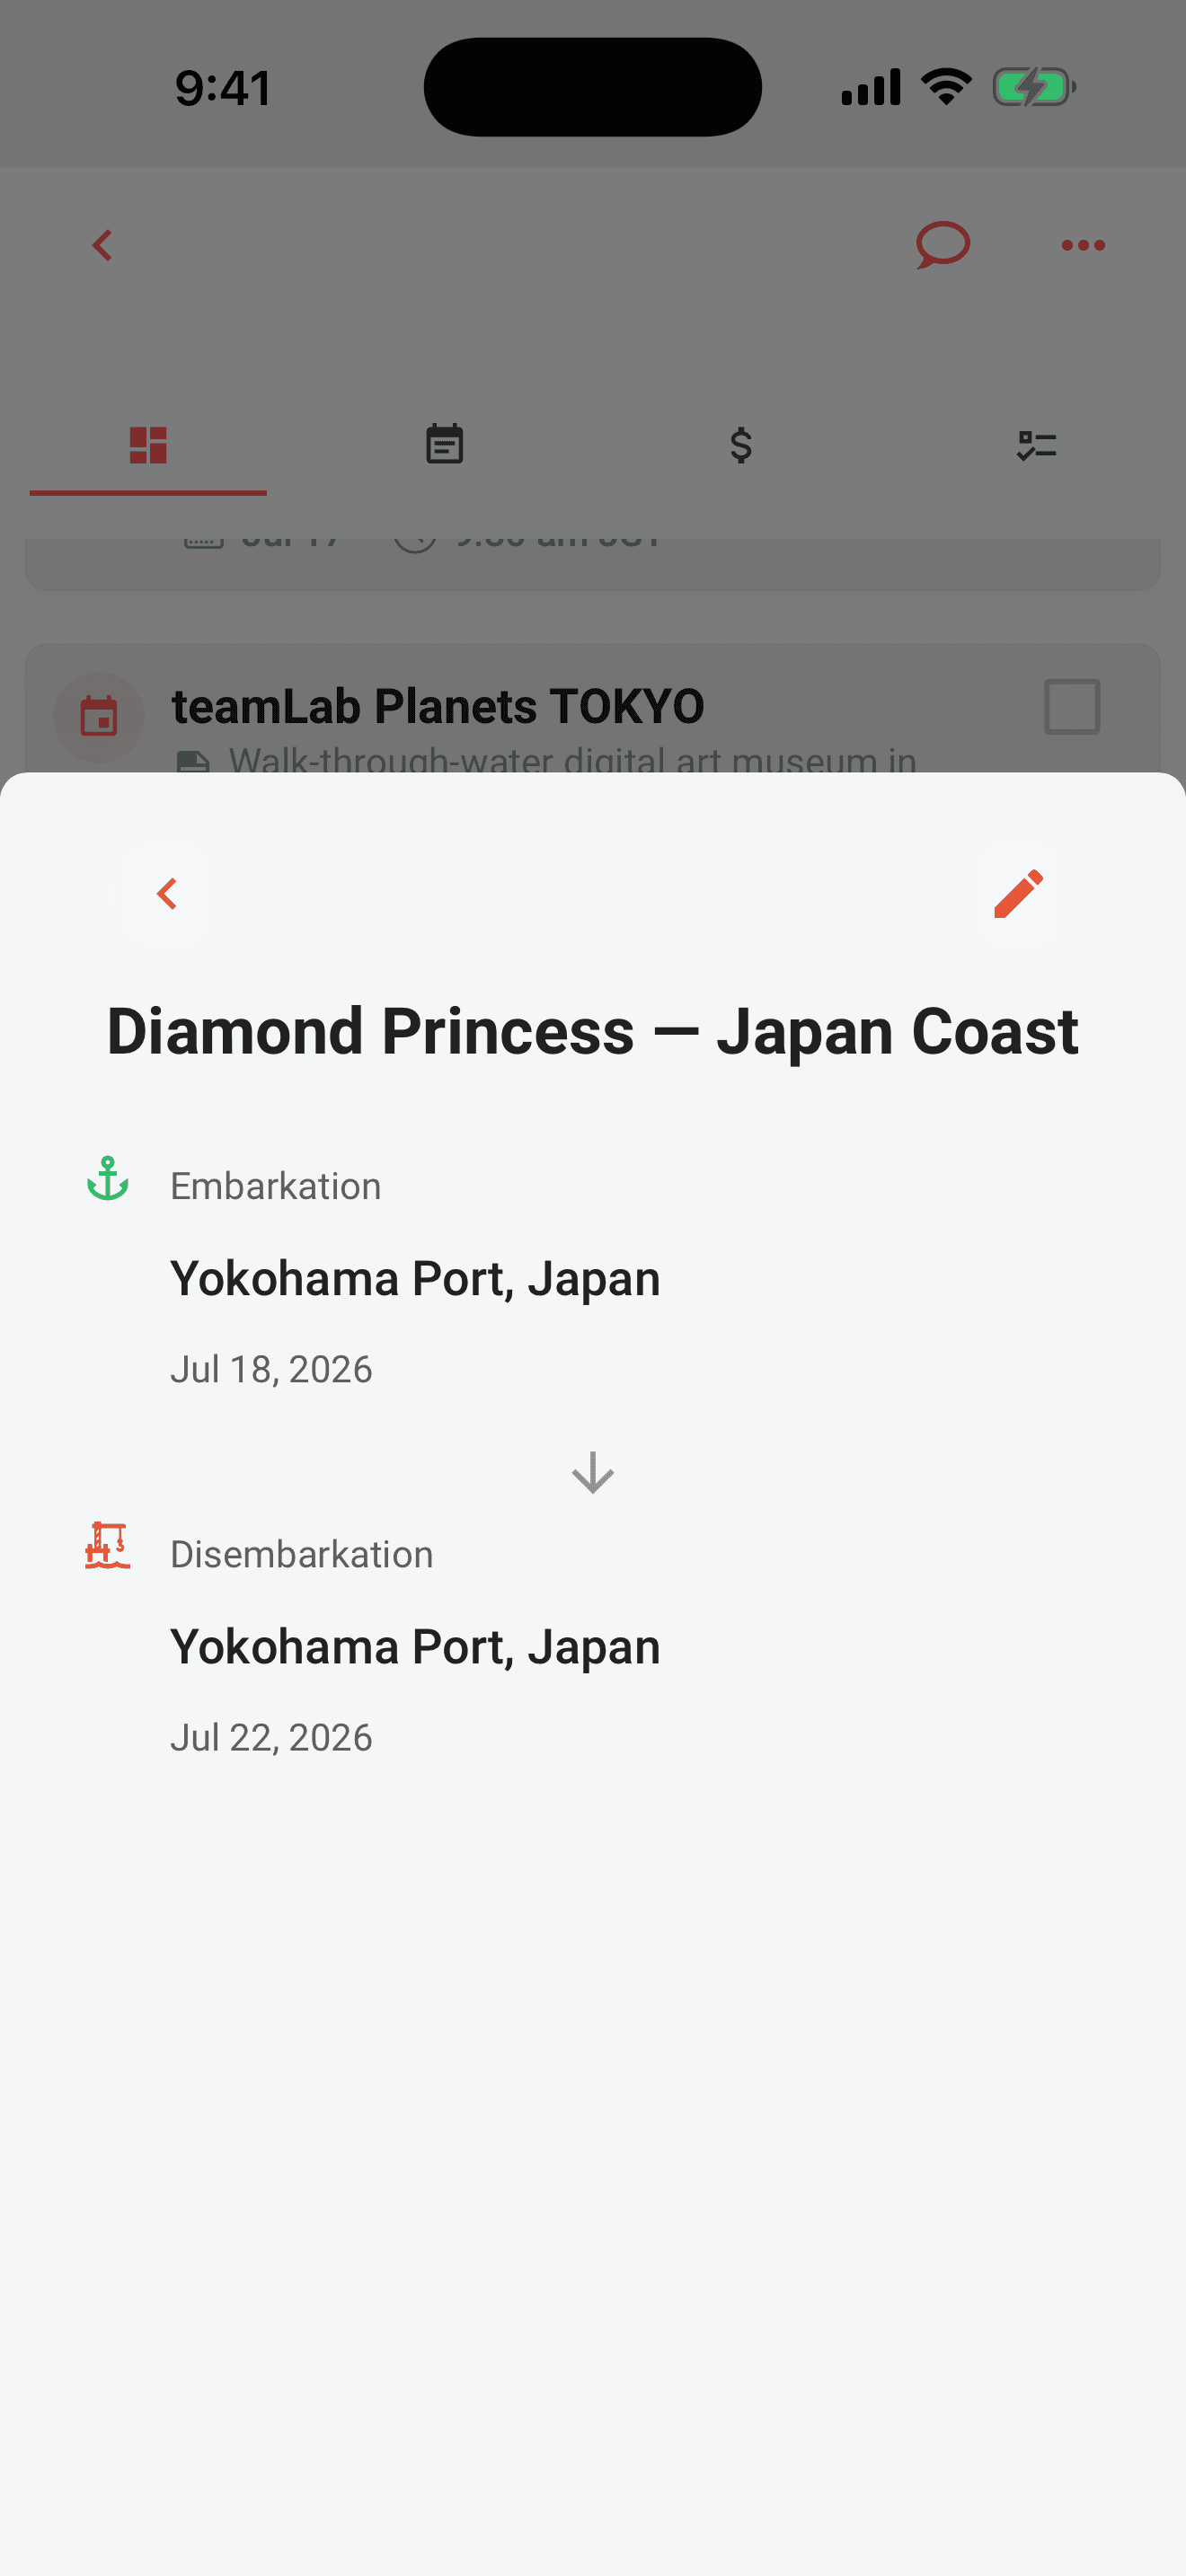
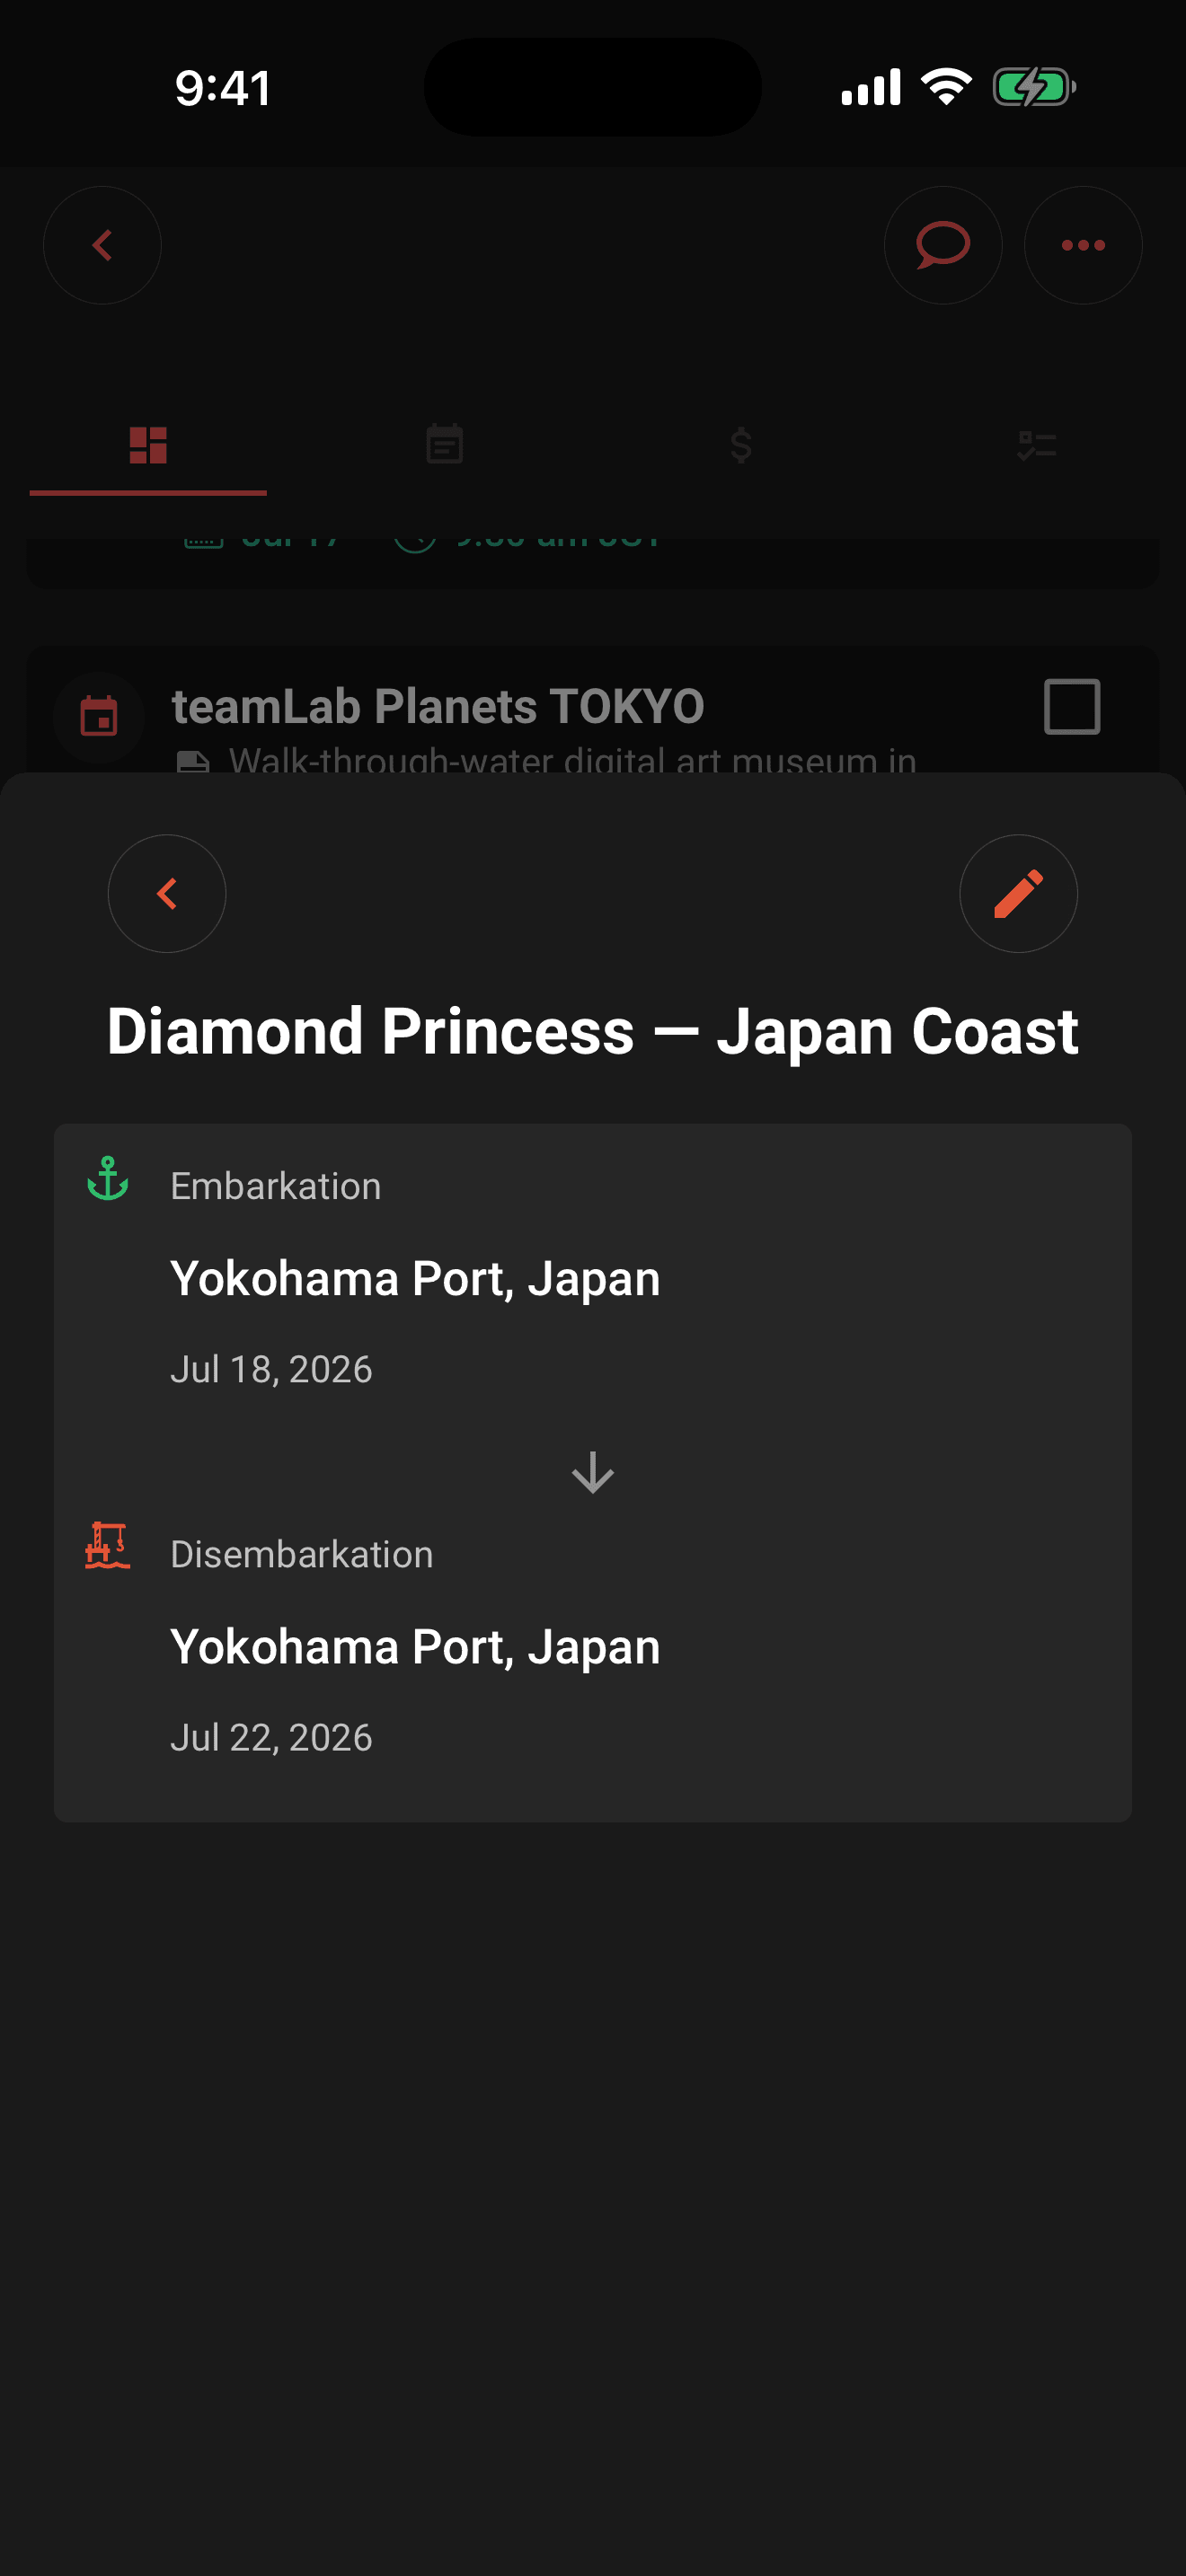
Tap the cruise on the itinerary to open its details sheet. It shows the embarkation and disembarkation ports with their dates and timezones, the itinerary and each stop's duration, the cruise line and ship, confirmation and cabin details, passengers and their special needs, and the total and per-person prices. A green Booked status appears below the cruise name when the booking toggle is on. An email chip appears if the booking came from a forwarded email, and a map button appears when the port has a location on the map. Tap the calendar button to add the sailing to your phone's calendar; the first time, your phone asks for calendar access.
Note
The details sheet is read-only. If you have edit access, tap the pencil to change the booking, itinerary, passenger, or pricing information.
Permissions
- Add and edit cruises, stops, and passengers: trip organizers and crew with edit permission. organizer
- View the cruise details sheet: every crew member on the trip. member
Related articles
Add a plan
Create activities, food stops, stays, flights, transport, tours, cruises, and notes from the map-first trip hub.
Flights
Look up a flight by number, book multi-leg routes, enter complete journey details, refresh saved flight information for free, or enable live alerts with Pro.
Plan details
Open a plan from the timeline or map to review its details and files, reveal the trip map, export it to your calendar, or edit it.